Keyball61 Tenting Case

Description
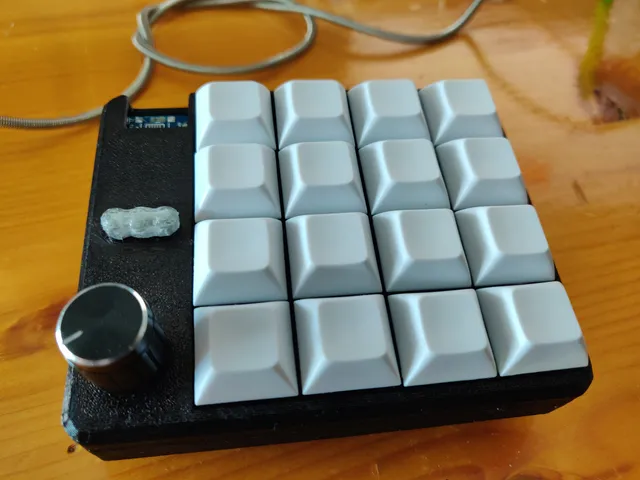
PDFThis is my attempt for a case for the Keyball61 keyboard by Shirogane Lab.
The case replaces the lower acrylic plate and provides four mounting points for individual feet.
Material
Beside the printed parts, this needs  8x M3 screw inserts, 8x M3x10mm screws with a flat hat and 8x M3 washers. If you want to do a setup with just three feet, you can spare one screw for each side and just attach a rubber pad on the corner with the missing feet.
The print needs round about 60g filament for each side. I recommend using PETG.
Optional: Dipping rubber.
Printing
Printing can be done in 0.2mm layer height. To increase stiffness of the case, I recommend to increase the number of perimeters to 8.
The feet should be be printed with 100% infill. Here, the number of perimeters should be increased, too.
Building
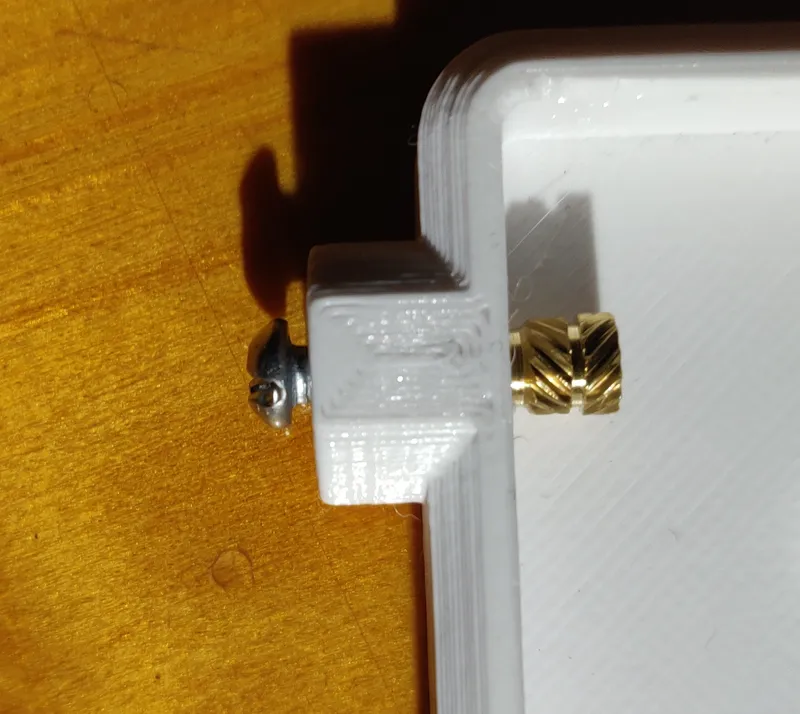 After printing the two case parts, the screw inserts must be placed into the parts. Therefore the inserts must be put into the blind holes from the inside of the part. To ensure the insert is placed straight and the holes are not clogged, place a screw into the insert from the outside of the part.
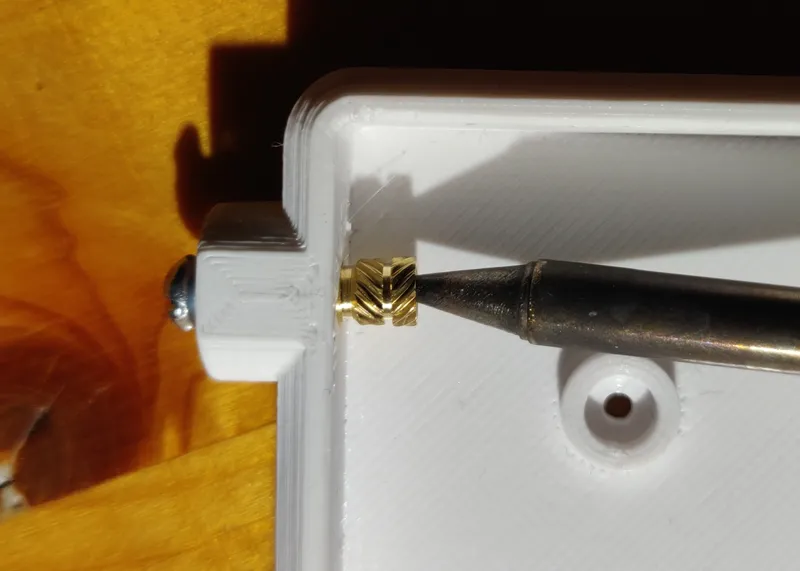 The insert can be pushed into its final position using an soldering iron. Ensure to heat just the insert and keep the screw as cool as possible. Also be sure not to melt any other feature of your print while pushing the insert.
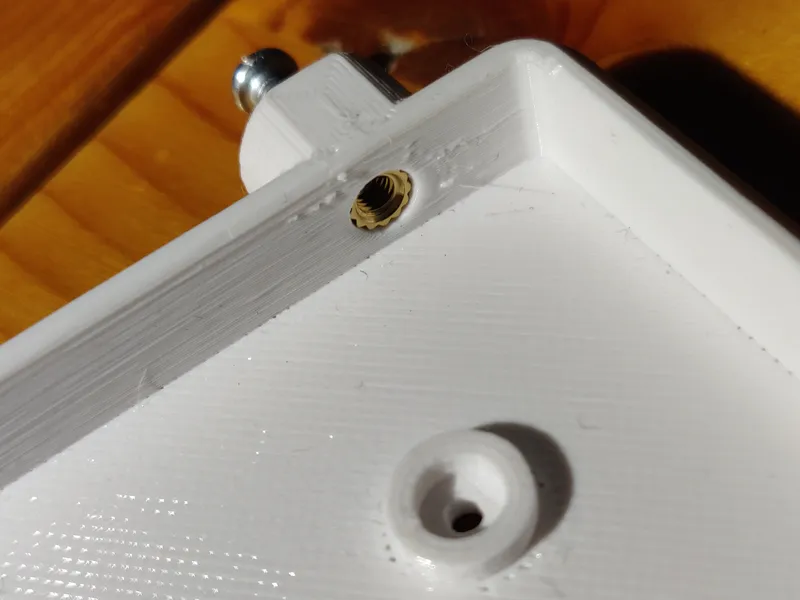 The insert must be pushed slightly beyond the inner wall. This ensures that there is no edge where the PCB of your keyboard can grep to. Any material being pushed out of the hole while placing the insert can be trimmed flush with an exacto knife of a small flush trim cutter.
After placing the inserts, the PCB can be placed in the case and attached using the original screws. Make sure to handle the ball sensor carefully. It can be re-attached after the main PCB has been screwed in place.
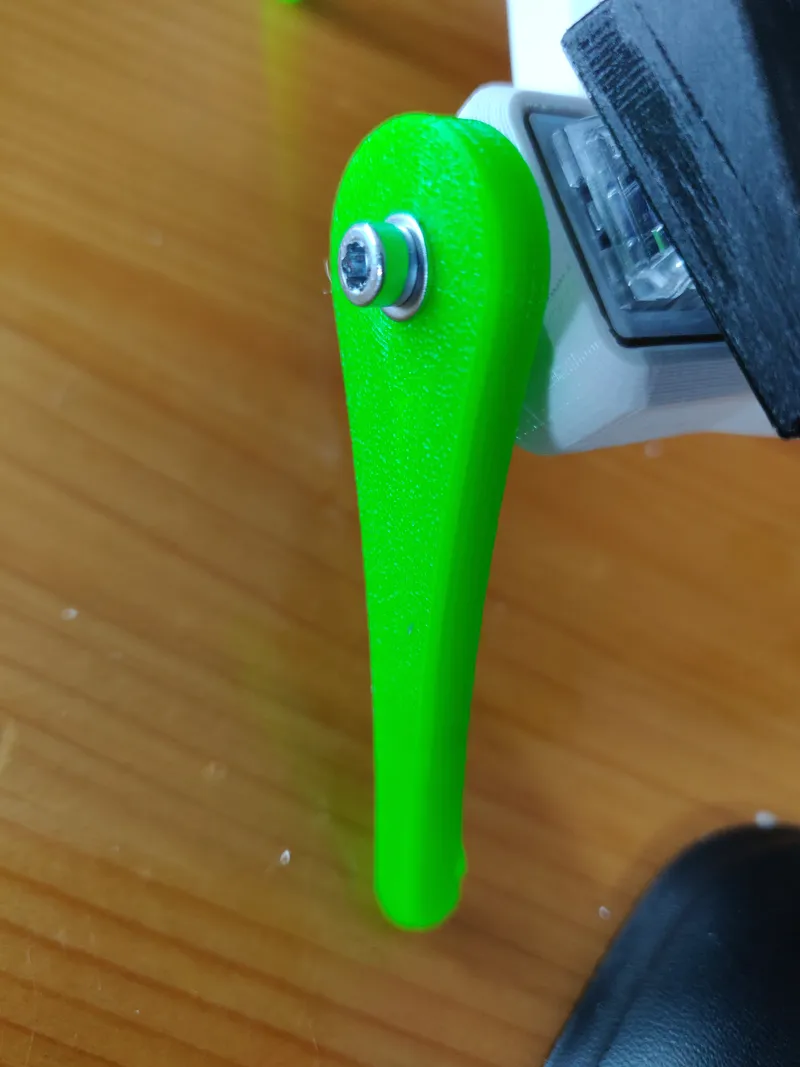 When both PCB has been secured, the feet can be attached as well. Therefore the feet can be screwed in place using the M3 screw. Make sure to place a washer between the screw head and the outer part of the feet.
To make the feet more sticky to the surface of my desk, I dipped the lower part of the feet in dipping rubber multiple times. This gives the feed a slightly mate finish and prevents movement of the keyboard.
Tags
Model origin
The author hasn't provided the model origin yet.