Fix for key head
Description
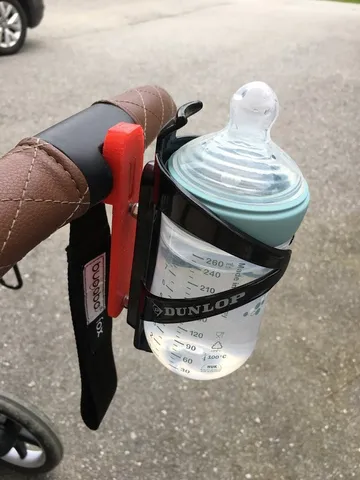
PDFA friend of mine asked if I could fix the head of her bike key with my 3d printer, so I decided to give it a try. I designed the new handle using Onshape after taking a picture of the key shaft and generated the gcode with Slic3r. Using an online gcode viewer I determined at which line of the code I should have placed the key shaft on the print to incorporate it in the new head and to avoid any collision with the hot-end. After this layer line, I added the following gcode:
G! X0 Y0
G4 S60
which moves the head of the printer to the bed XY origin and pauses everything for 60 seconds.
The printing process went exactly as expected, after roughly 2/3 of the printing time the hot-end moved away from the part, I added the key shaft to the part and after 60 seconds the printer started again with the remaining of the print. I am quite happy with the result which turned out to be surprisingly stiff and functional.
Links:
-Key head design: https://cad.onshape.com/documents/fd61572c7d3138b7e7b75b20/w/864ddd702f8c15d346fdc889/e/9213425f94ac74a4c7d51193
-gcode viewer: http://gcode.ws/
WARNING:
Be sure to know what you are doing when you modify the original gcode, since every command will be interpreted by the printer literally and this may cause damage to the machine or to people.
Category: Replacement PartsTags
Model origin
The author marked this model as their own original creation. Imported from Thingiverse.