Railcore 1515 Segmented LED Light Strip Diffuser
Description
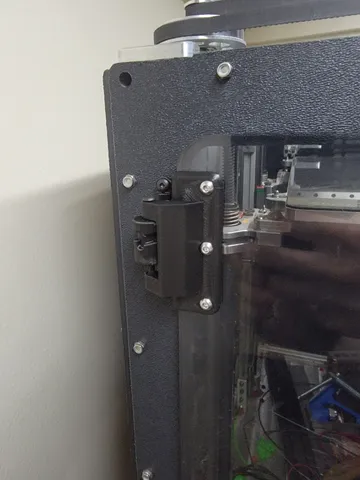
PDFLED diffuser assembly designed to attach to the 1515 extrusion of the Railcore II.
The assembly is designed for 10mm wide LED light strips that can be cut in 100mm segments. Each assembly dovetails into another so that the diffuser assembly can be extended as long as desired.
Each 100mm segment consists of a backer, diffuser cover, and two 1515 clips.
To assemble, interlock as many backer pieces as desired. Insert the 1515 clips into the backers. Adhere LED strips to the wide side of the backers. Slide diffuser covers over the backer. Clip completed assembly into the rail.
Connect the LED strip to an unused heater channel. The channels on the Duex are H3 through H7. Add the following to your config.g, matching the H parameter to the heater channel you used:
M307 H3 A-1 C-1 D-1 ; disable heater channel and enable PWM control.
To control the lights, send an M42 to the appropriate PWM channel:
M42 P3 S255 ; Turn on LEDs at full brightness.
The S parameter will accept values between 0 and 255, allowing you to dim the lights as you please.
Enjoy!
Print Settings
Printer:
Railcore II 300ZL
Rafts:
No
Supports:
No
Resolution:
0.2mm
Infill:
100
Filament:
Amazon Basics PETGClear
Notes:
Print as oriented. Supports not needed, but the backer pieces do require a series of 12mm bridges for the clip insert.
Would recommend printing the clips separate from the rest of the parts. They're relatively tall with minimal bed surface area and are somewhat prone to bed separation as a result, potentially wrecking the other parts in the process.Each segment assembly takes about an hour of print time in PETG at 45mm/s.
Category: 3D Printer PartsTags
Model origin
The author marked this model as their own original creation. Imported from Thingiverse.