IBM ThinkPad 560Z External SD Card HDD Caddy

Description
PDFAfter designing the internal HDD caddie for the 560Z, I felt being unable to swap out the SD card is a pain that I cannot get over with. Therefore I designed this one instead!
Now I can happily pop one card out and put another in to swiftly swap the OS.
It also provides storage for the original HDD door flap inside, and uses the original drive screw, so you don't have to worry about losing them! :D
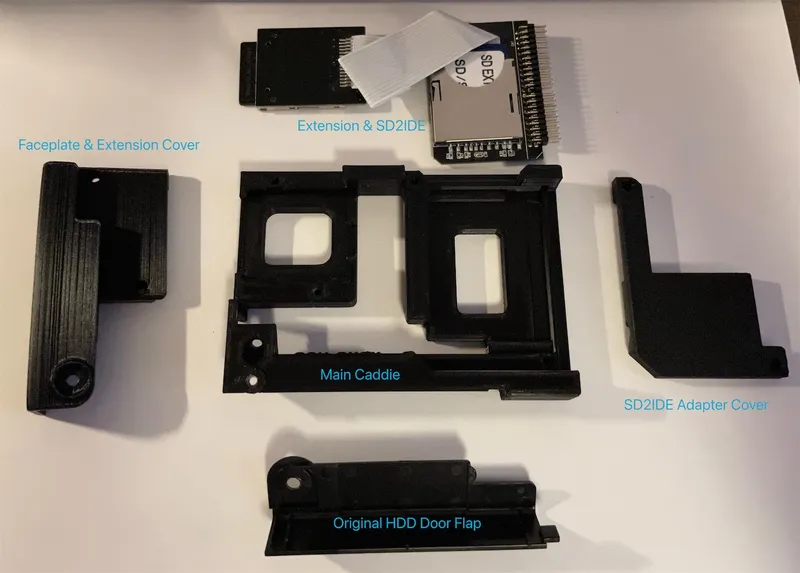
Parts
Screw & nuts
- https://www.amazon.com/gp/product/B014OO5KQG
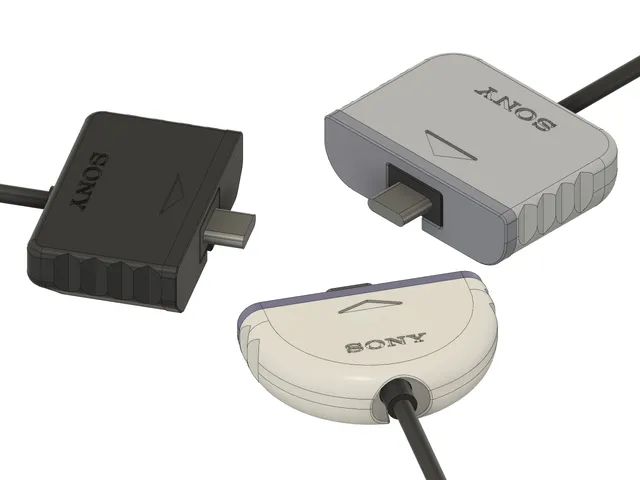
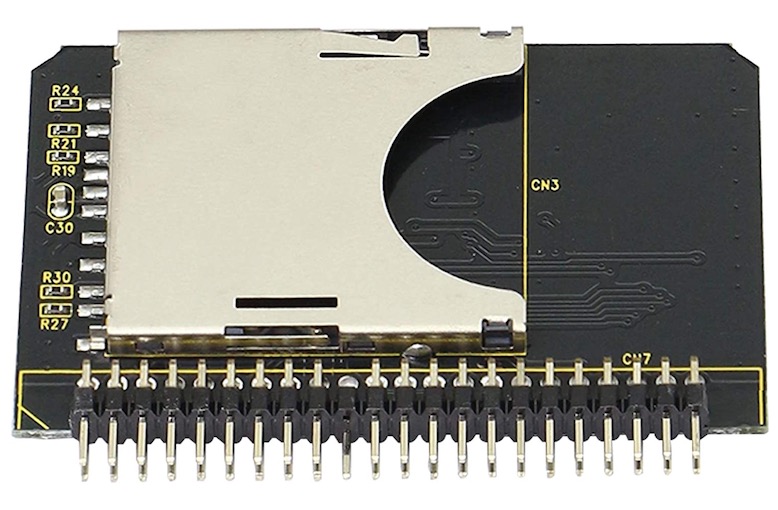
SD2IDE Adapter
- SD Card Extension (10 - 15cm cable length)
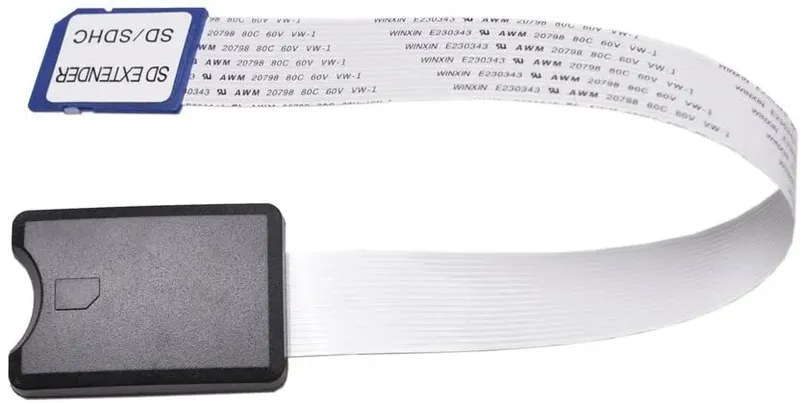
To shuck the SD card extender, insert a flat piece of tool into the opening and twist. We don't use the shell.

Printing
Print all models in their original orientations.
The faceplate should face down and needs no support. You might want to add a little bit of negative Z offset to this one for a squished first layer on a rough bed for a nice matte finish that's close to the texture of the ThinkPad.
The main part should be printed with support. Try tree support as it wastes less plastic and is easier to remove in one go.
The SD2IDE lid should be printed as is.
Assembly
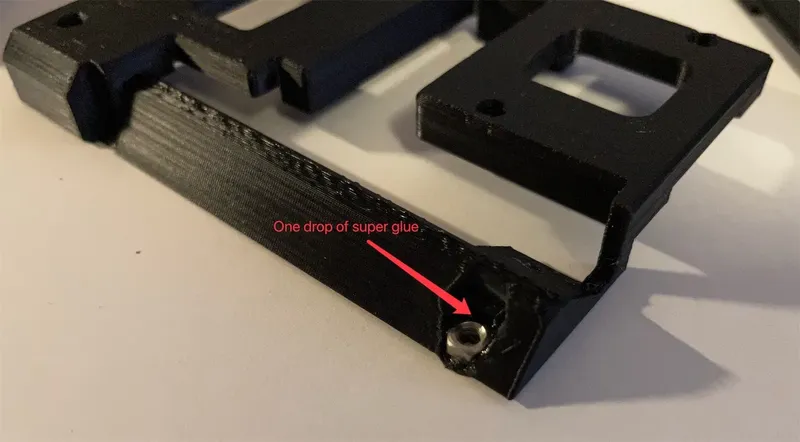
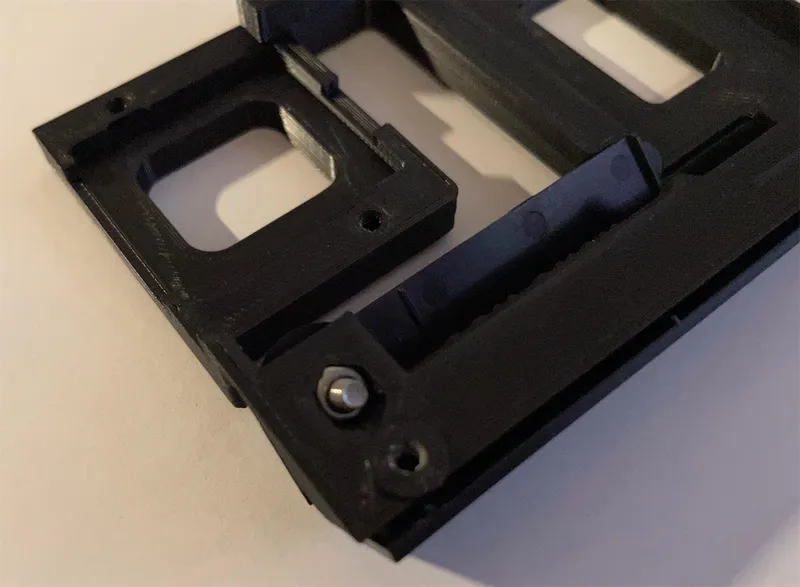
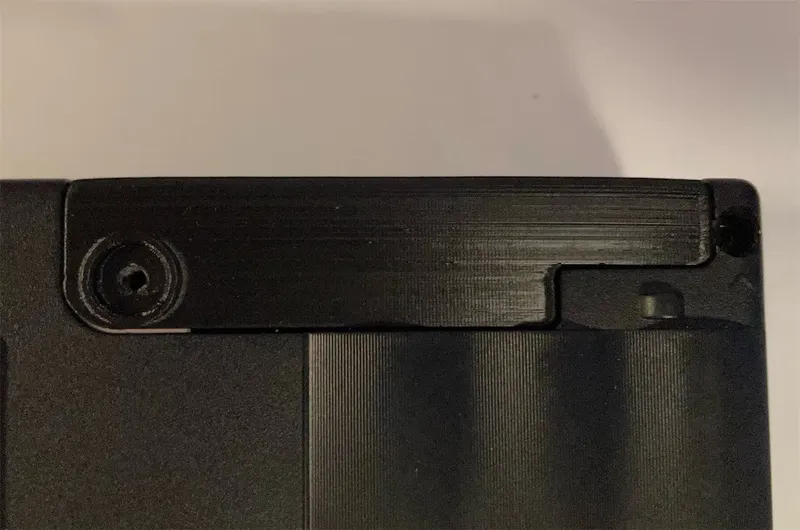
First of all, insert a M3 nut into this hole. Push it all the way down to the bottom.
If it's hard, use an M3 screw from the other side and tighten it until it's tight.
Add one drop of super glue to hold it in place. This is the main screw hole for attaching the caddie to the laptop. Wait until it dries up before proceeding.
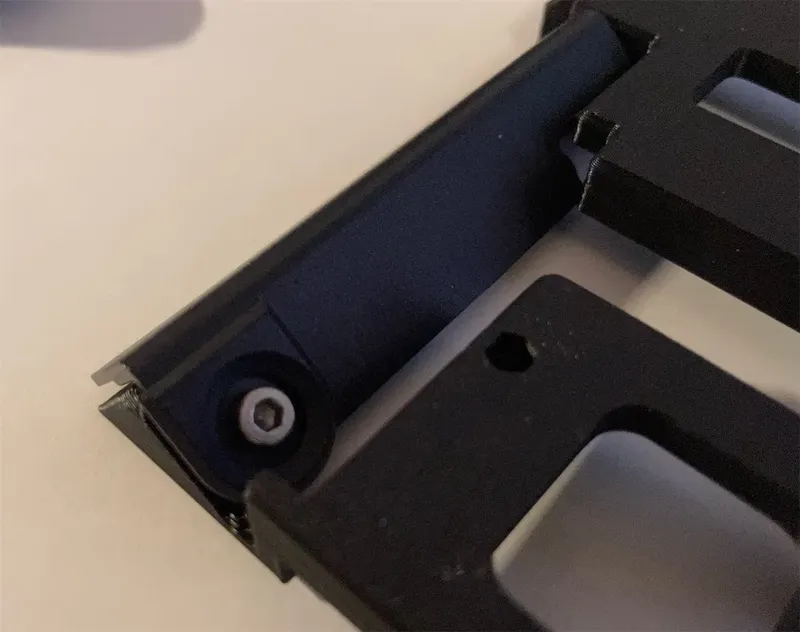
Put the original HDD door flap into its place.
Drive an M3x6mm screw into the hole. On the back, add a nut and get it started.
You DO NOT want to tighten this screw tight. Otherwise the other end of the door flap would start rising up and get in the way when you try to slide it into the laptop. Leave it in a slightly loose state.
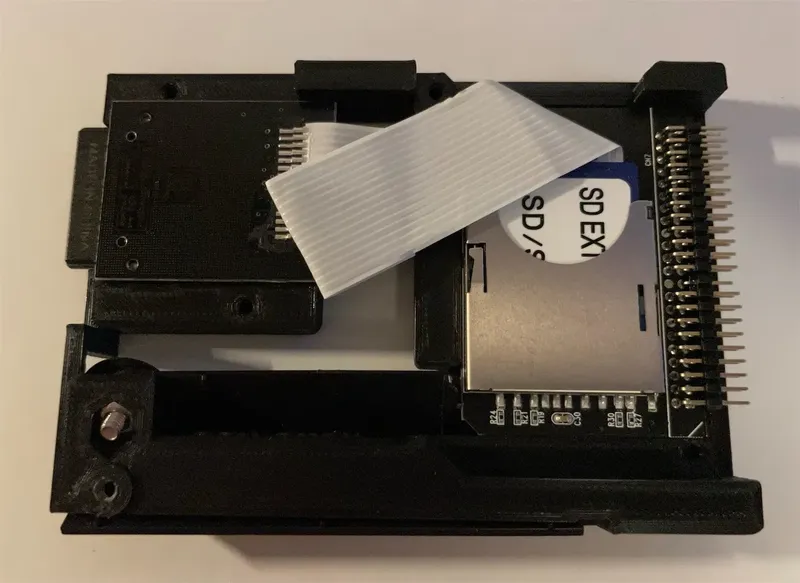
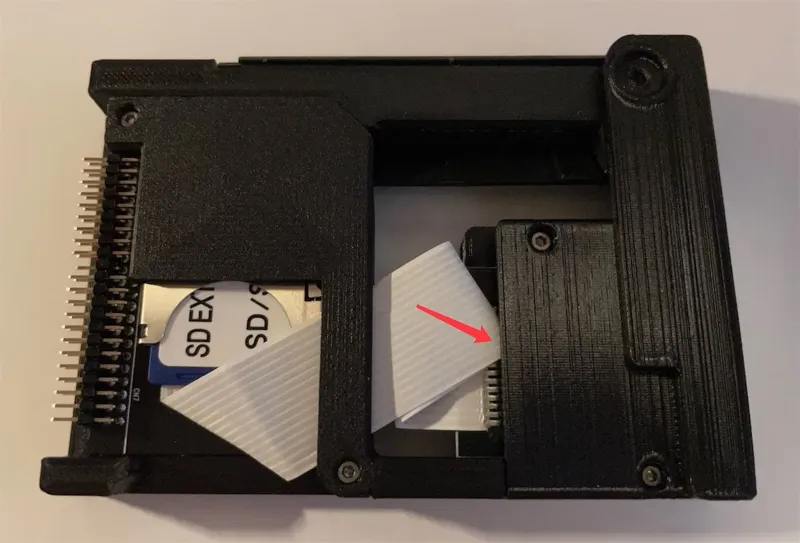
Insert the extension into the SD2IDE adapter.
If the cable length of your extension is 10cm cable, fold the excessive cable in the demonstrated way. Otherwise, try to use the photo as a reference and improvise.
DO NOT fold and press the elbow of the cable all the way flat, otherwise the traces inside may break later.
Drop the assembly into the main caddie piece and tuck it into the grooves.
Put the SD2IDE lid piece over the adapter and tighten it down with two sets of M2x6mm screw.
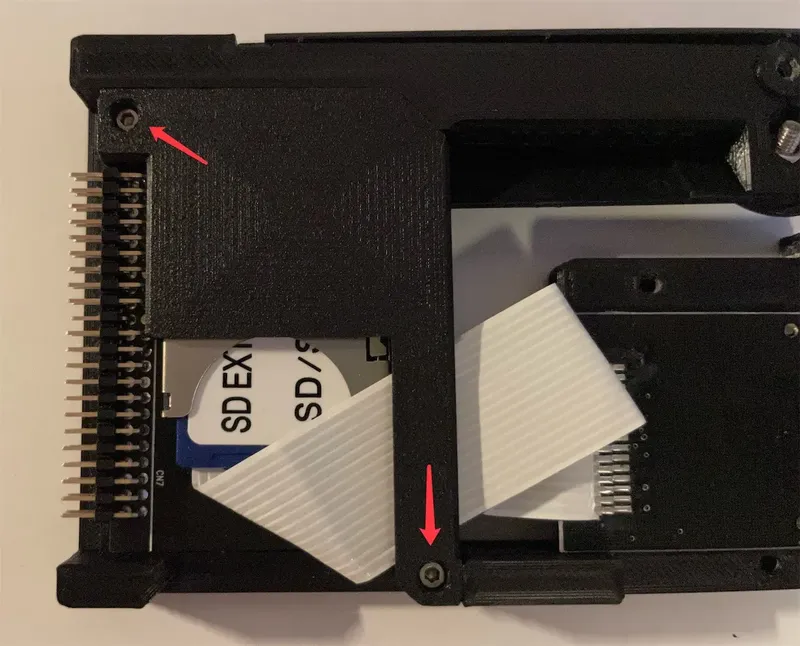
Fit the faceplate over the SD card extension and tighten it down with two sets of M2x6mm screw as well.
Make sure the excessive cable is under this flap so it doesn't create obstacles for you to slide the caddie in and out.
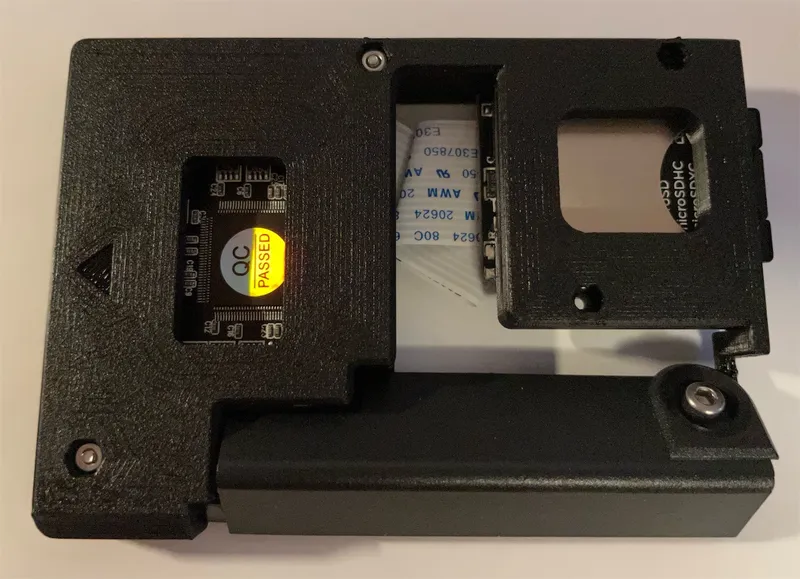
Check if the original door flap piece is sitting slightly loose and as low as possible inside the caddie.
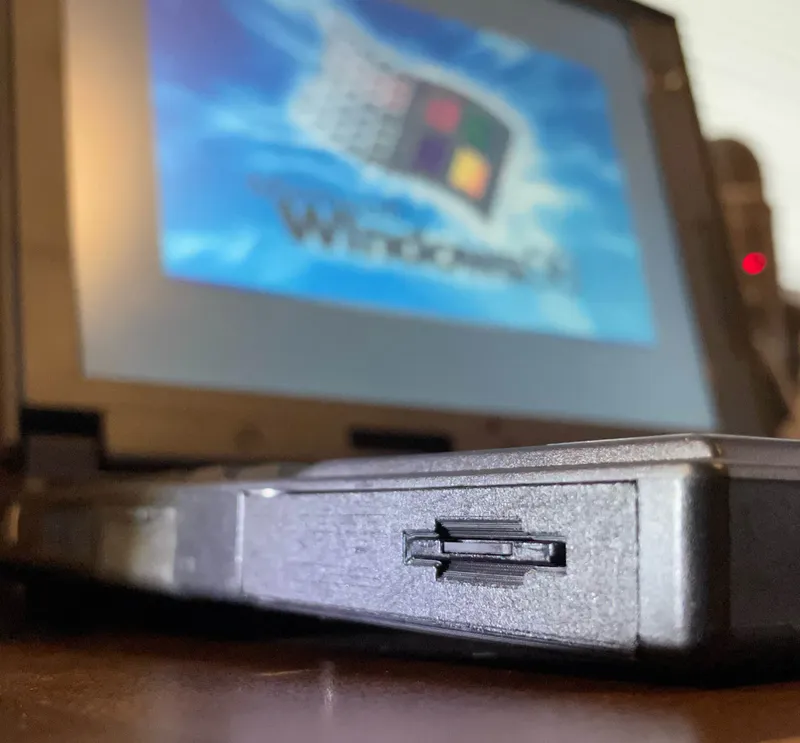
Slide the assembled caddie into the 560Z. Make sure the door flap is not hitting the machine.
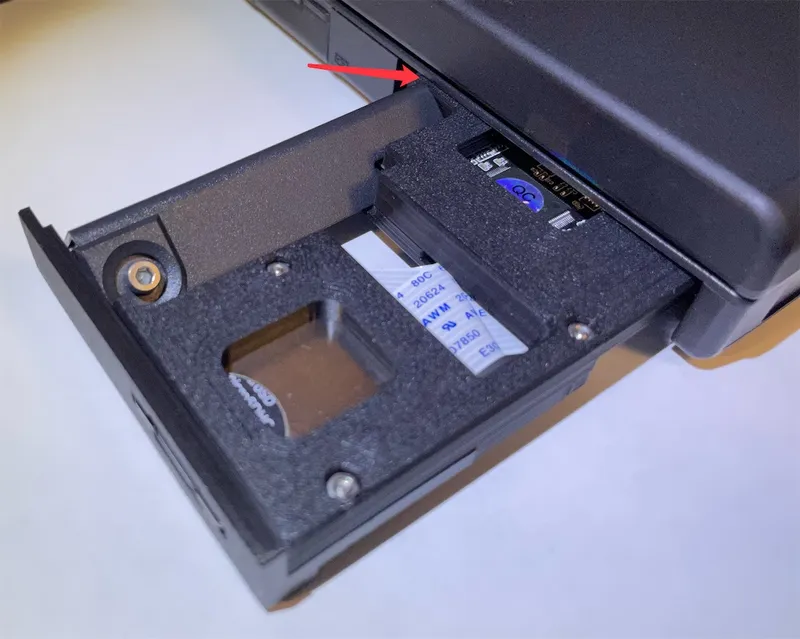
The caddie should stop before reaching all the way in. You need to press it in with a little bit of force. However, if it doesn't want to go in, do not put too much force on it. Instead, check if the SD2IDE adapter side is closed up correctly and no pin is crooked.
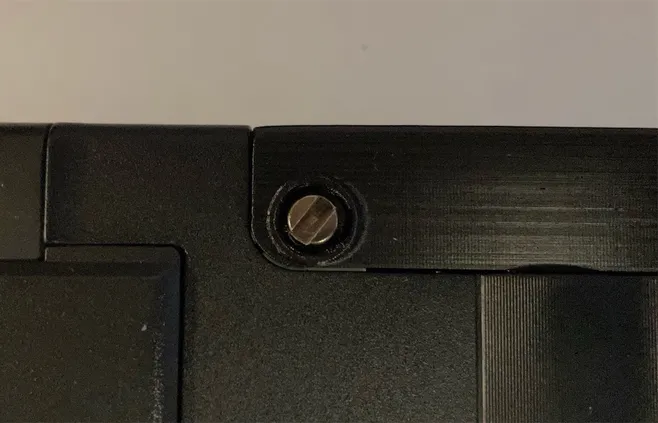
Use a coin or flat head screw driver to tighten the original HDD door screw into the caddie.
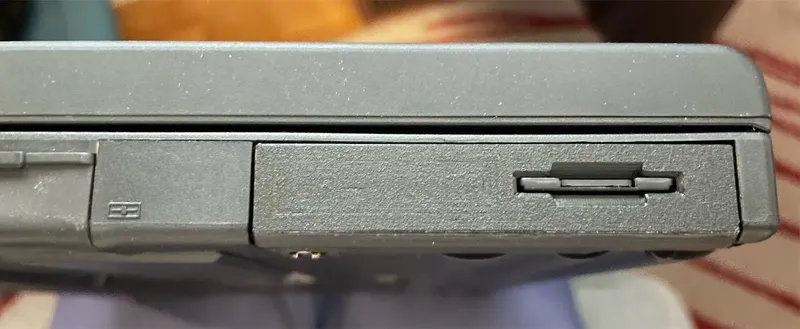
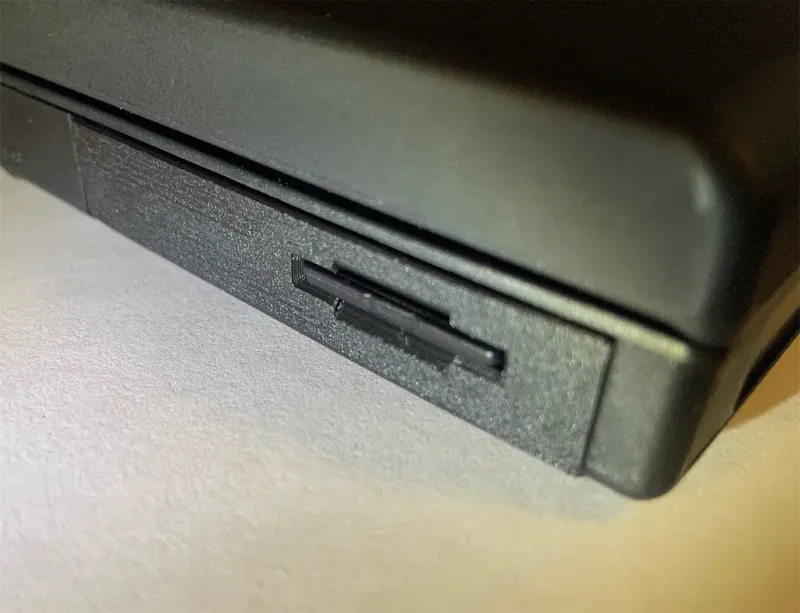
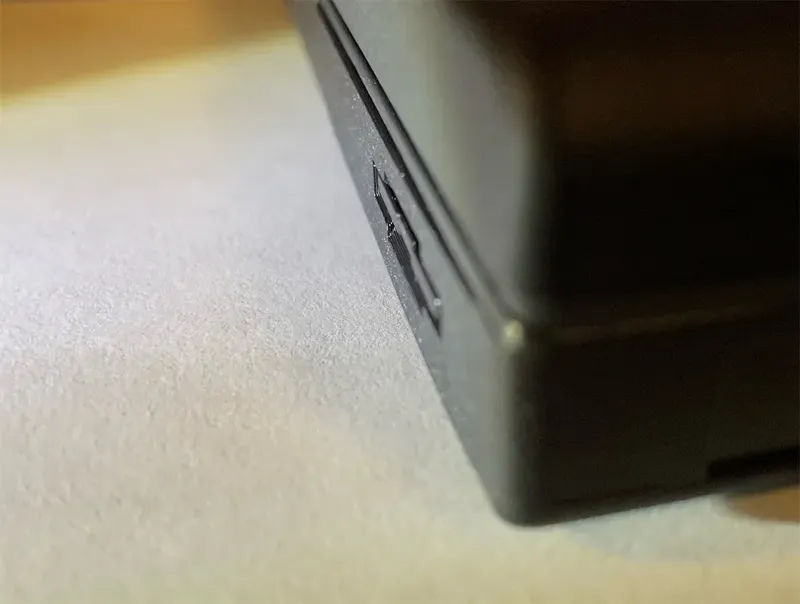
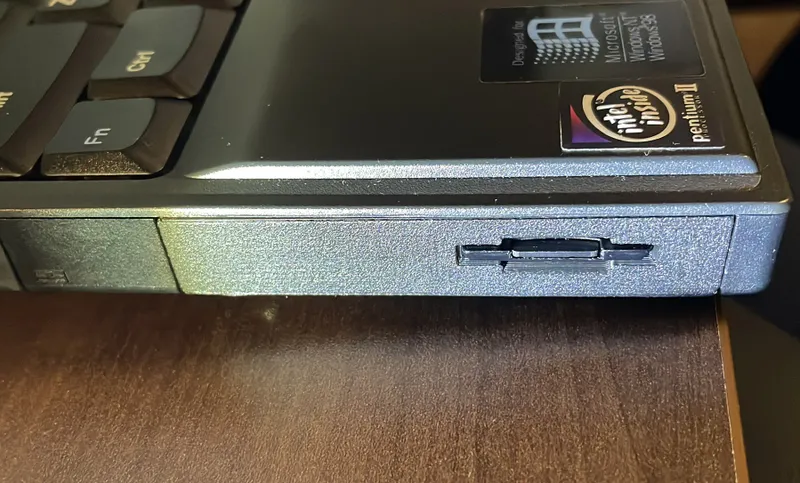
Test fit an SD card. The card should go smoothly into the slot.
You need to press it into the slot in order to lock/unlock the card.
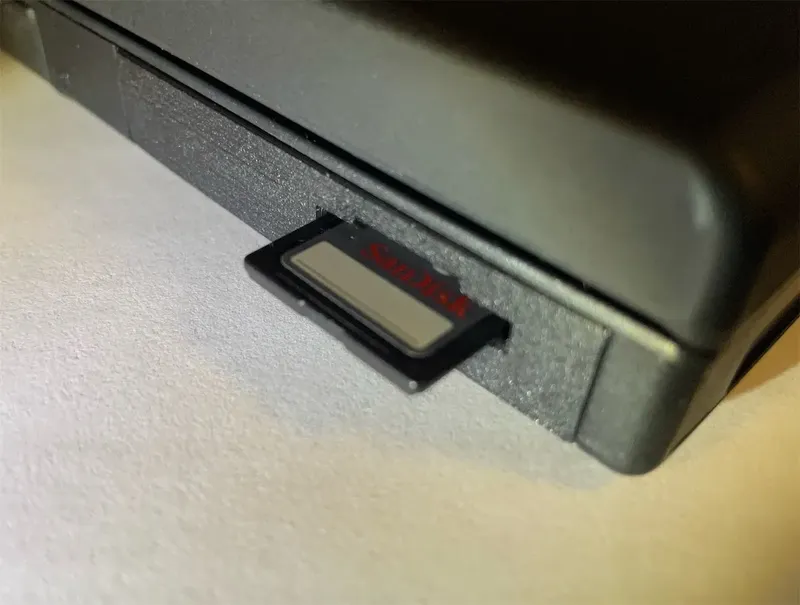
After letting go, the card should sit exactly flush with the outside of the faceplate.
And done :D
Tips & Tricks
- You MUST insert an SD card into the adapter BEFORE powering on the machine. Inserting one after powering on will not work.
- If you want to swap the SD card, you need to power down the machine before swapping the card.
- From my tests, the 560Z doesn't want to work with SD cards larger than 4GB as-is. You have several options to consider
- If you are trying to install DOS/Windows 9X, you need the BIOS overlay from EZ-Drive 9.03W. You can boot the overlay first and hold Ctrl, then boot the OS install disc by following the on-screen prompt, and then partition the HDD.
- If you are trying to install Windows 2000/XP, you can partition and format the HDD with FreeDOS, and then start the installation. There is a ~8GB limit on the disk/partition size by FreeDOS but you can adjust the size with a newer Windows PC afterwards.
- You can also use the official SD card formatter to format the card to one big partition. But then you'd have to inject MBR with FreeDOS and then start installation.
- DO NOT use smartdrv as it's going to mess up your installation after the first stage.
Tags
Model origin
The author marked this model as their own original creation. Imported from Thingiverse.