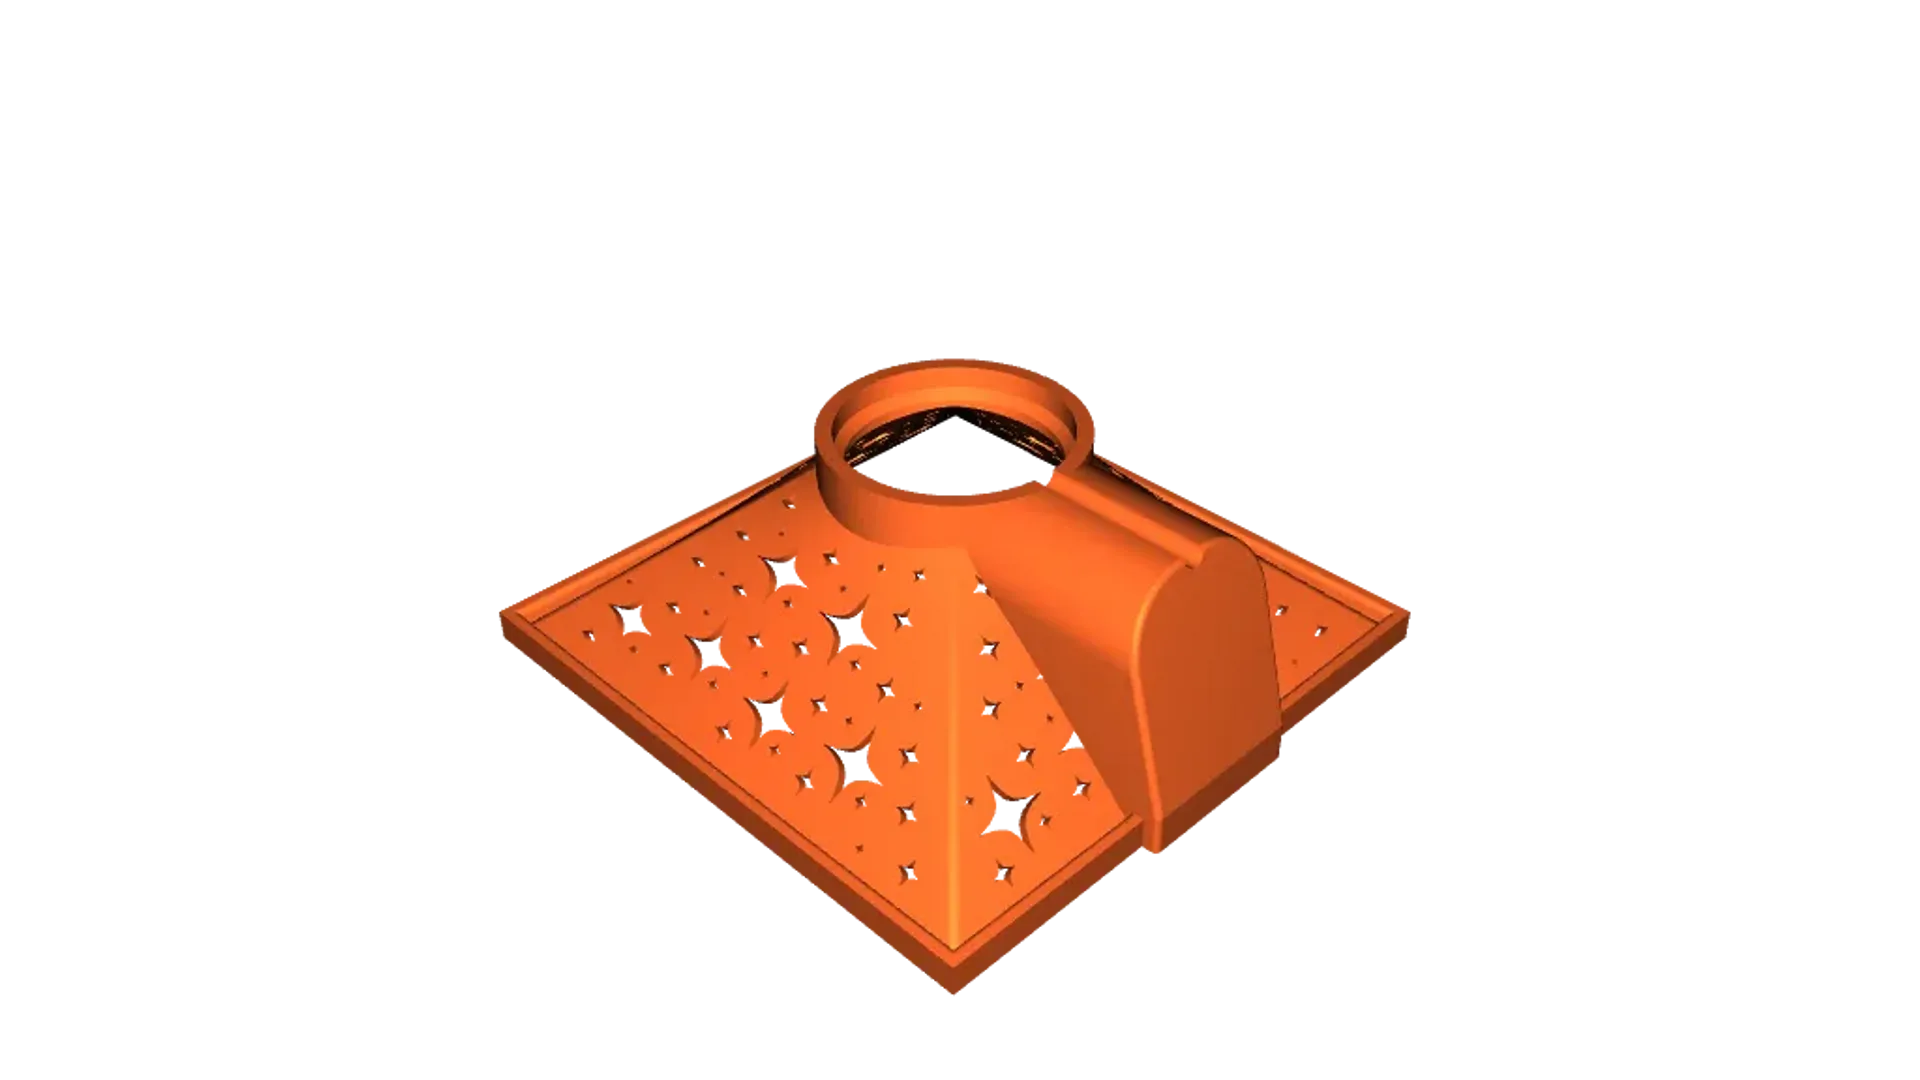
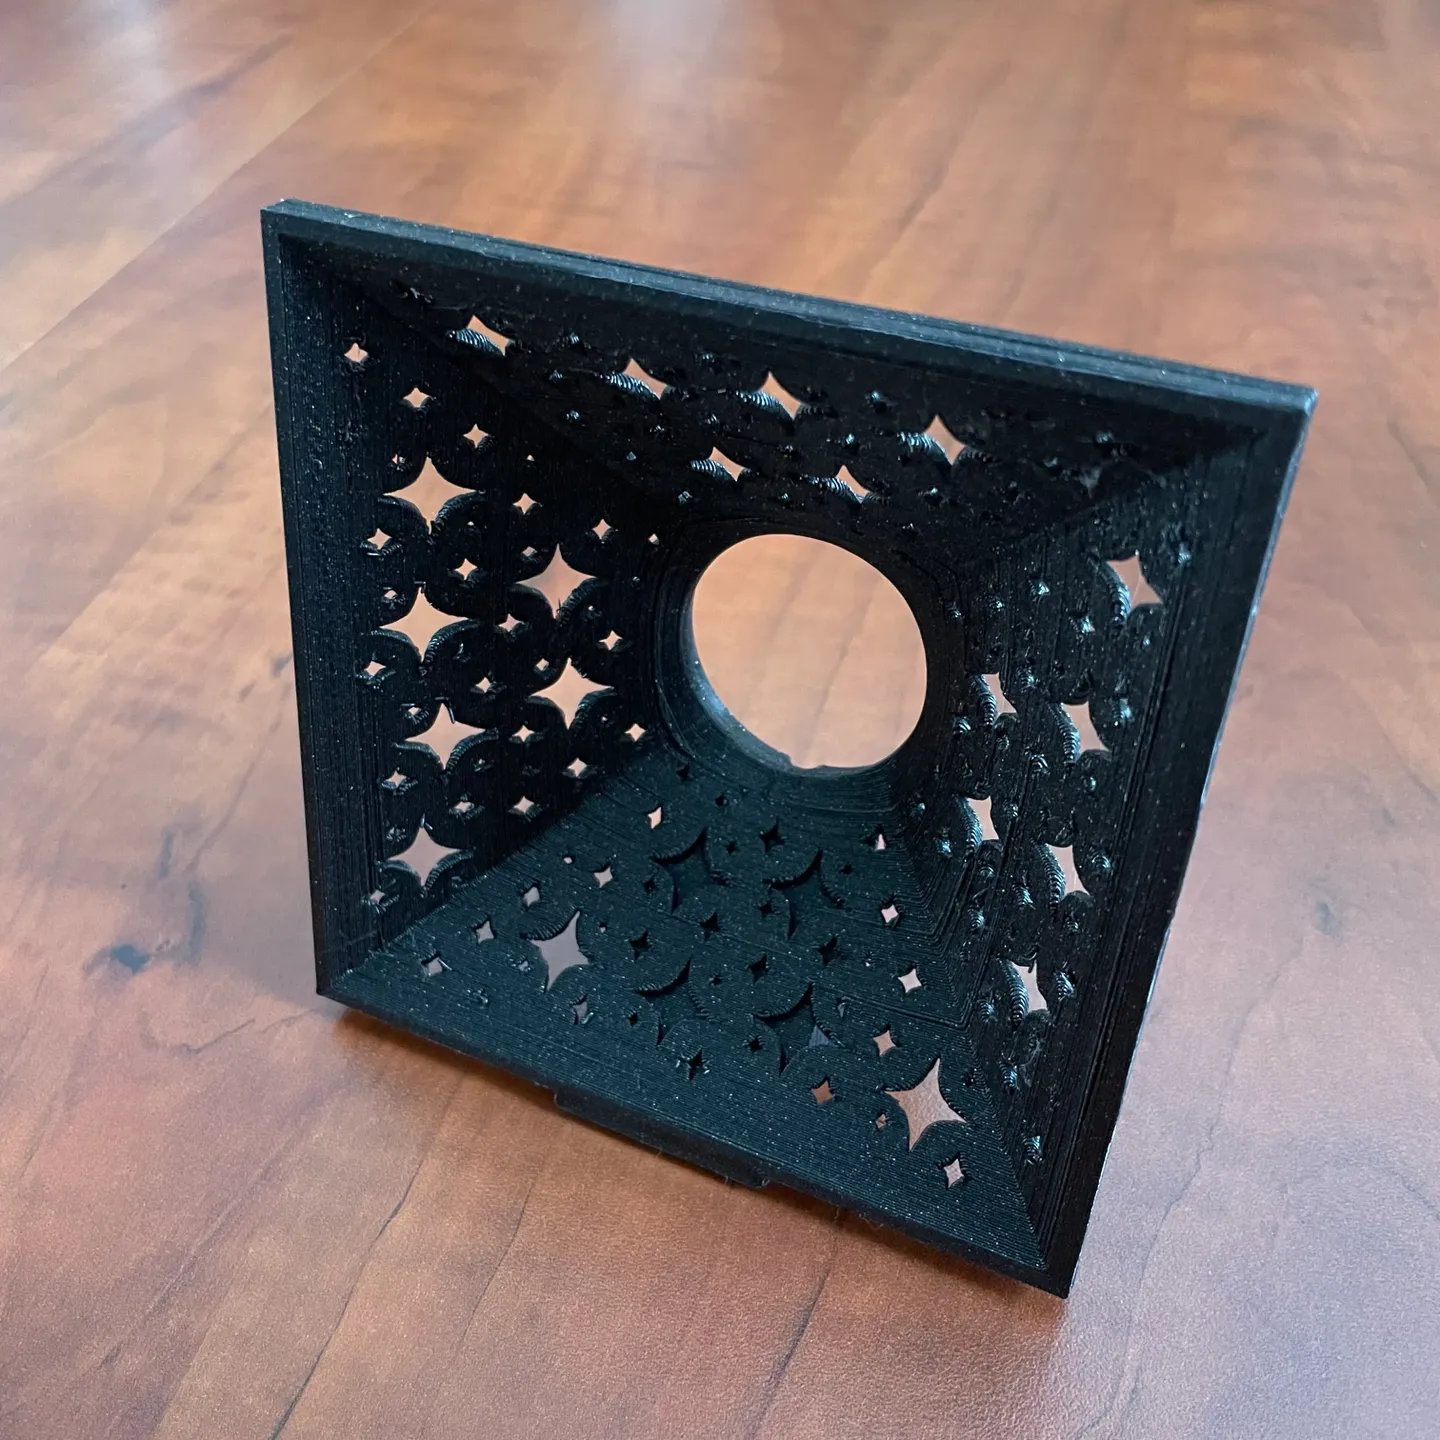
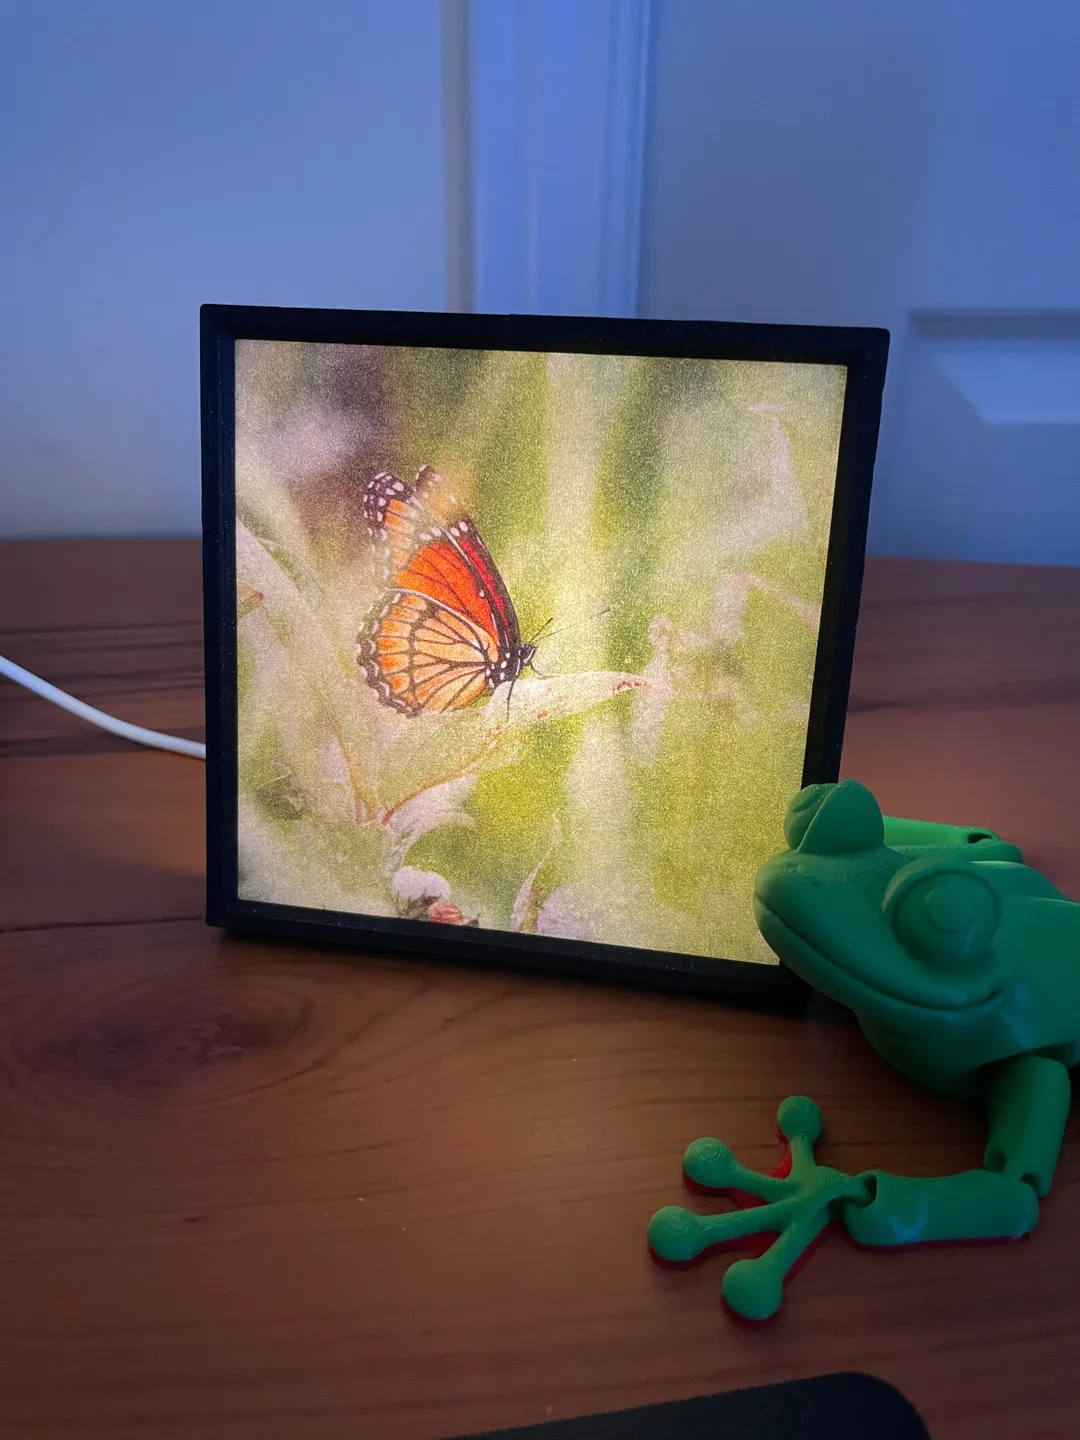
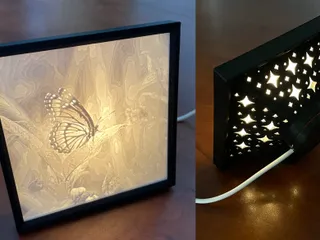
Fancy Lithophane Frame

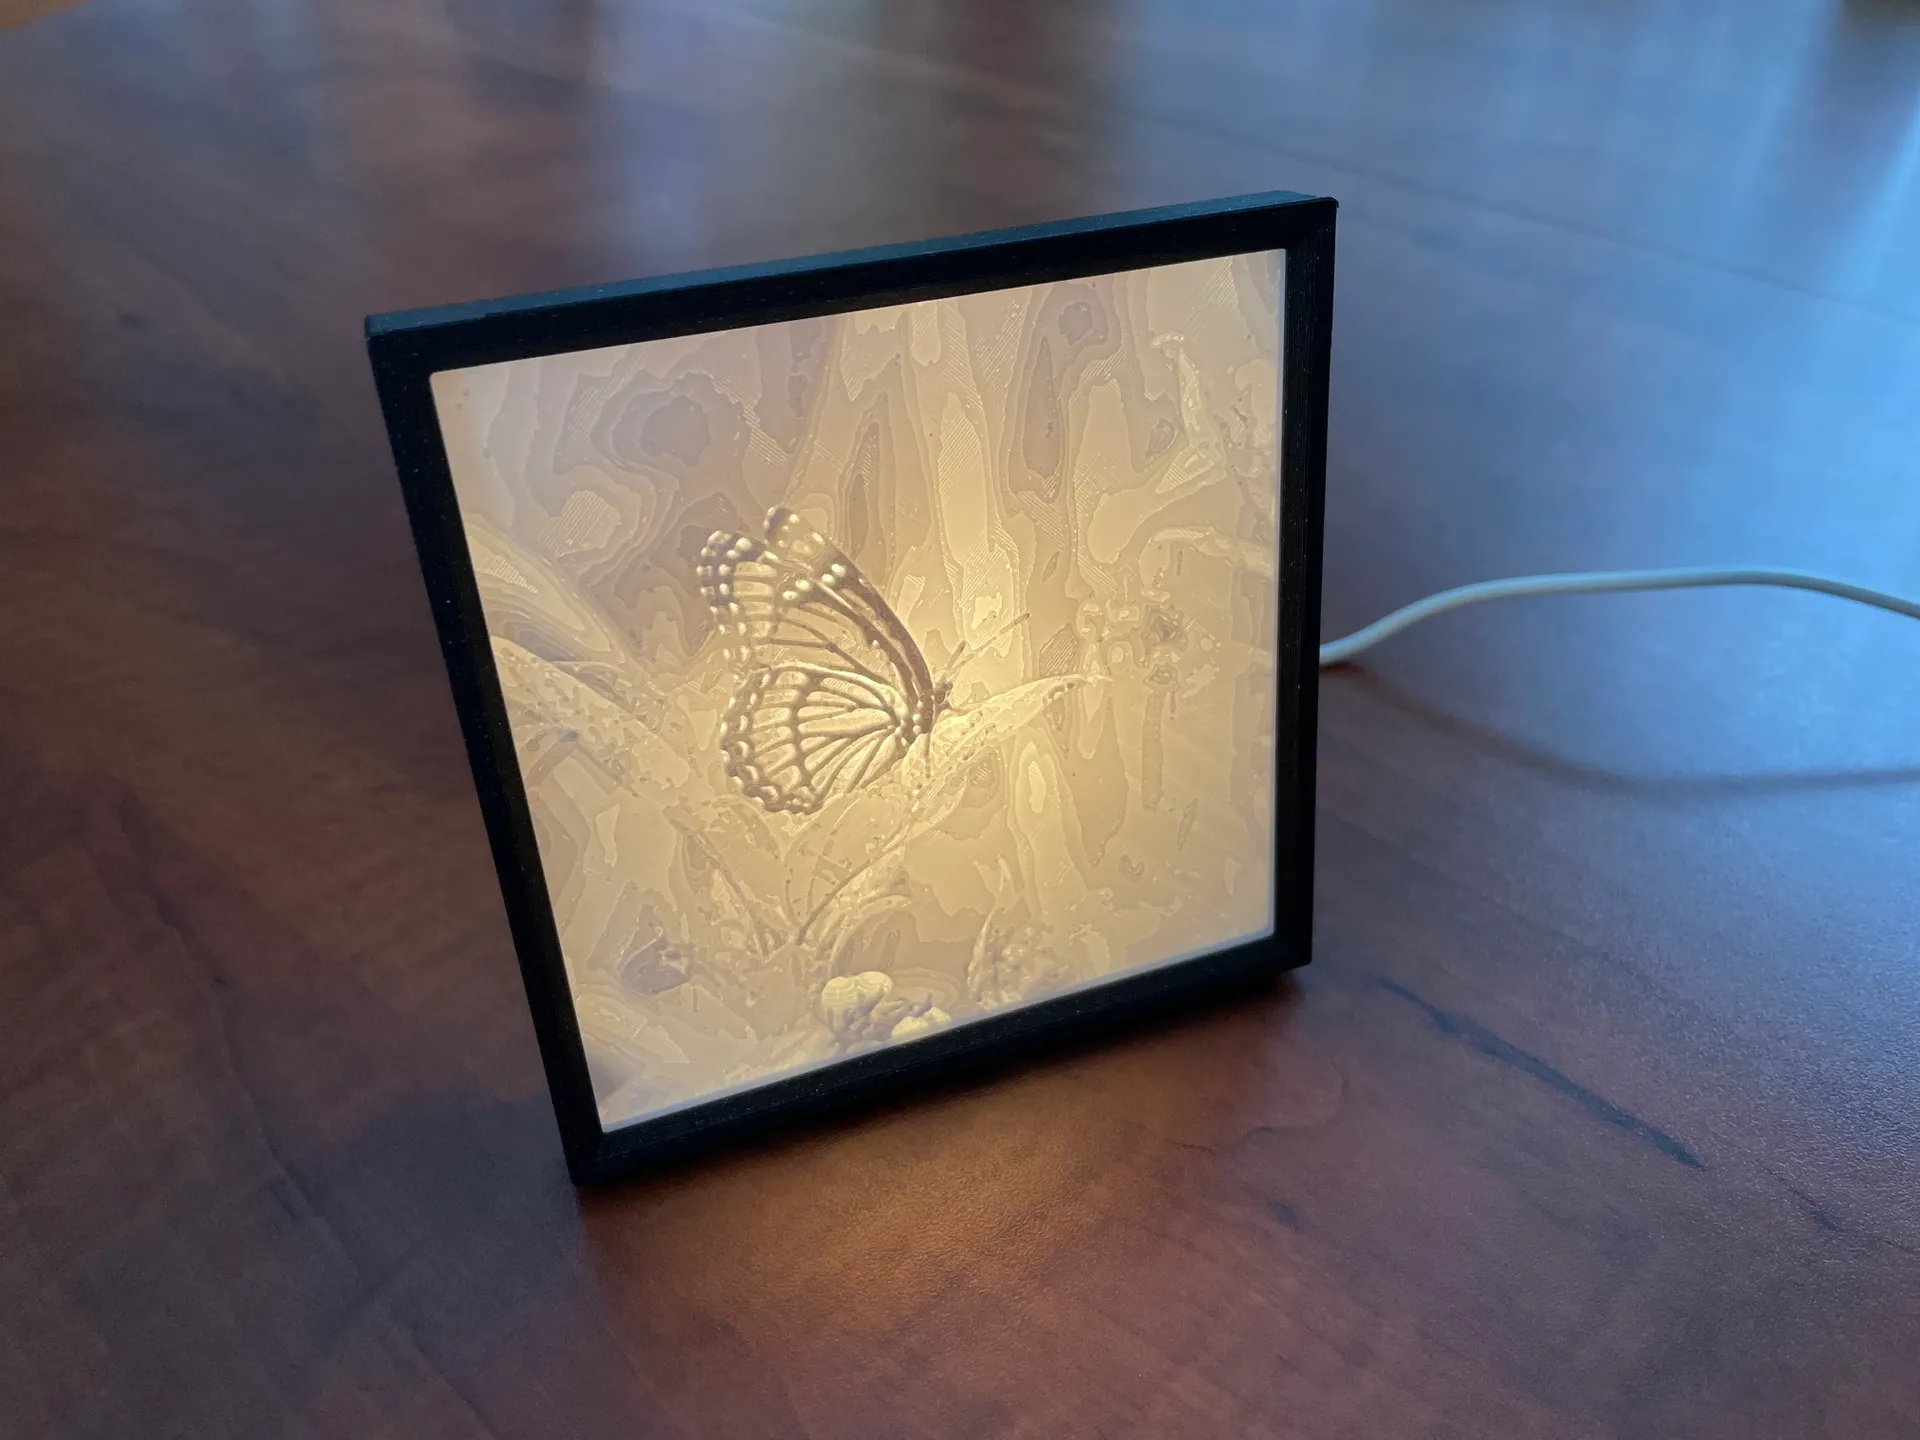


Description
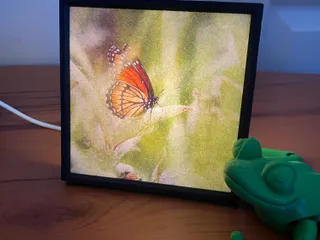
PDFRemix of my IKEA Halvklart lithophane picture frame
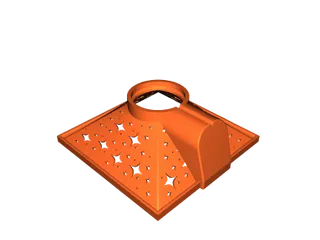
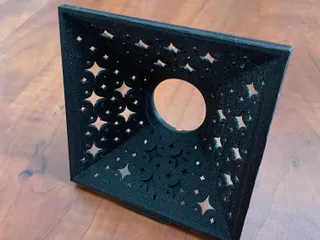
- New back design
- Added more stars
- New button
What you need
- Printed parts (frame, cover, button)
- IKEA Halvklart USB LED spolight
- Don't forget to look at the remixes that use different light source ***
- 100x100 mm lithophane or picture
How to print your own lithophane
Also, look under the section “Photos and lithophane"
In summary
- Go to http://3dp.rocks/lithophane
- In Images
- Select or Drag and Drop your picture
- In Settings / Model
- Set Maximum Size to 100 mm
- Set Thinnest Layer to 0.4 mm
- Set Thickness to 2.4 mm
- Set Border to 2.4 mm
- In Settings / Image
- Set to Positive Image
- In Model
- Refresh and Download
- In Images
Print instructions
- It is a tight fit, make sure your printer is well calibrated
- All the parts are already oriented in the good position
- Print the parts in PLA or PETG
- Nozzle diameter: 0.4 mm
- Frame (frame, cover and button)
- Layer height: 0.2 mm
- Perimeters: 3
- Supports: None
- Brim: Maybe…
- Lithophane
- Layer height: 0.1 mm
- Perimeters: 1
- Solid layers Top: 1
- Solid layers Bottom: 1
- Infill: 95% Rectilinear
- Color: White
Assembly
- Insert the Halvkalrt LED spotlight on the back of the frame
- Stick the button on the back of the Halvklart LED Spotlight
- Place the lithophane picture on top of the frame
- Snap the cover on top of the lithophane
Tags
Model origin
The author remixed this model.