Hockey Blast Paraphernalia


Description
PDFhttps://www.youtube.com/watch?v=sGyKJjxKYrs
Each hockey team needs one line-changing machine. For each machine, print the following parts:
| PART | Qty | Notes |
| Clicker | 1 | |
| Defensemen | 2 | |
| Forwards | 3 | |
| Gear larger | 2 | |
| Gear smaller | 1 | |
| Goalie | 1 | |
| Goalie pin | 1 | |
| Handle | 1 | |
| Nut large | 1 | Print at 0.2mm |
| Nut small | 2 | Print at 0.2mm |
| Rod | 2 | Print at 0.2mm |
| Shaft | 1 | |
| Side | 2 | Supports needed on build plate |
| Square rod larger | 1 | |
| Square rod smaller | 1 |
Then you need to print 1 Connector for linking the two machines.
I print at .3mm with 20% infill except for the parts with threads. Those I print at slightly higher quality.
Before screwing the nuts onto the bolts, I recommend lubricating the bolt threads with a bit of soap or other lubricant. (I just rub the threads on a bar of soap.) Then it’s best to turn the nut on and off a few times as you work it onto the bolt as the printed thread needs some softening.
The angle of the defensemen, forwards and goalie can be slightly adjusted to suit your playing style by changing how those parts fit into the main gear.
The puck, lightning bolt, locomotive and penalty clips can be scaled to your preferred size.
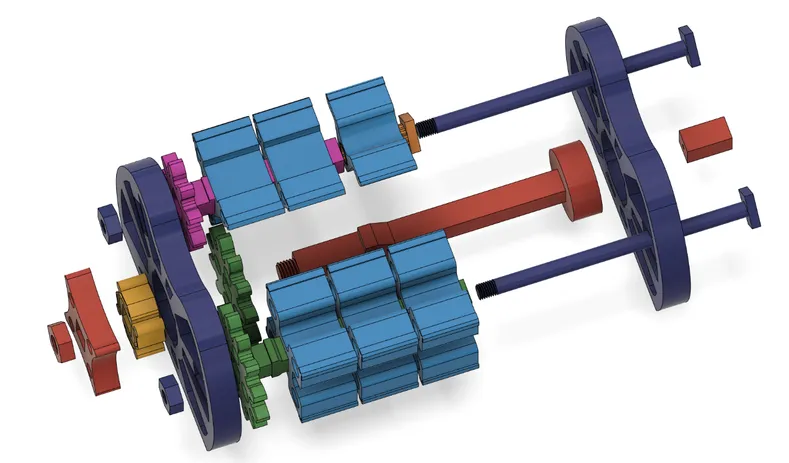
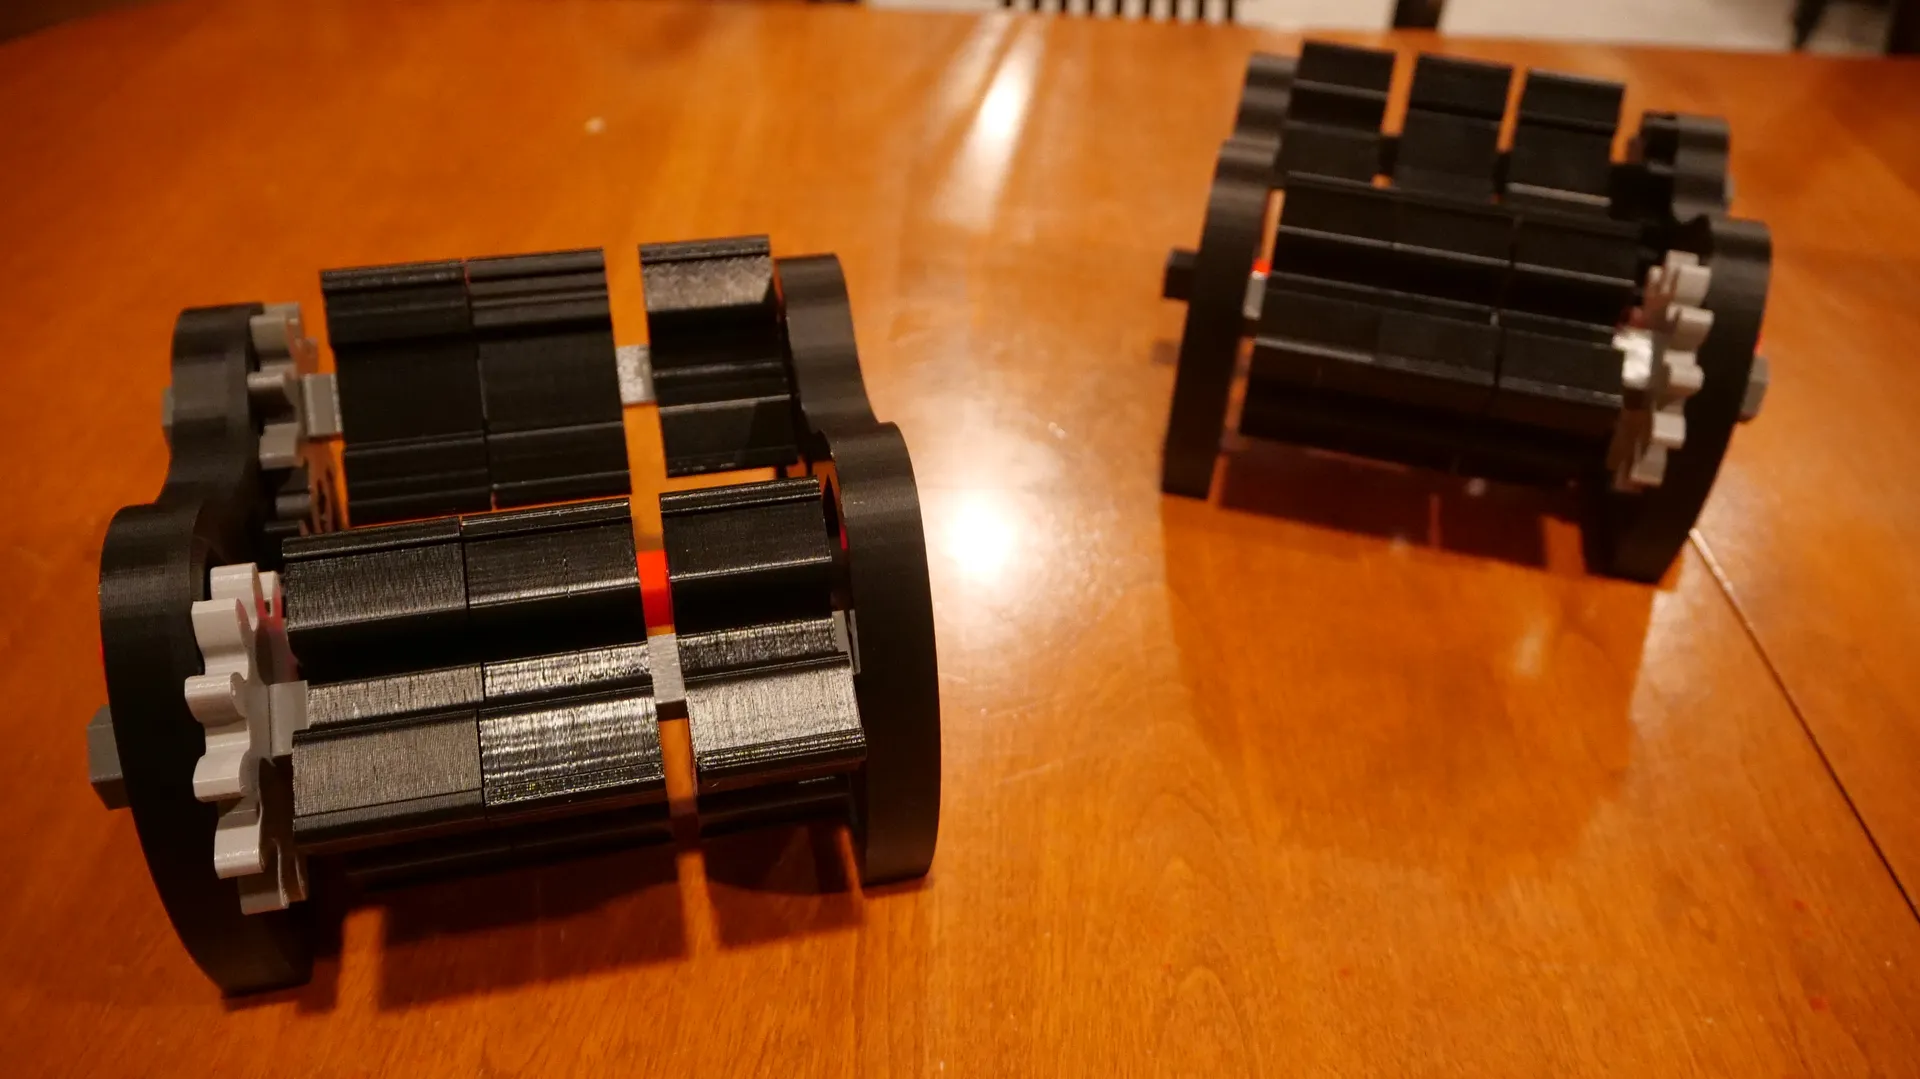
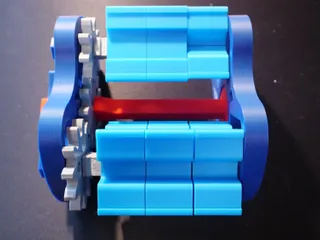
Figure 1
- The colors referenced in the assembly steps refer to the colors in Figure 1 above, not the color of the actual part.
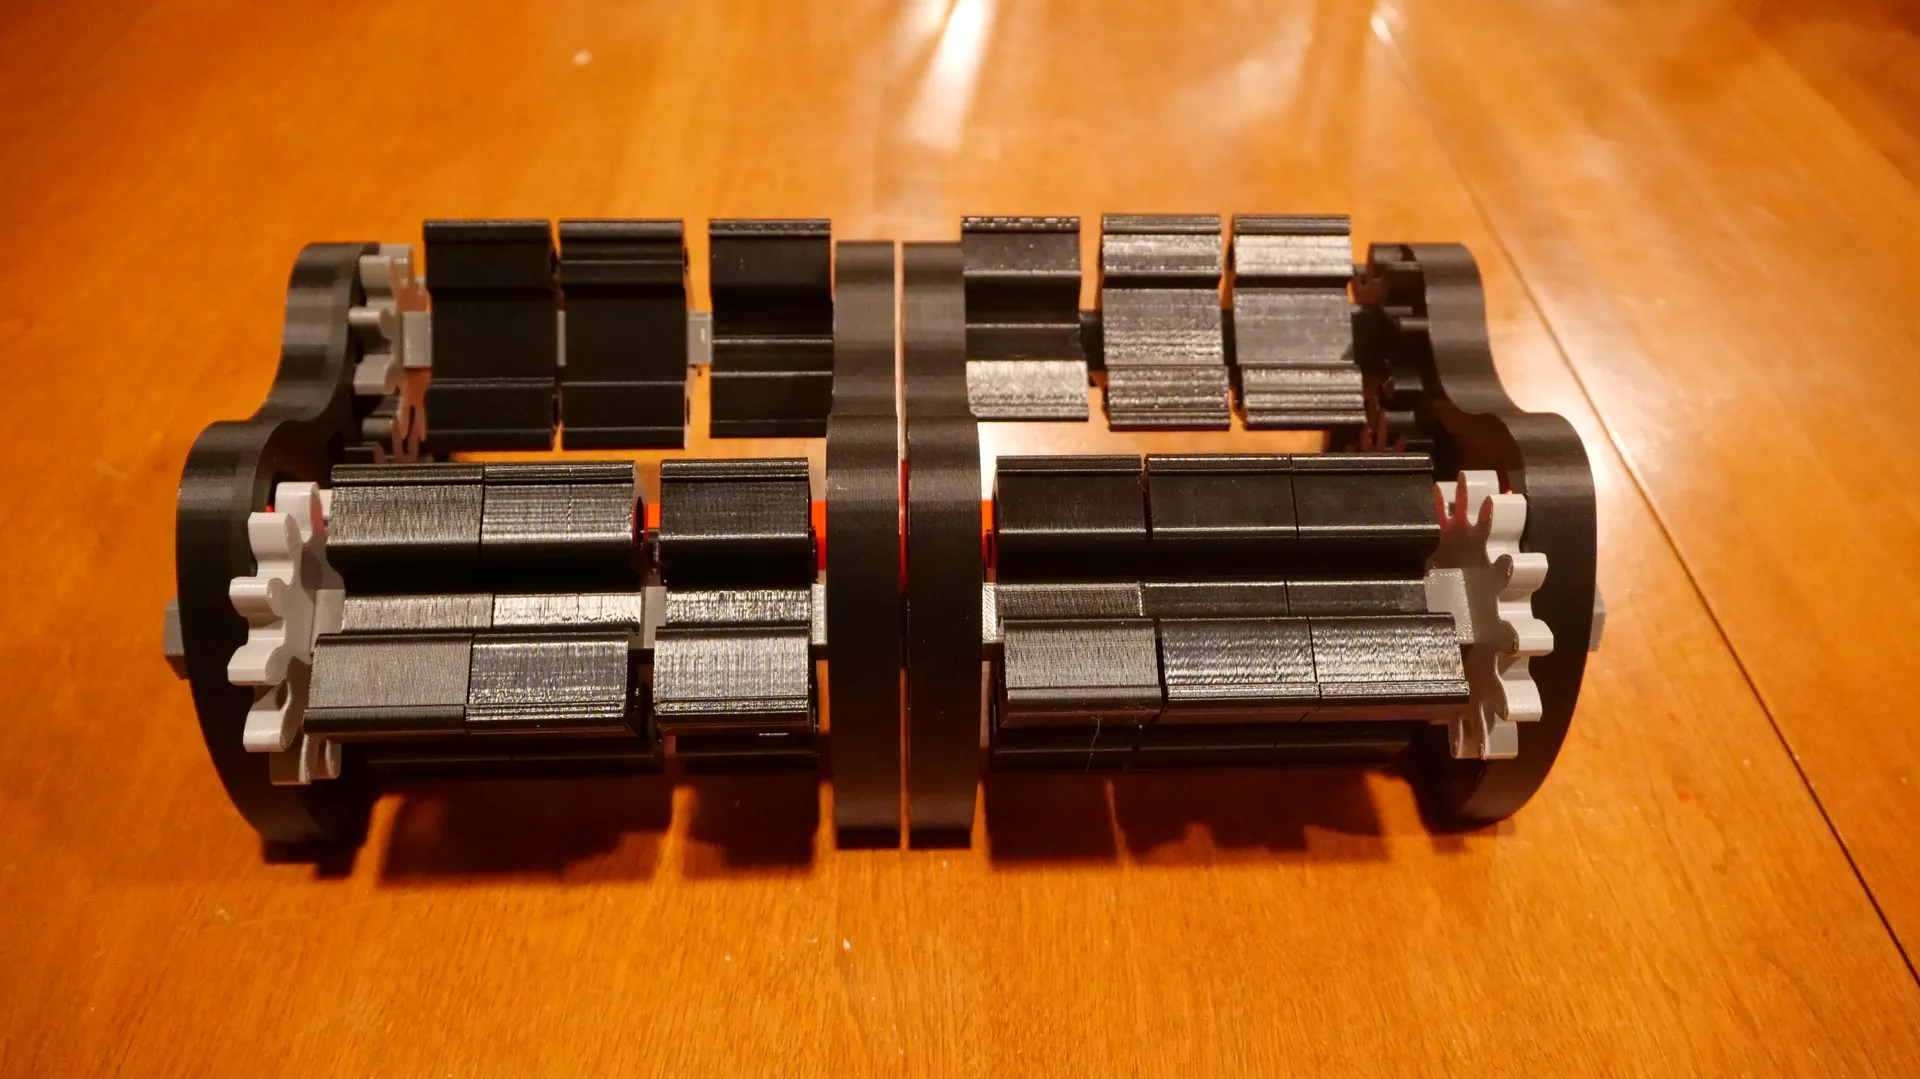
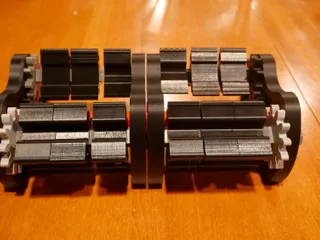
- Attach the main shafts (red) to the sides (dark blue).
Take a look at the sides (dark blue). They are all the same. Line them up as shown in this figure 2 below.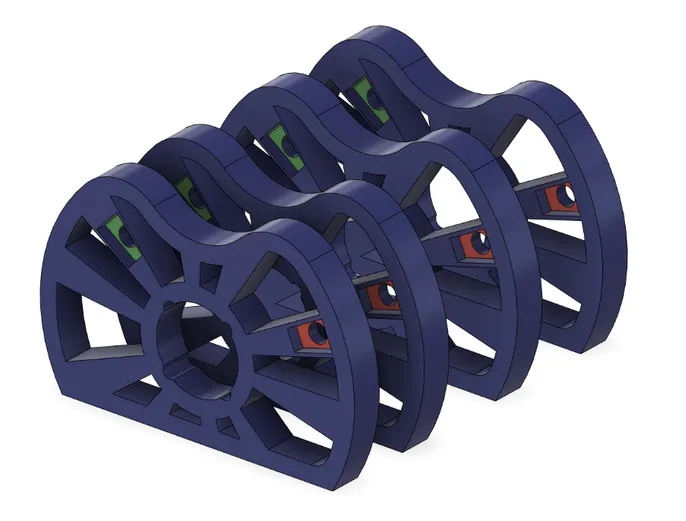
The final assembly must have the sides in this alignment. The shafts that hold the goalie and the defensemen will go through the green holes. The shafts holding the forwards will go through the red holes.
First, insert the main shaft into one of the larger gears (green) and then into the clicker (yellow). The clicker determines the direction that the handle will turn. Then insert the main shaft with the two parts you just attached into one of the sides. Slide the handle (red) over the shaft and screw the large nut (red) on the threads. Tighten the nut so that the gear turns with ease when you turn the handle.
Do the same thing again [see Figure 3 below]. But this time the clicker will turn in the opposite direction. As a test connect to the main shafts with the connector (red). You should be able to turn both gears by turning either handle.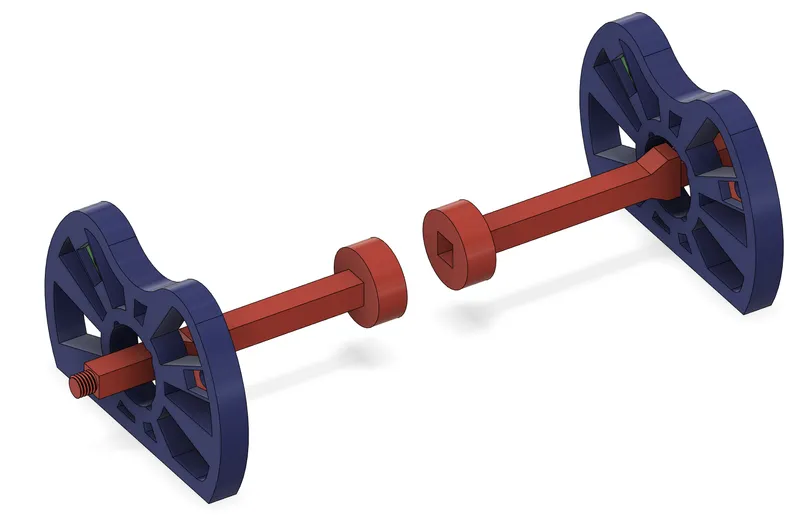
- Take a break. Perhaps it’s time for a beverage?
- Attach the card holders (light blue) to their shafts.
Slide 3 forwards (4 sided) onto each of the 2 larger shafts (green). Then insert each shaft into a larger gear (green).
Slide 2 defensemen (3 sided) onto the shorter shafts (pink). Then insert each shaft into the smaller gear (pink). The defensemen should all be facing the same direction, but otherwise, their orientation doesn’t matter.
- Attach defensemen and a goalie to each line changer.
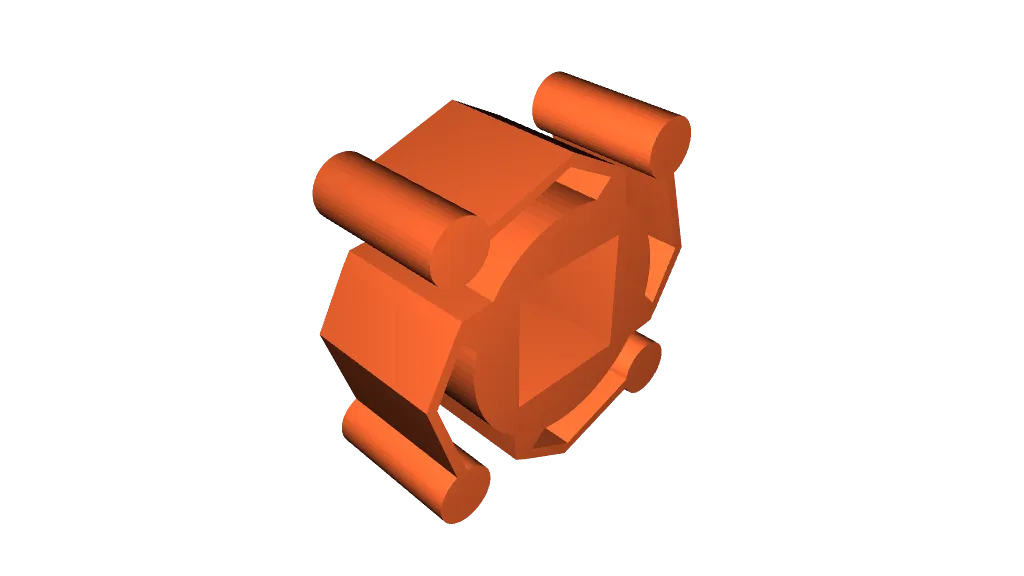
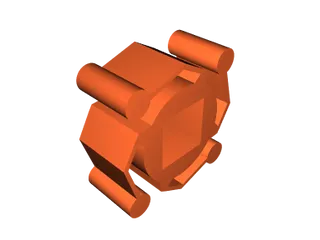
Slide the a threaded rod (dark blue) through one of the green holes (Figure 2) of a side without a handle. Make sure to keep the sides in the alignment from step 2. After the rod passes through the side, insert it into the goalie pin (orange). Fit the goalie pin into the opening on the inside of the side.
Slide the goalie card holder onto the pin. Here you can choose the orientation of the goalie. Likely, you want it a slight angle so that it faces you.
Next slide the rod through the defensemen shaft and its gear. Slide it all the way through one of the sides with a handle and secure it with the small nut (dark blue). Make sure the head of threaded rod is seated in the side.
The defensemen gear will sit on the gear of the main shaft. Again, you can fiddle with the orientation so that the defensemen face you.
Repeat this step for the other unit. Again, keep the sides in their original alignment.
- Attach forwards.
Slide the a threaded rod (dark blue) through one of the red holes (Figure 2) of a side without a handle. After the rod passes through the side, insert it through the shaft with the forwards and its gear. The forward gear will sit on the gear of the main shaft. You can fiddle with the orientation so that the forwards face you.
Finally slide the rod through a side with a handle and secure it with a small nut. Make sure the head of threaded rod is seated in the side.
Repeat this step for the other unit.
- Celebrate your hard work with a nice beverage and play some hockey!
Model origin
The author hasn't provided the model origin yet.