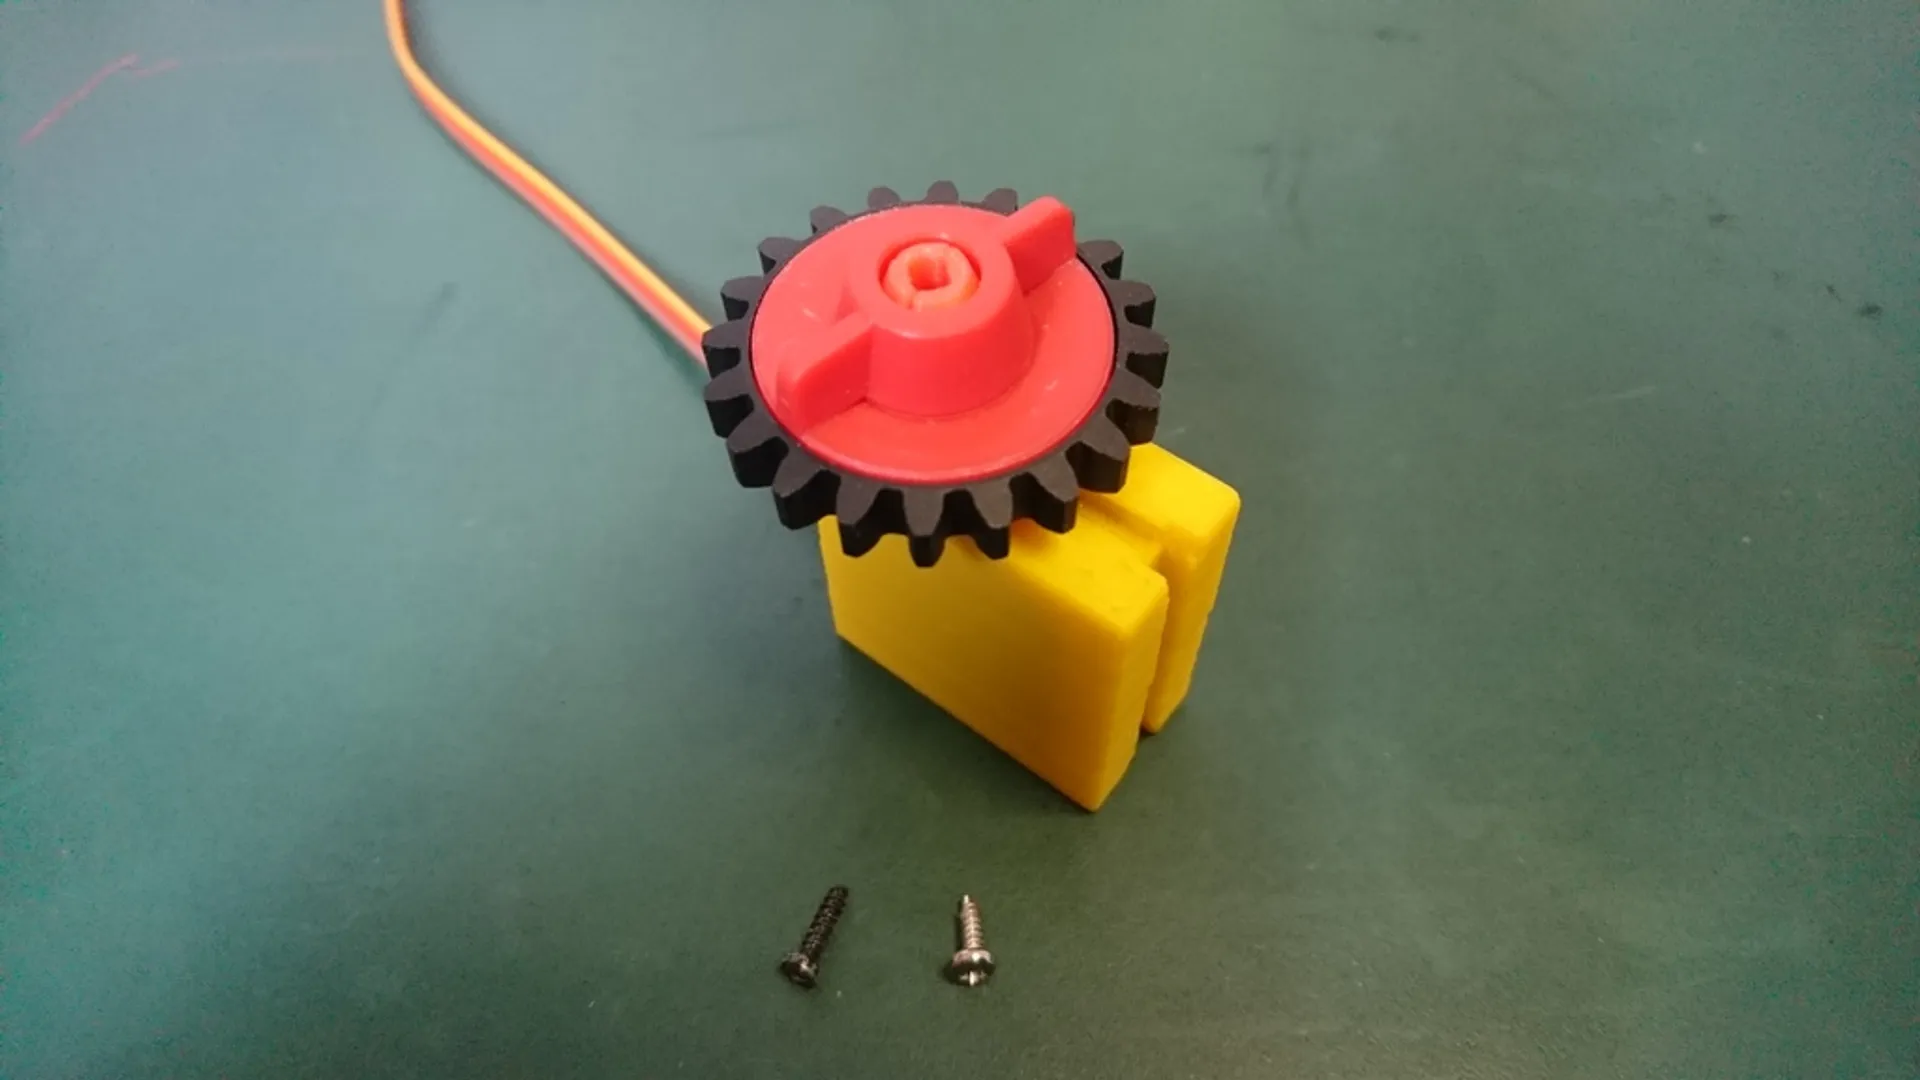
fischertechnik SG90 mini servo system


Description
PDFChangelog/News:
2021-02-03: Added new variant "08 Gear rack drive (main body) v5_strongerprint" for easier removal of support structures
2019-02-24: Updated "11 Gripper arm" to v5, implementing these suggestions
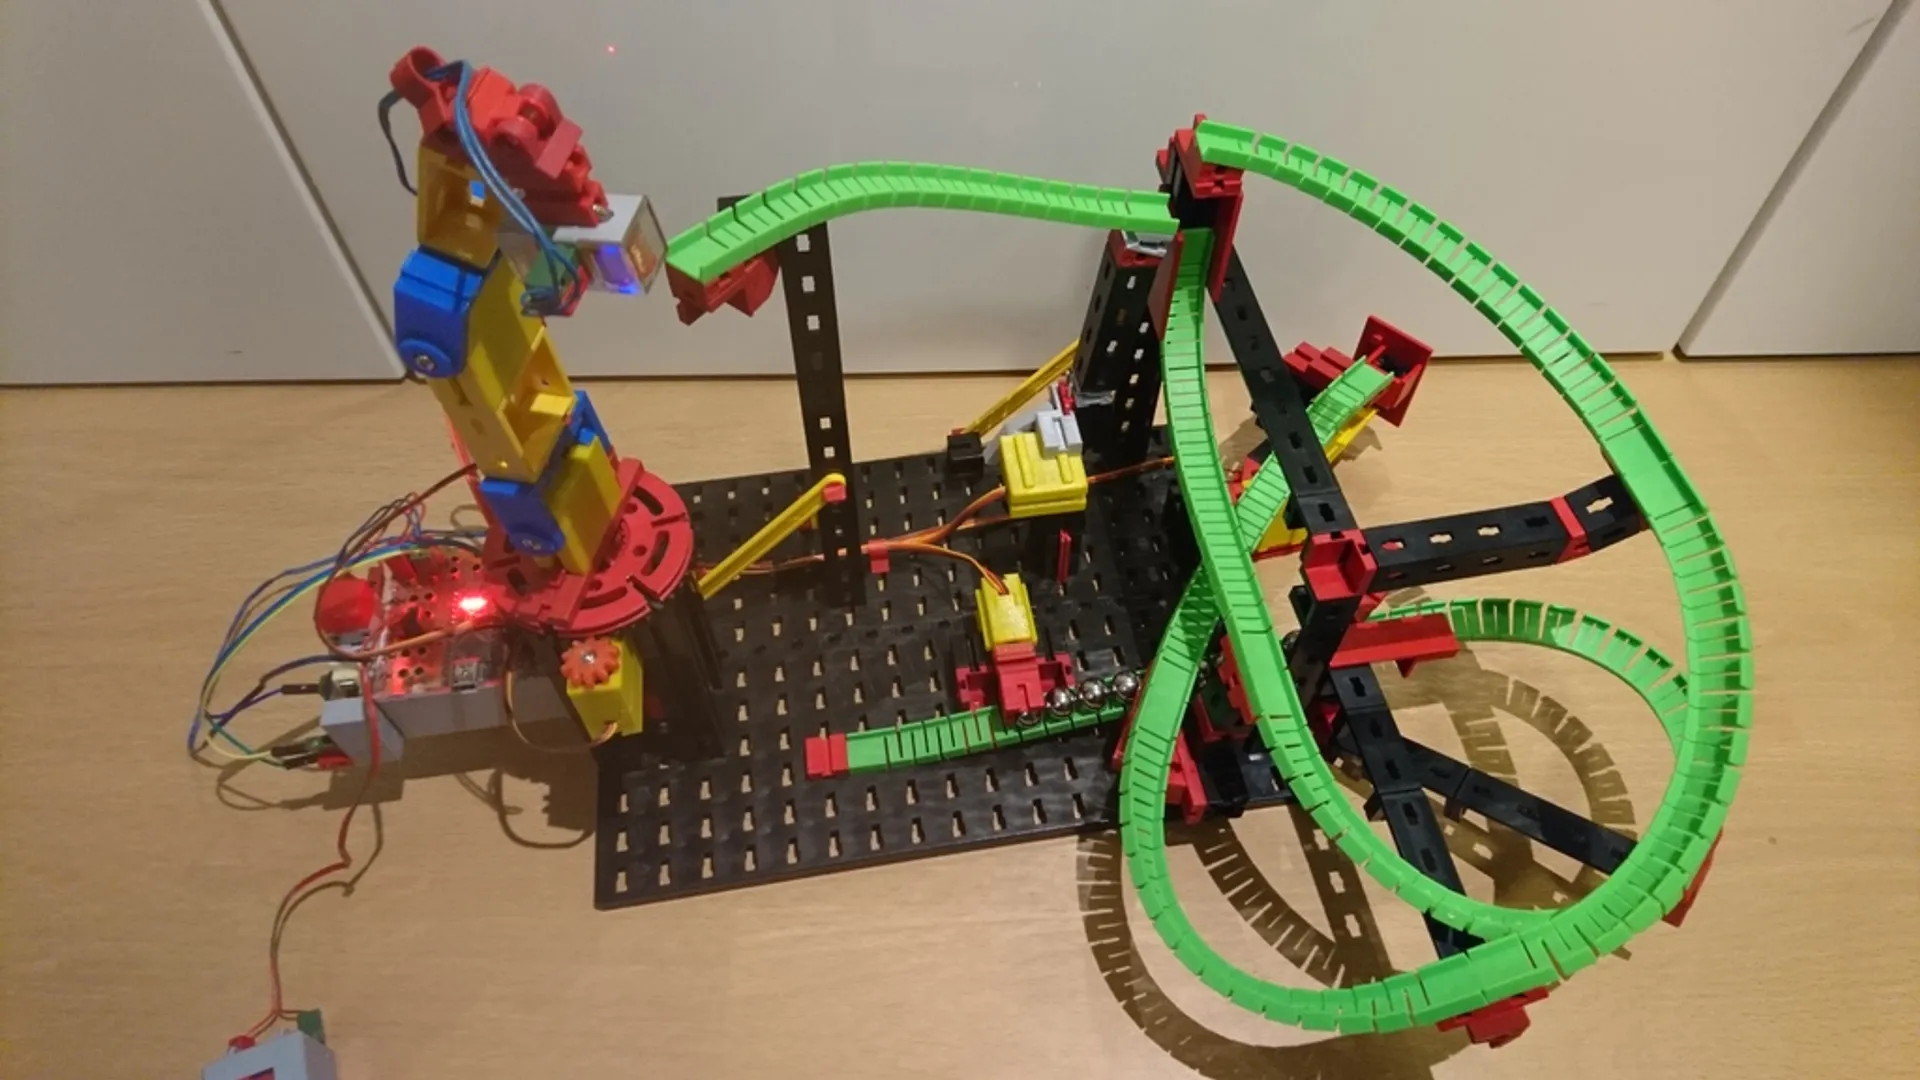
2019-02-10: Peter (PHabermehl) designed two five alternative arms for the gripper.
2018-12-21: Added adapter #12 for fischertechnik pneumatic manual valve (Handventil)
2018-12-17: Peter (PHabermehl) designed a tool for calibrating the servos.
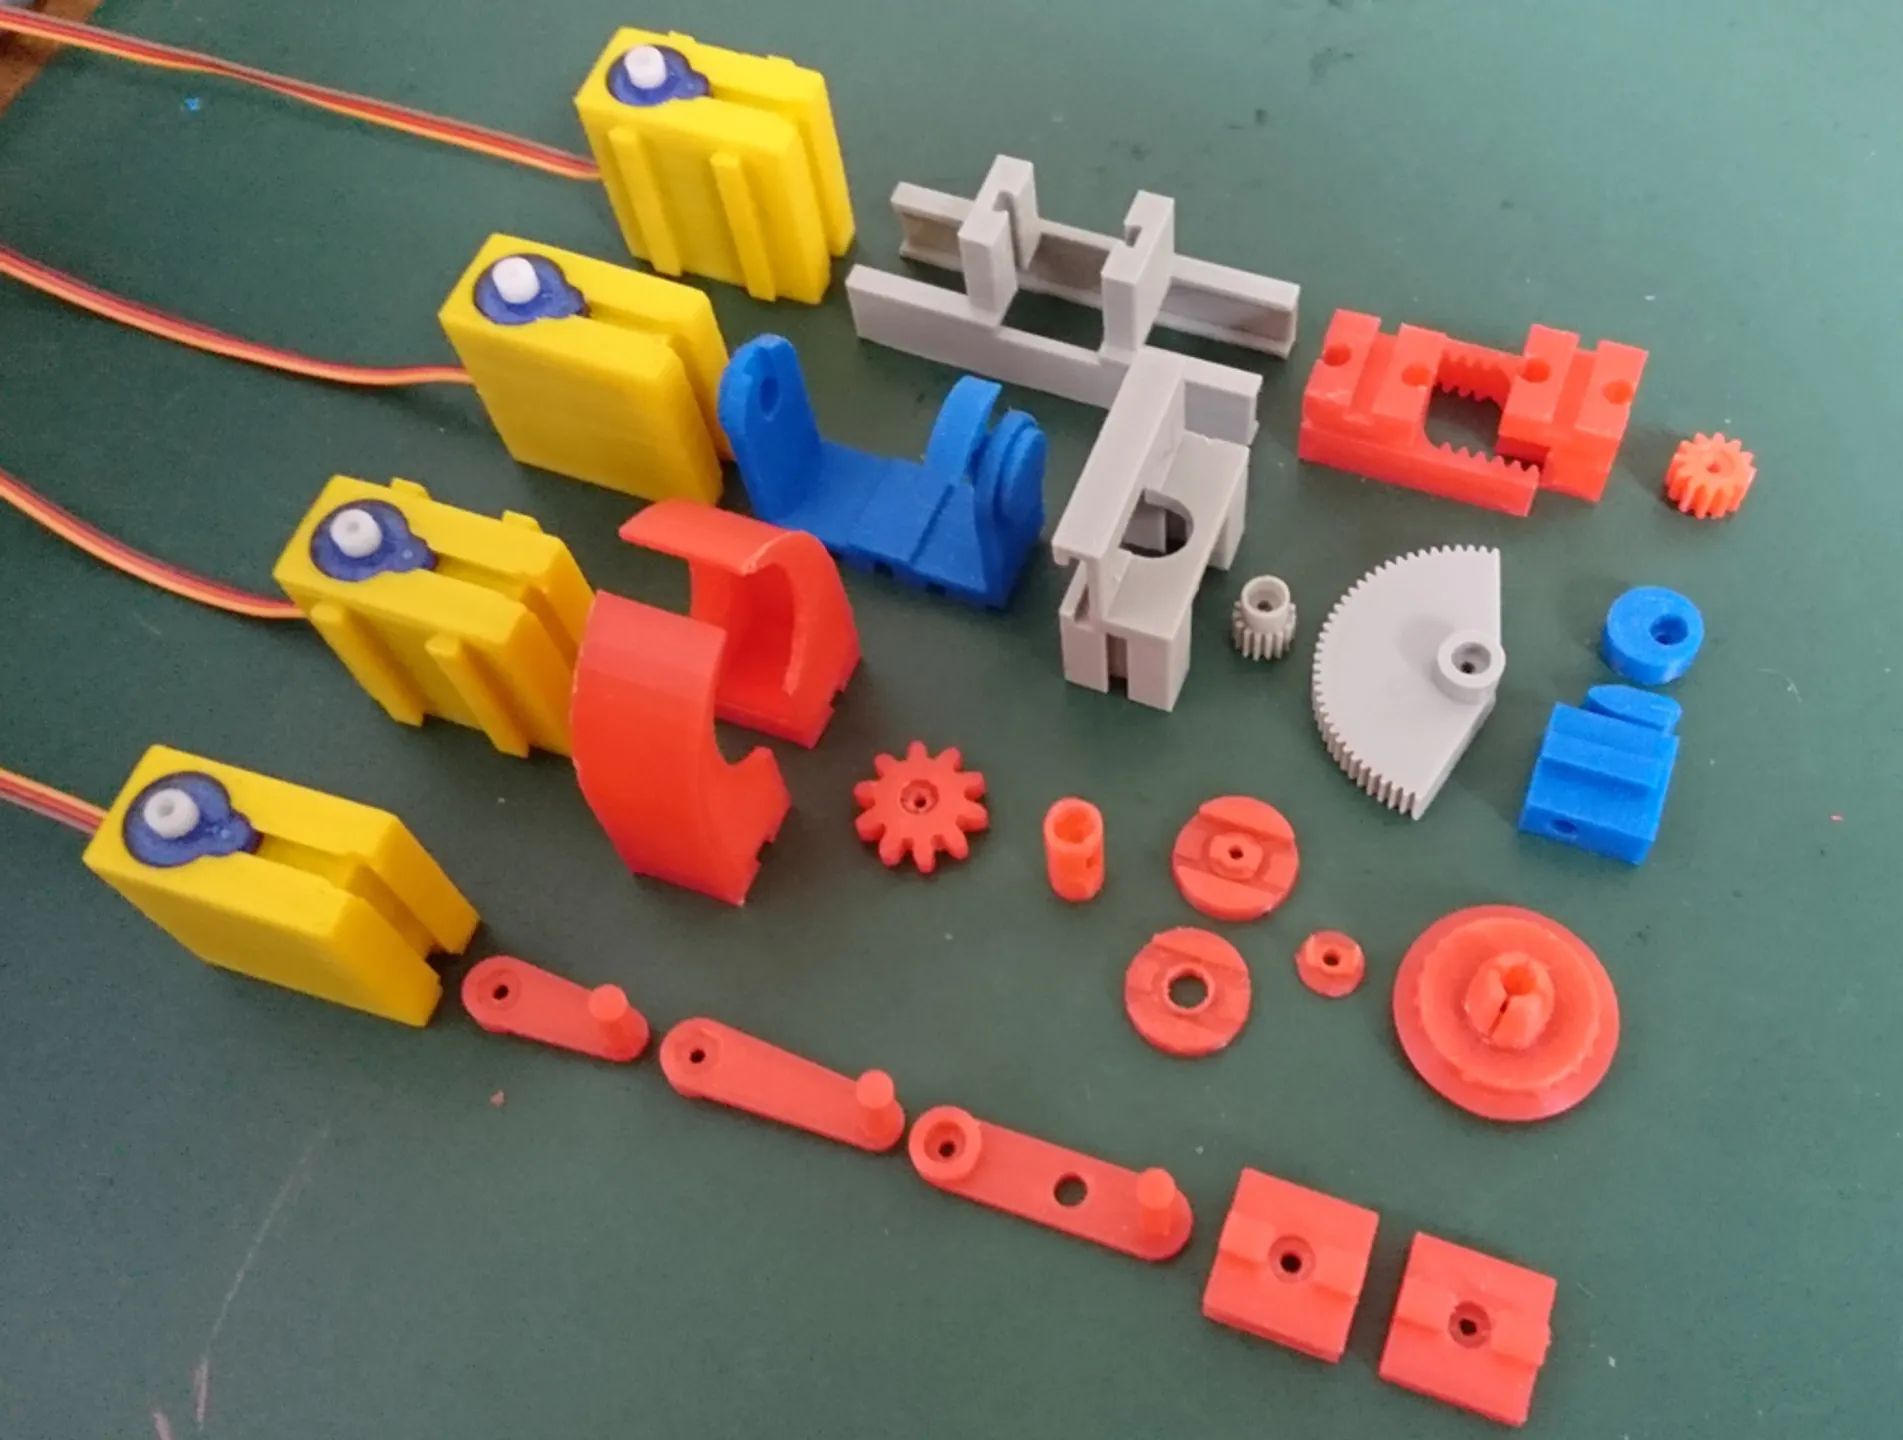
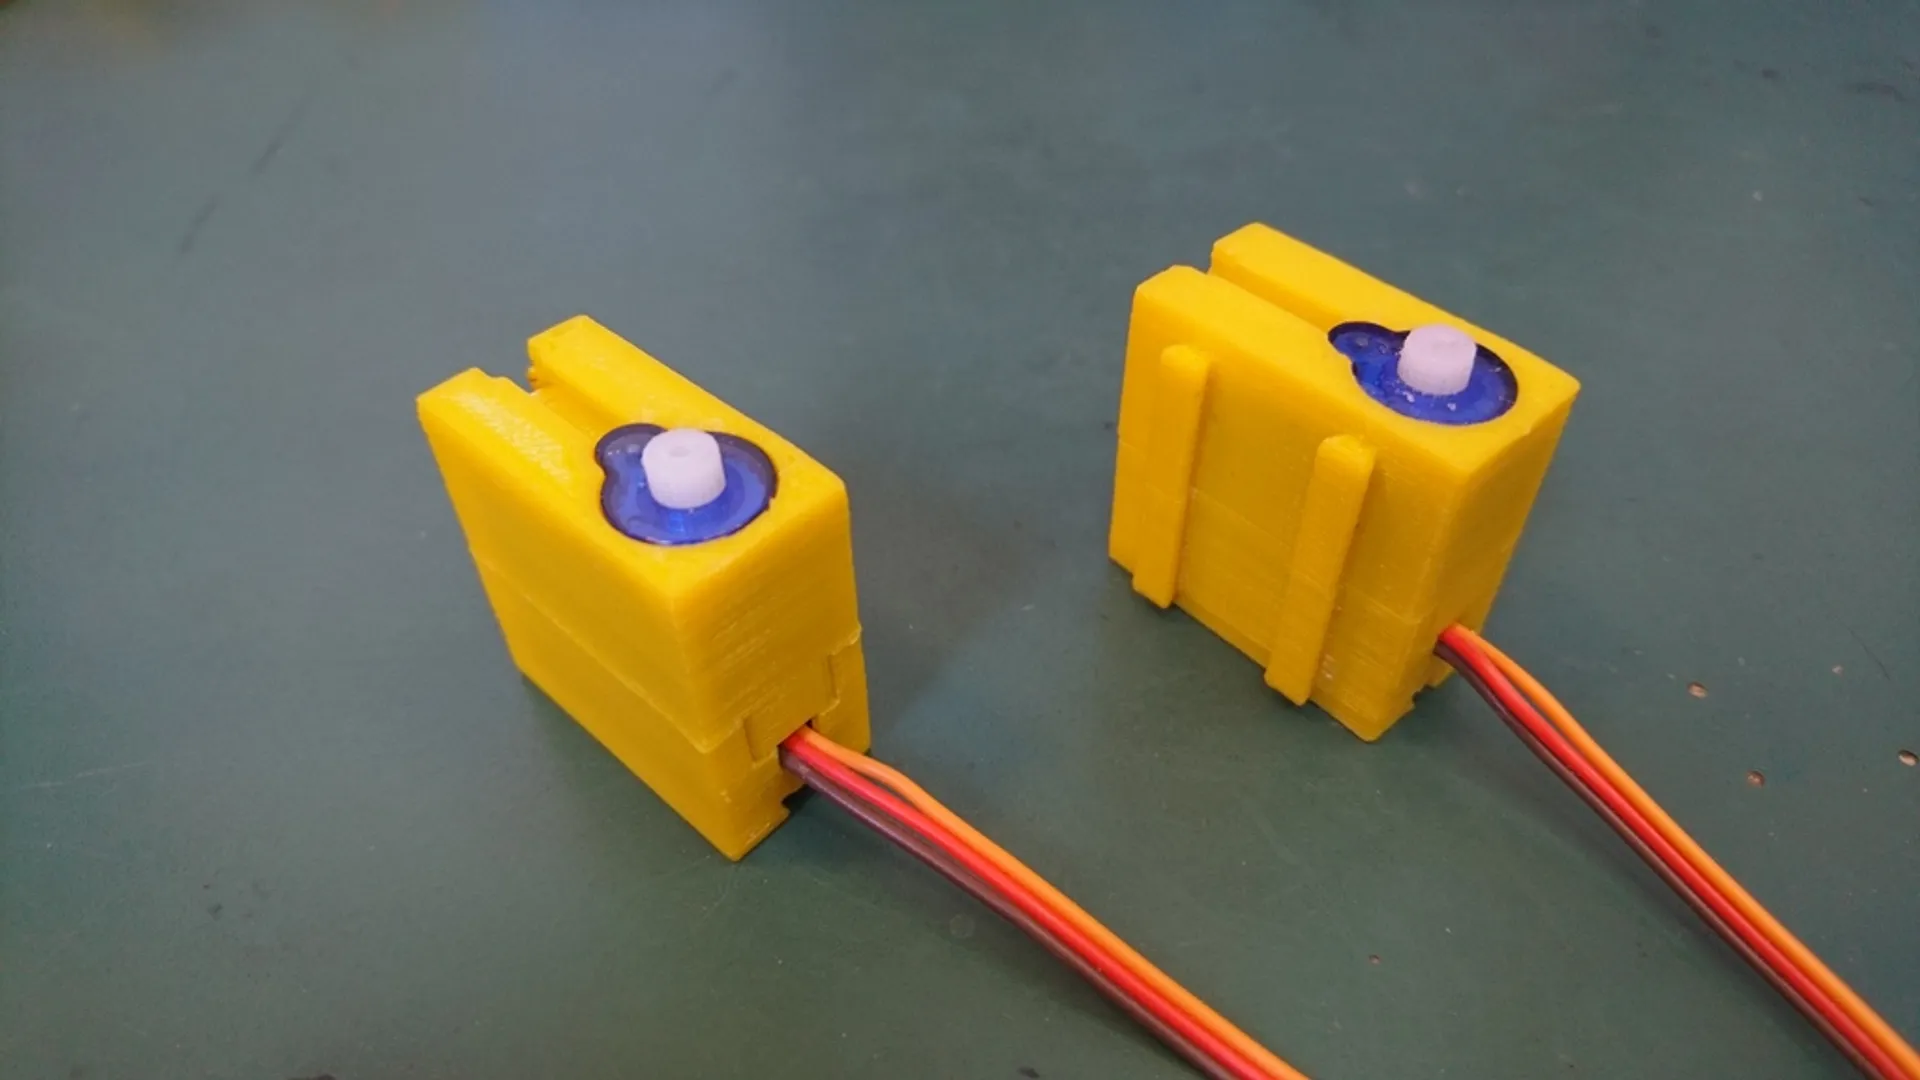
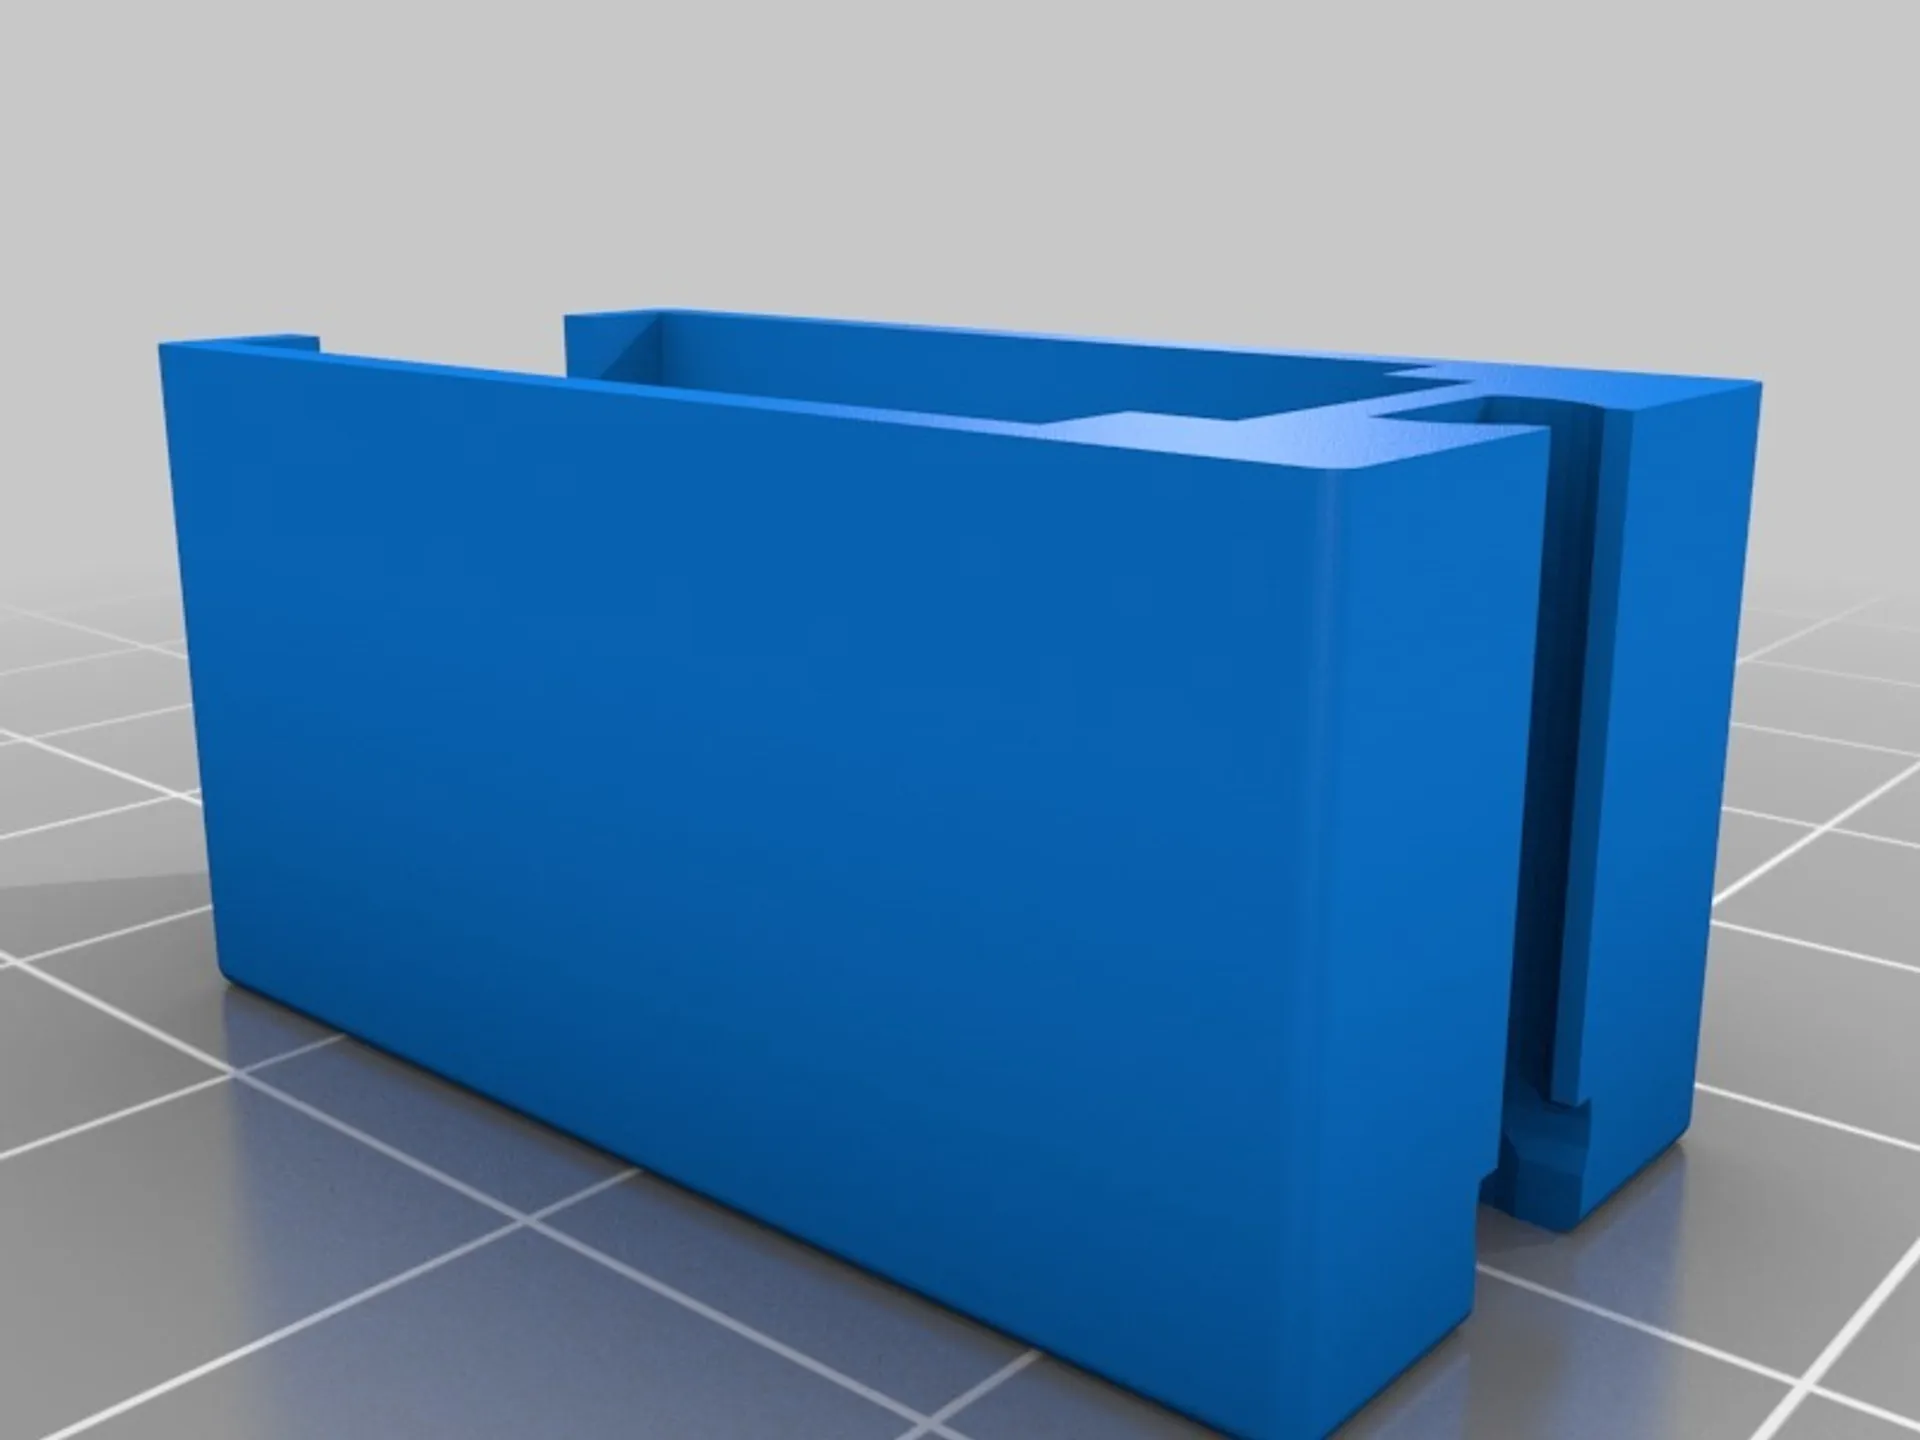
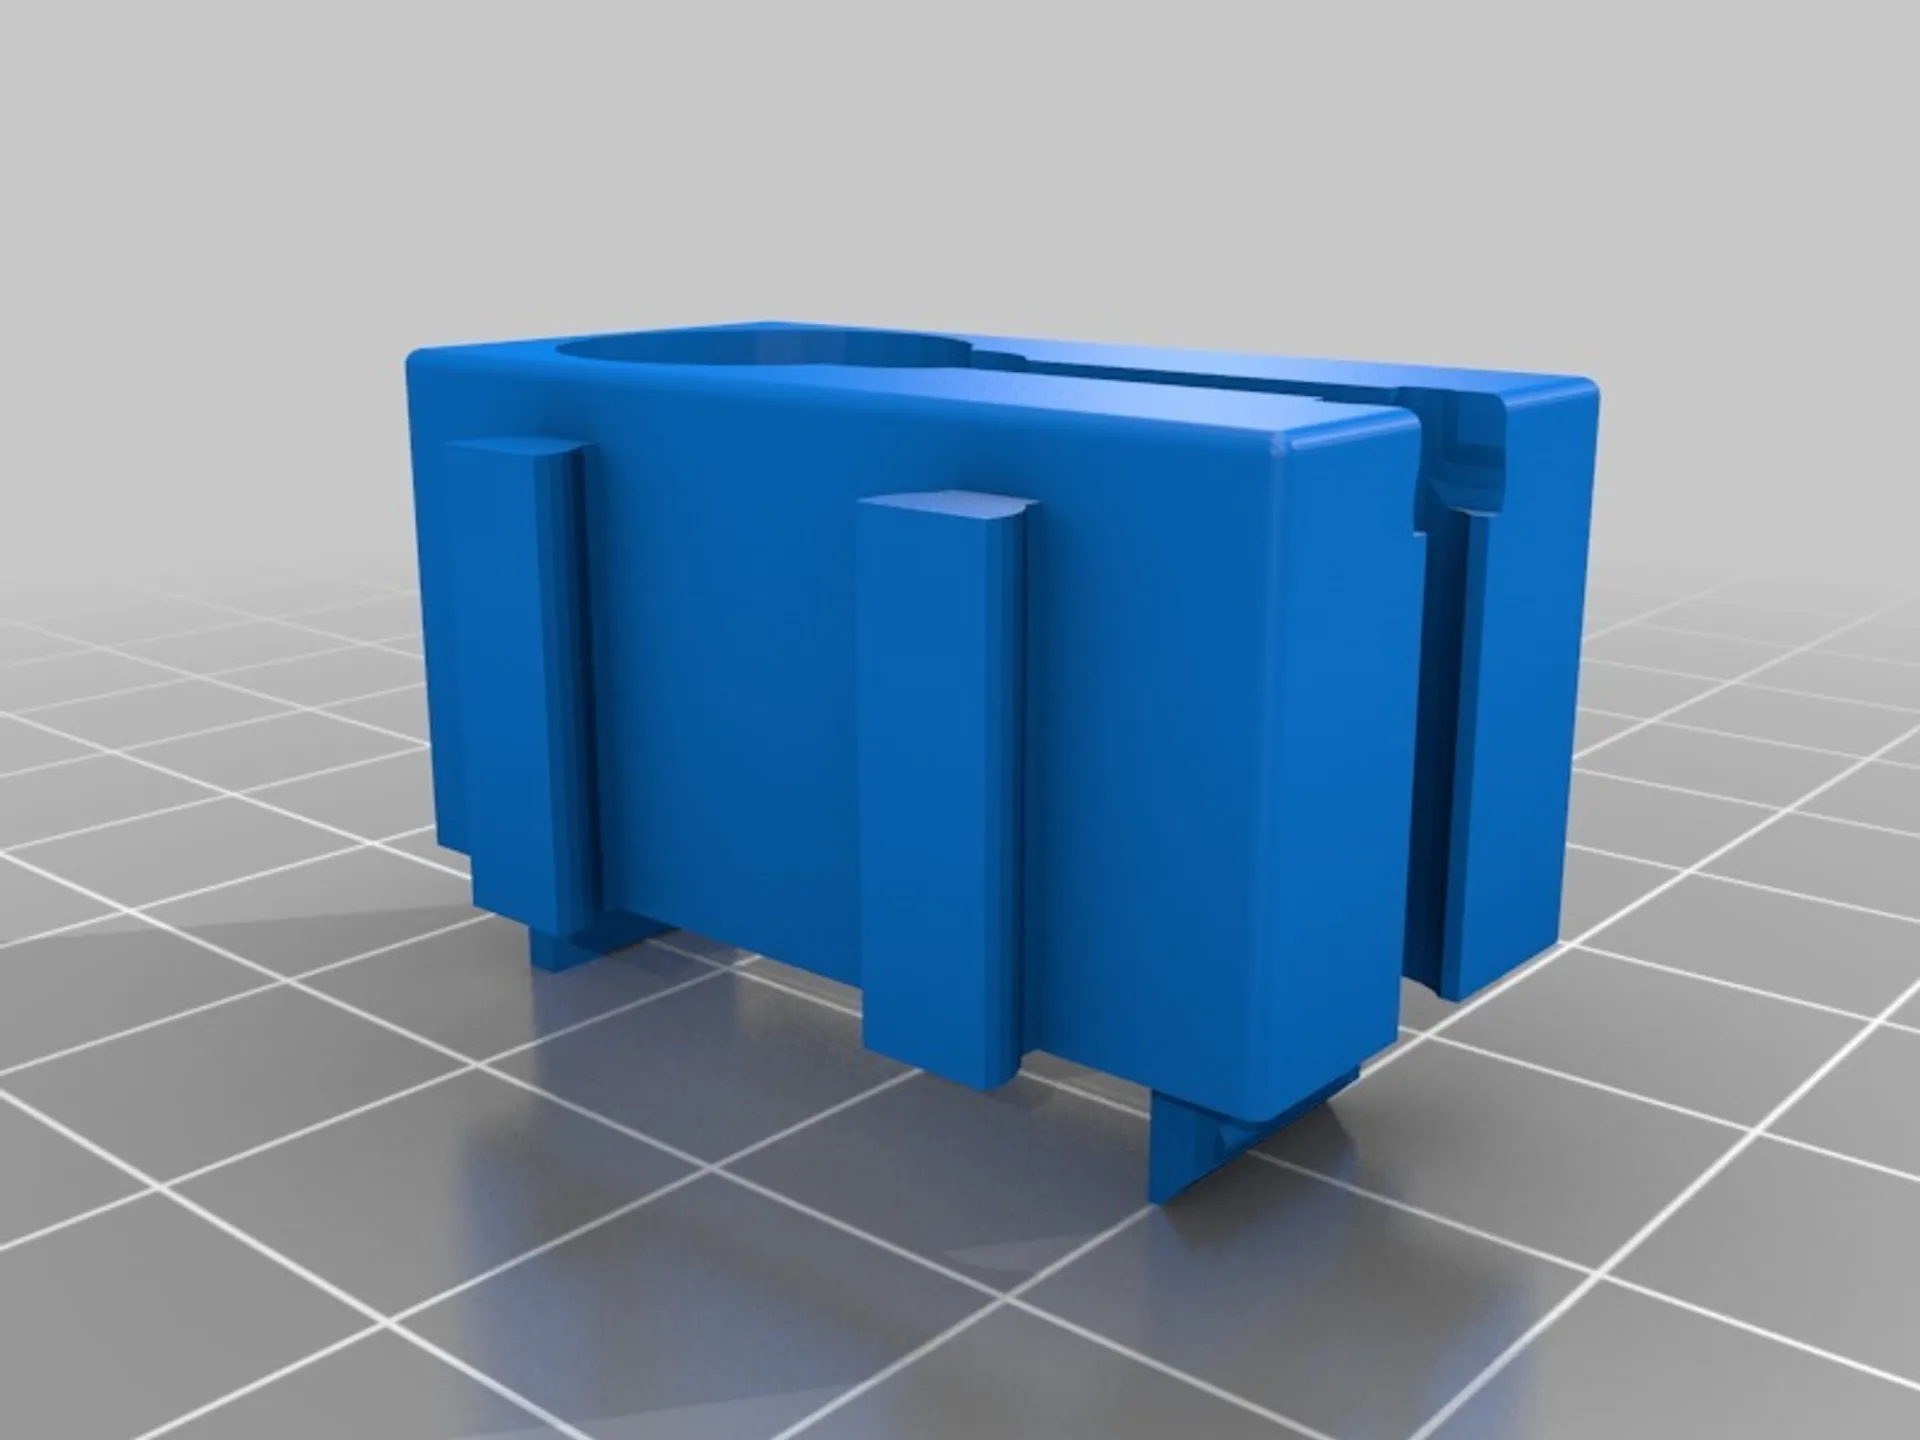
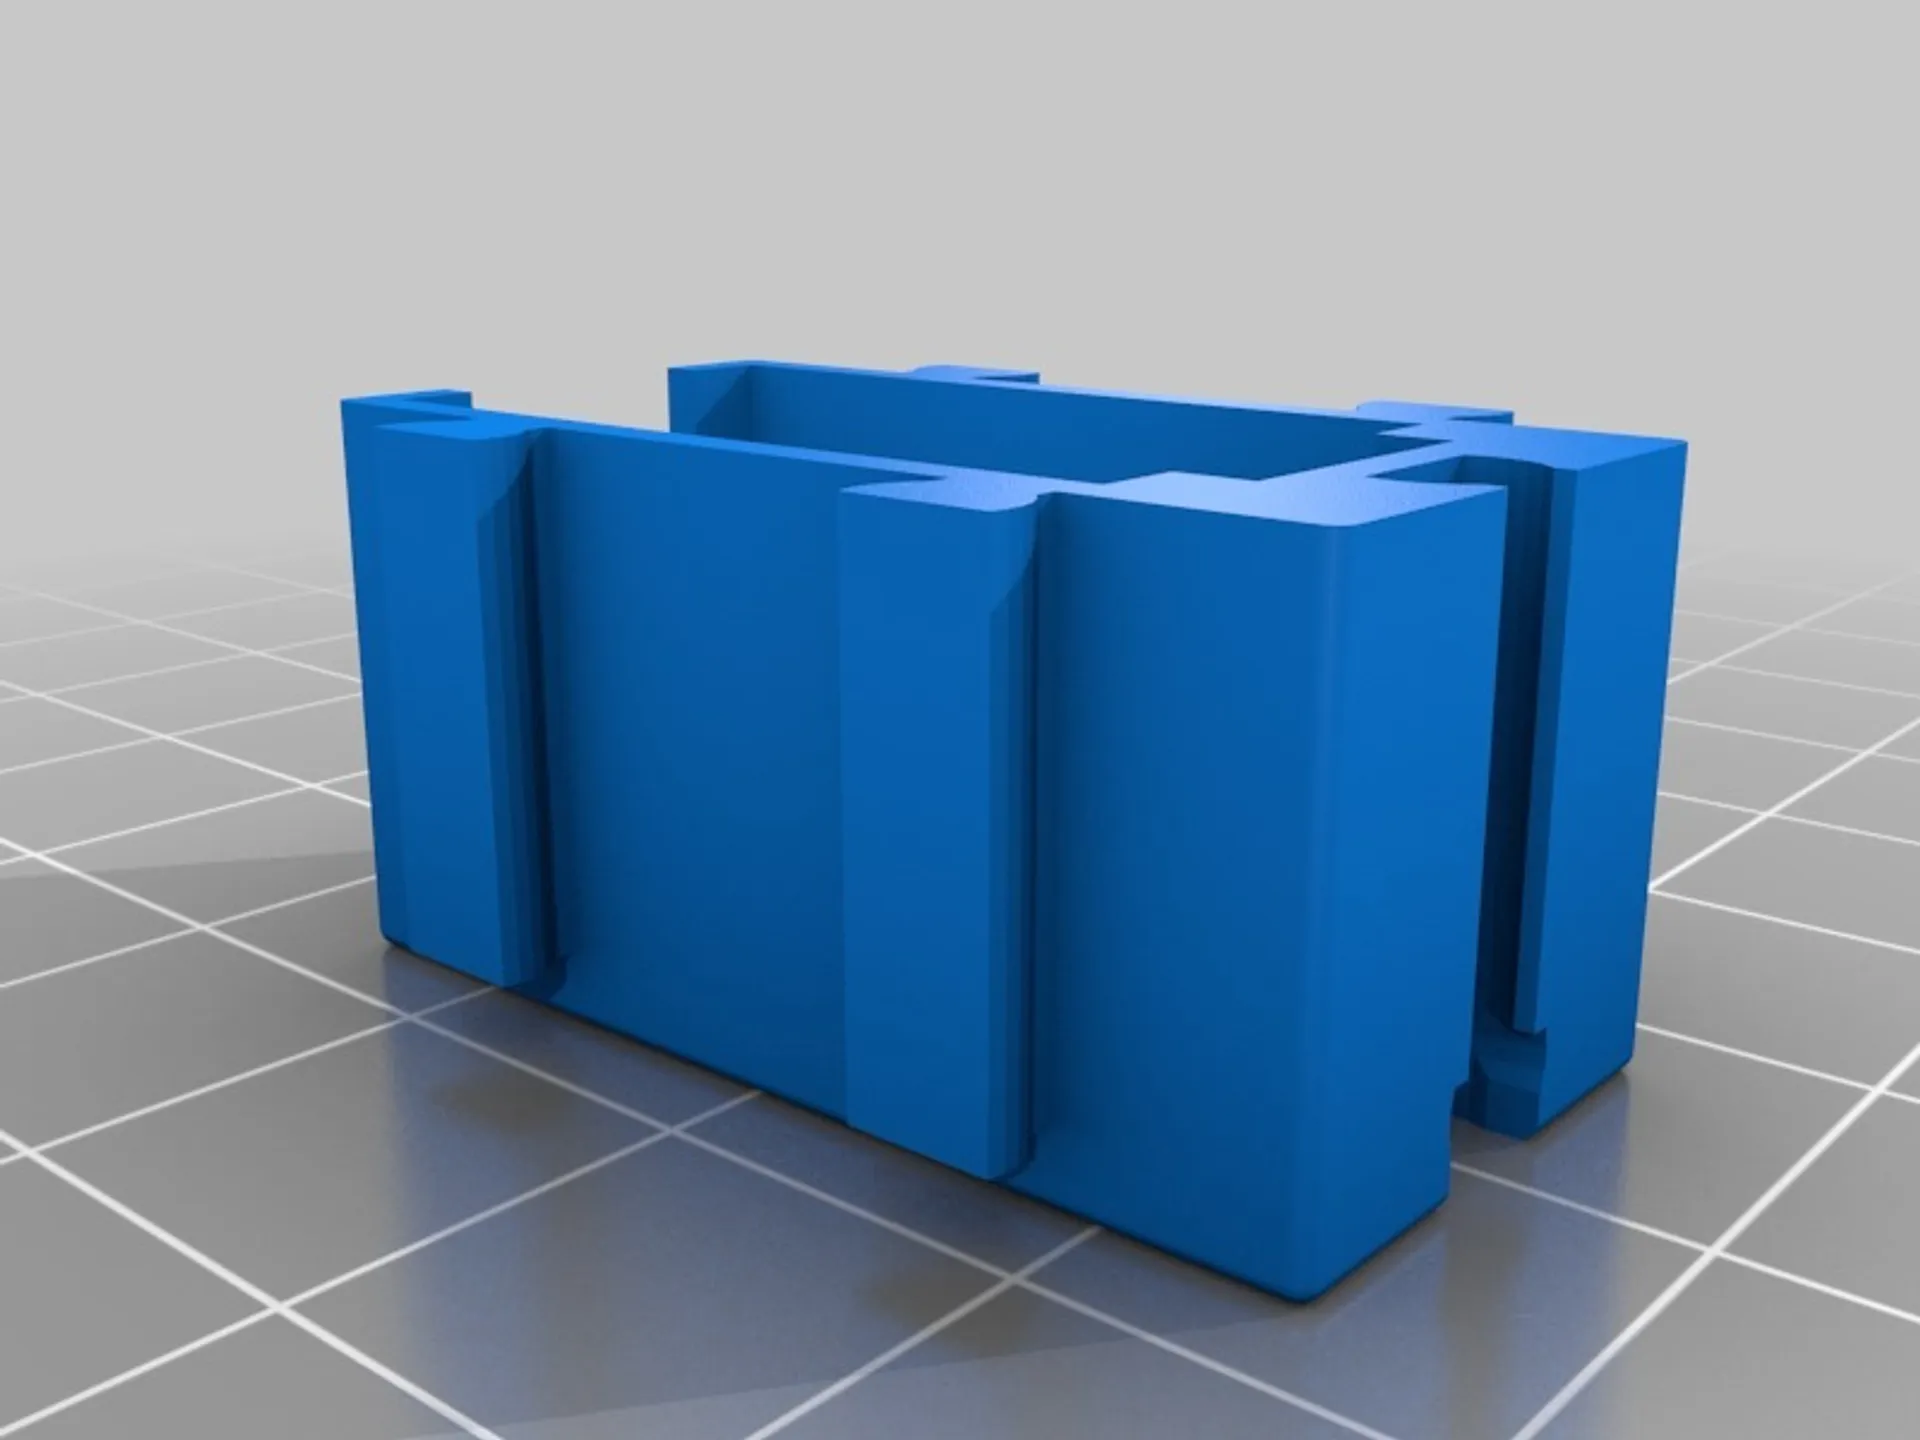
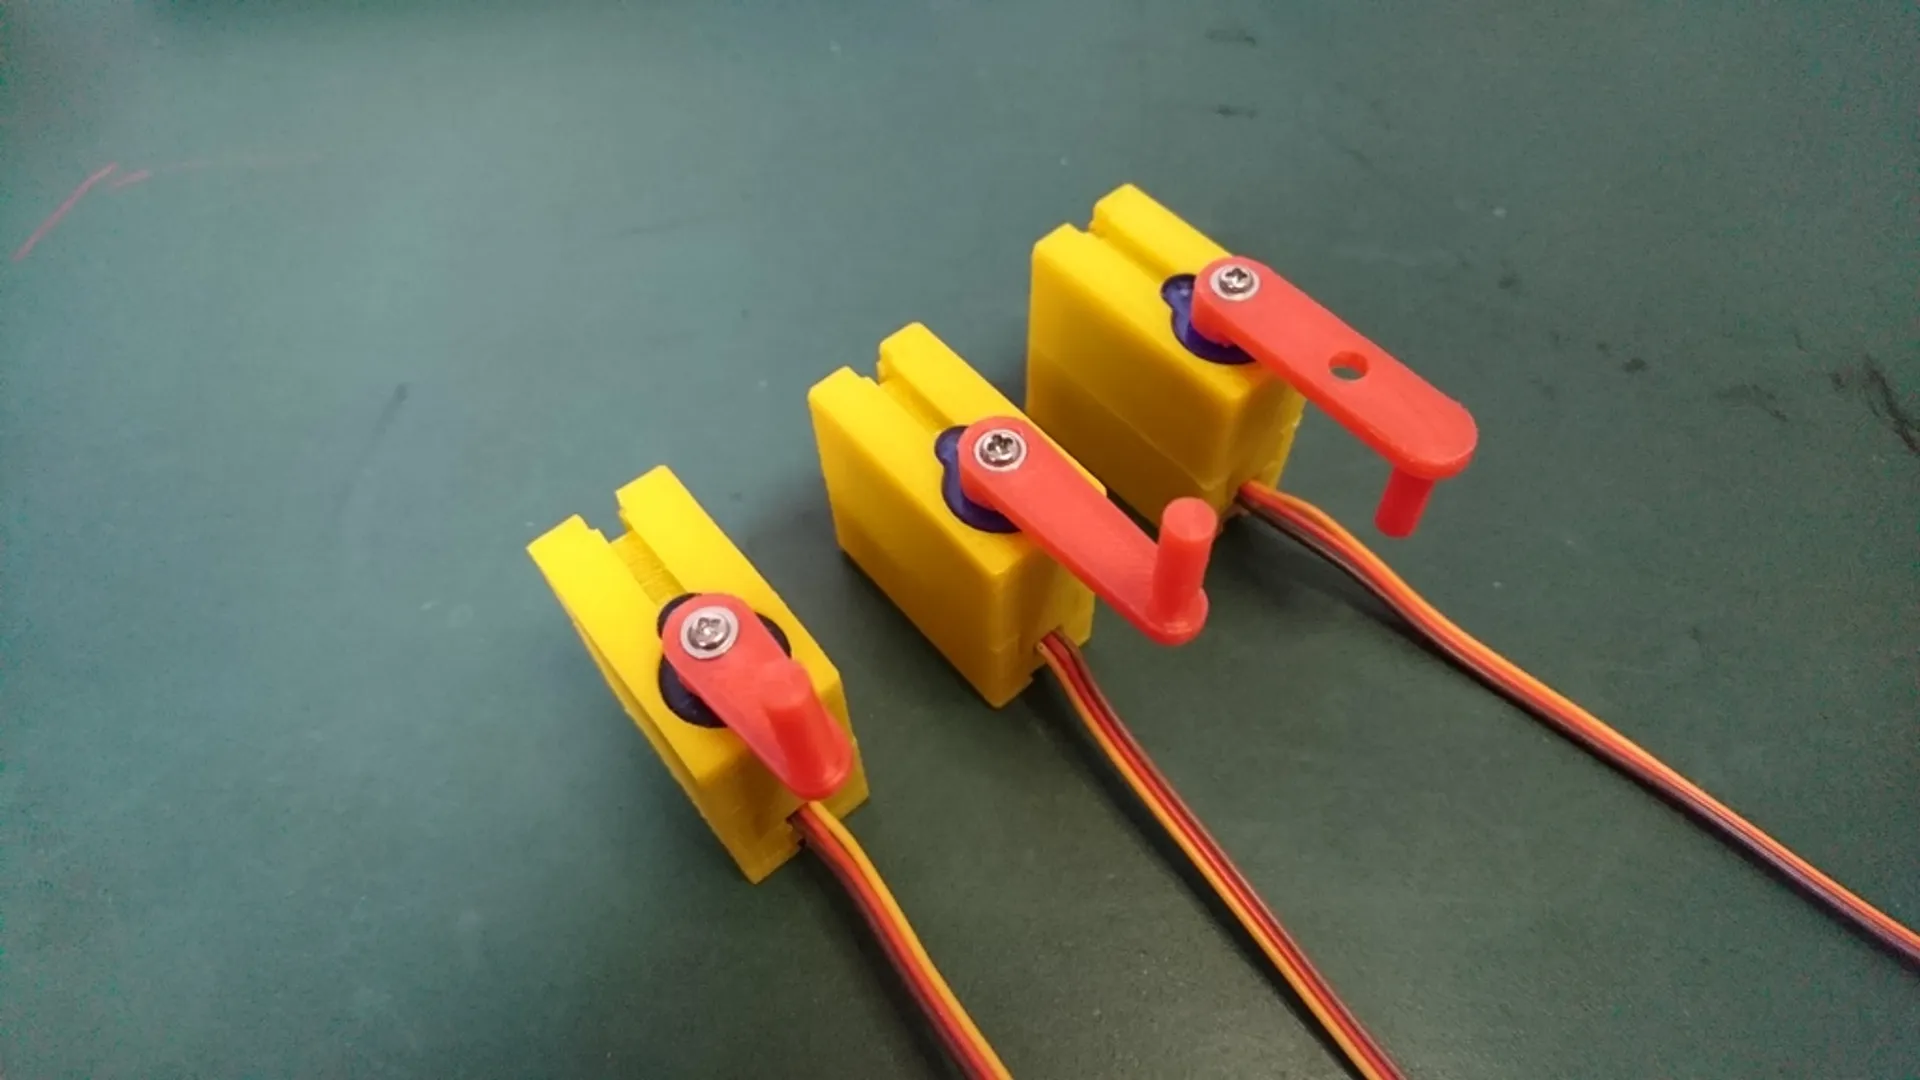
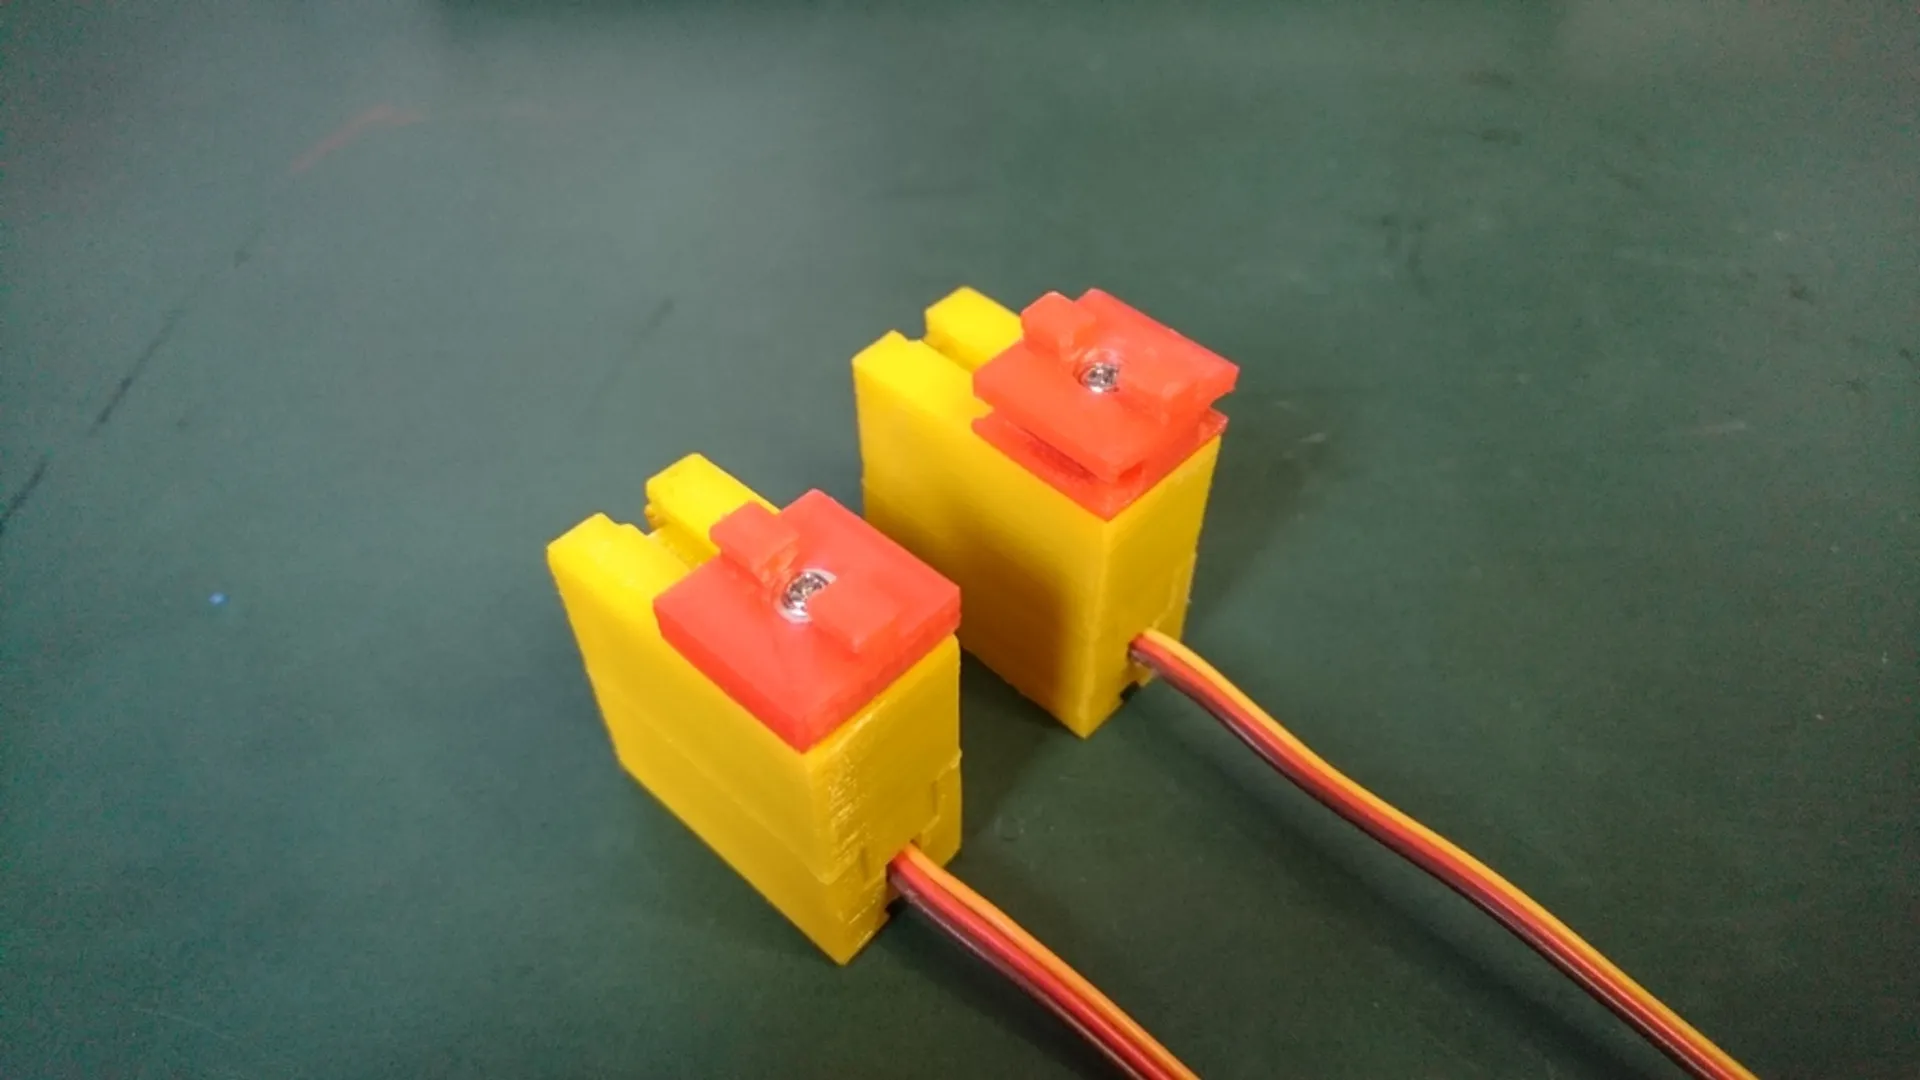
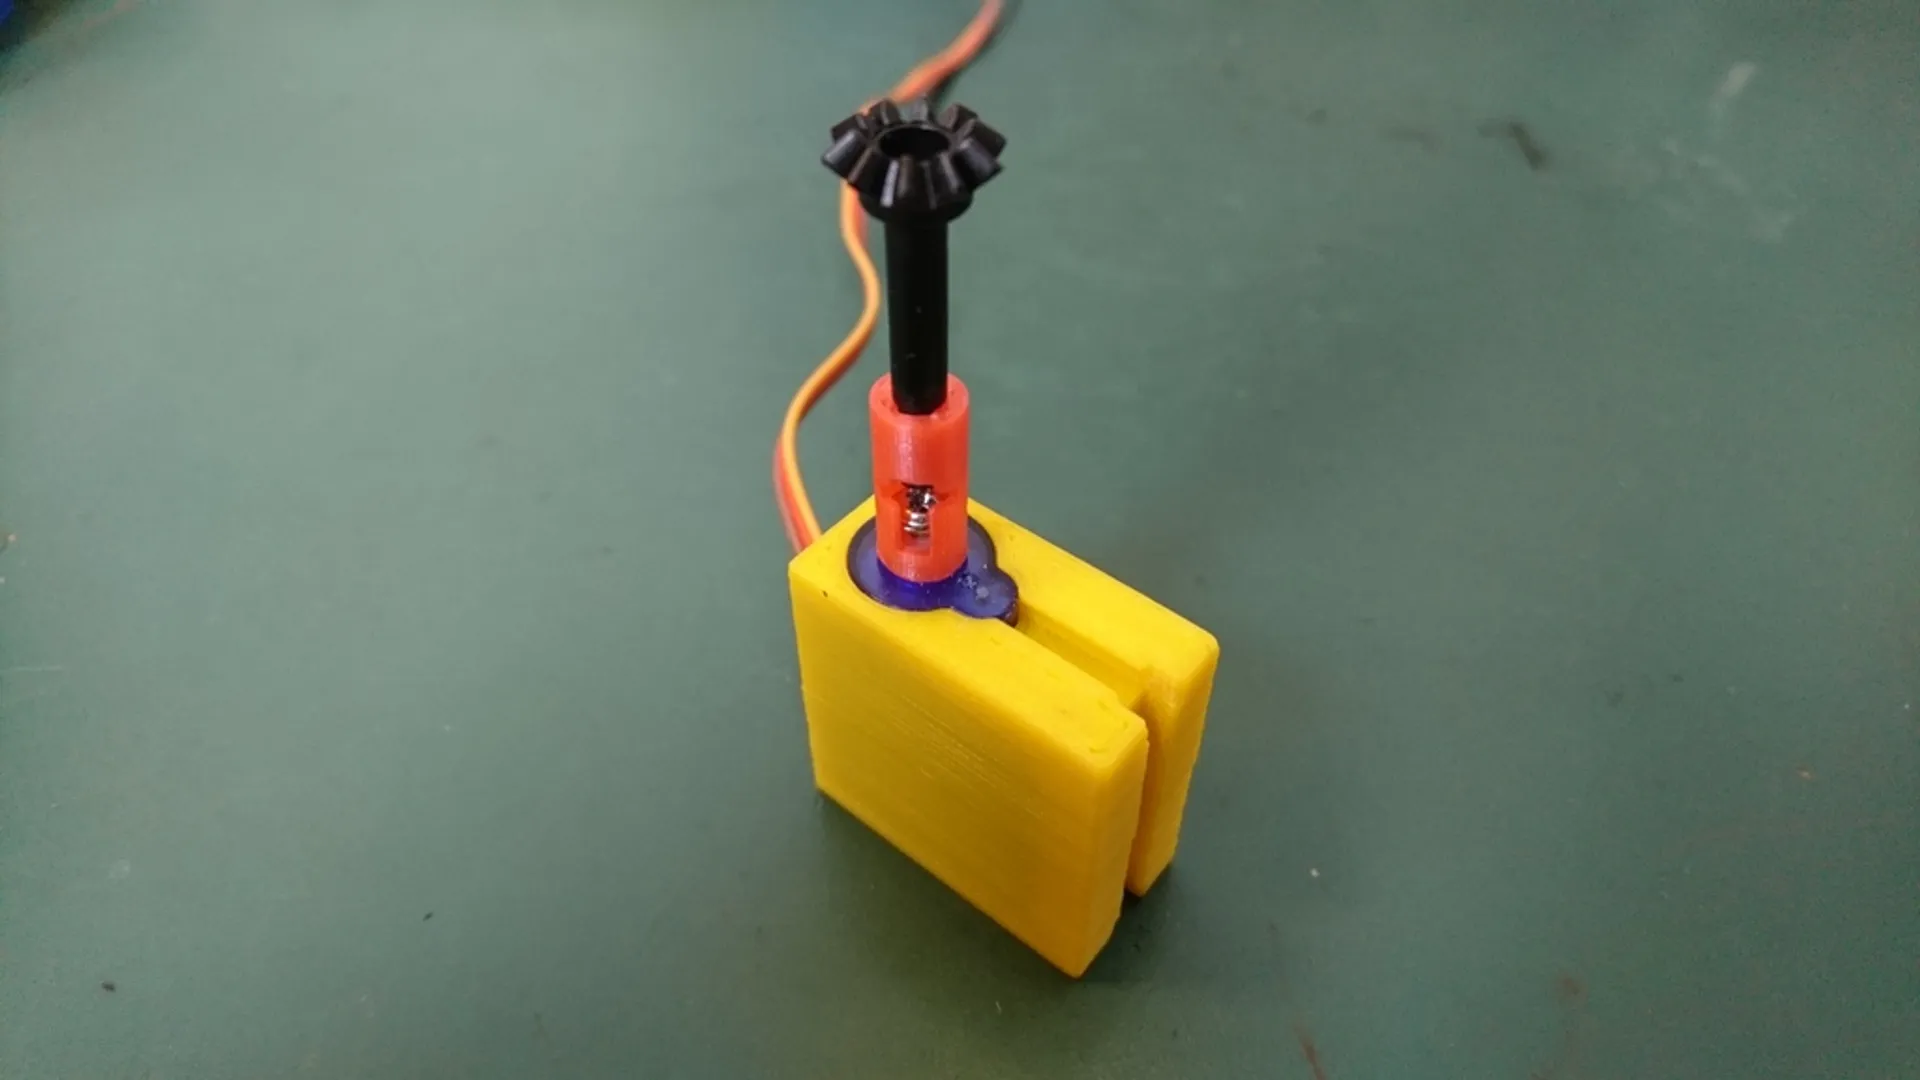
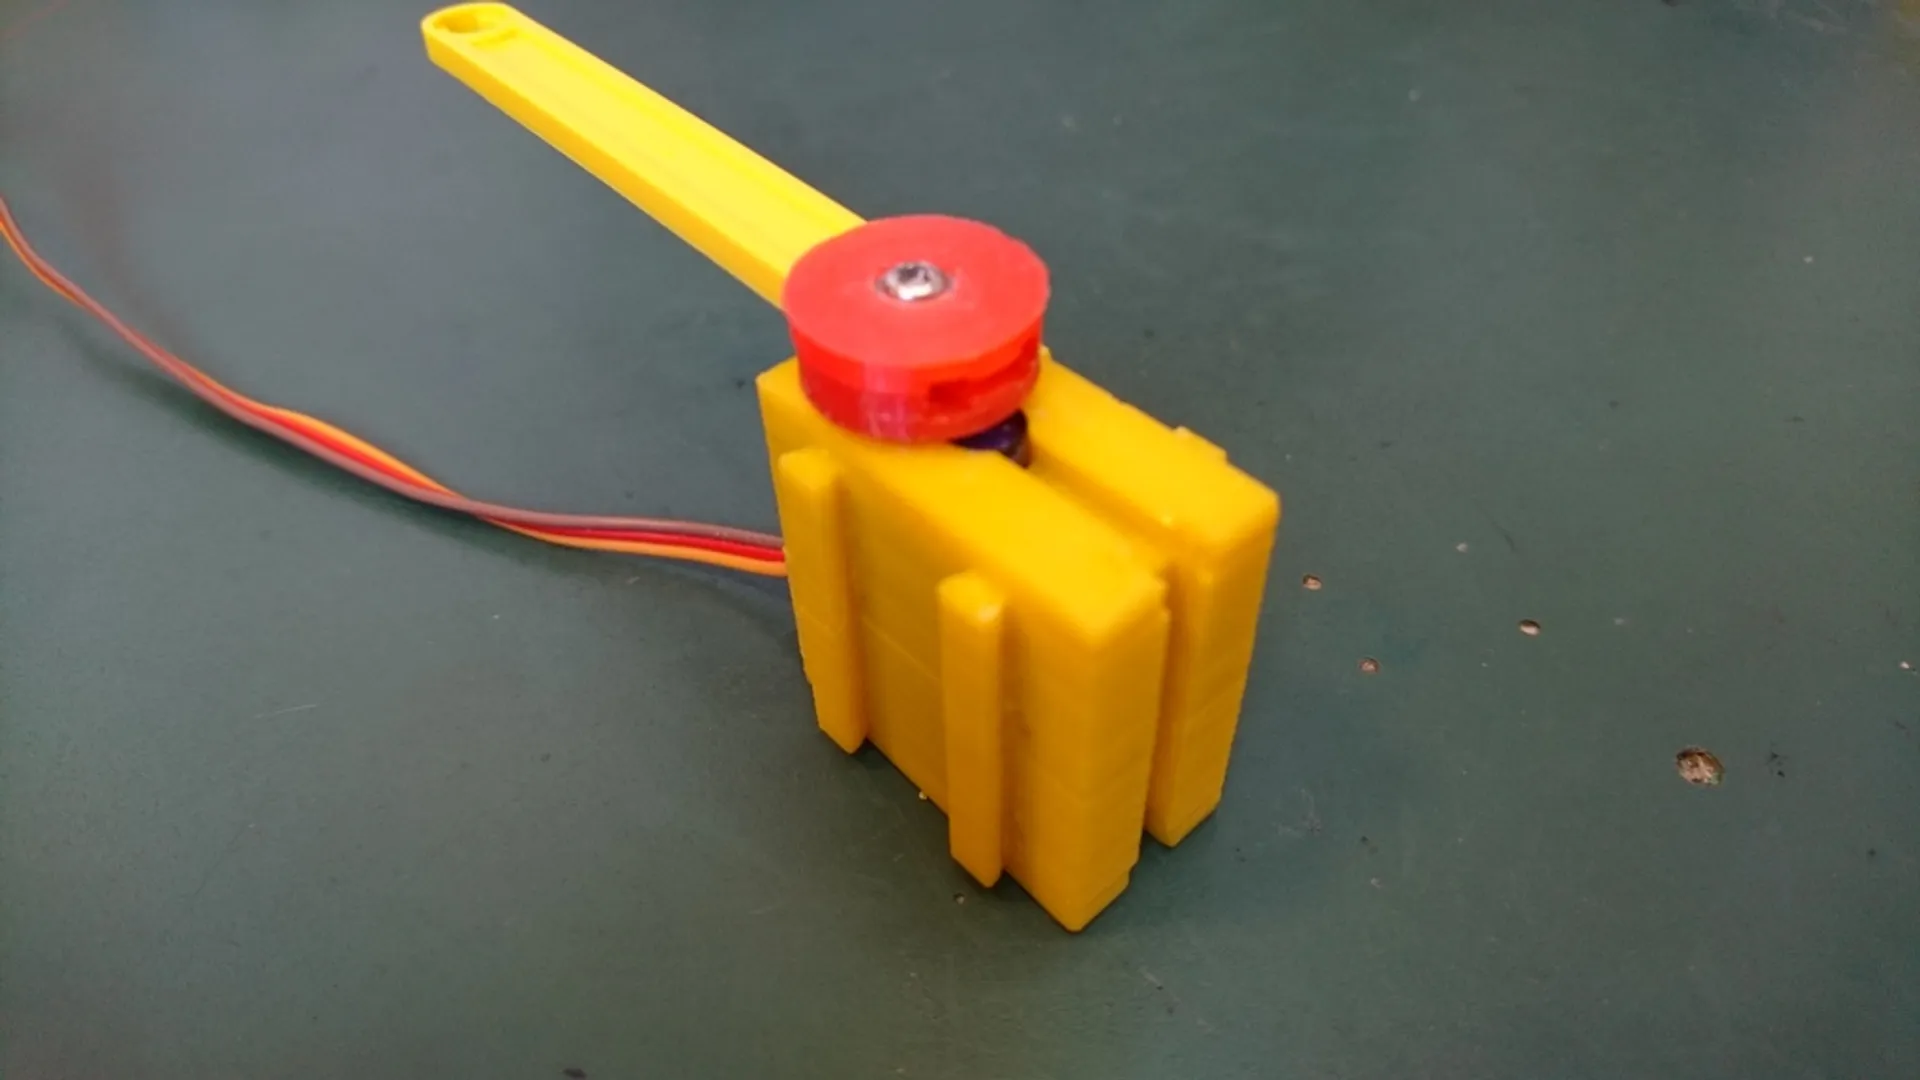
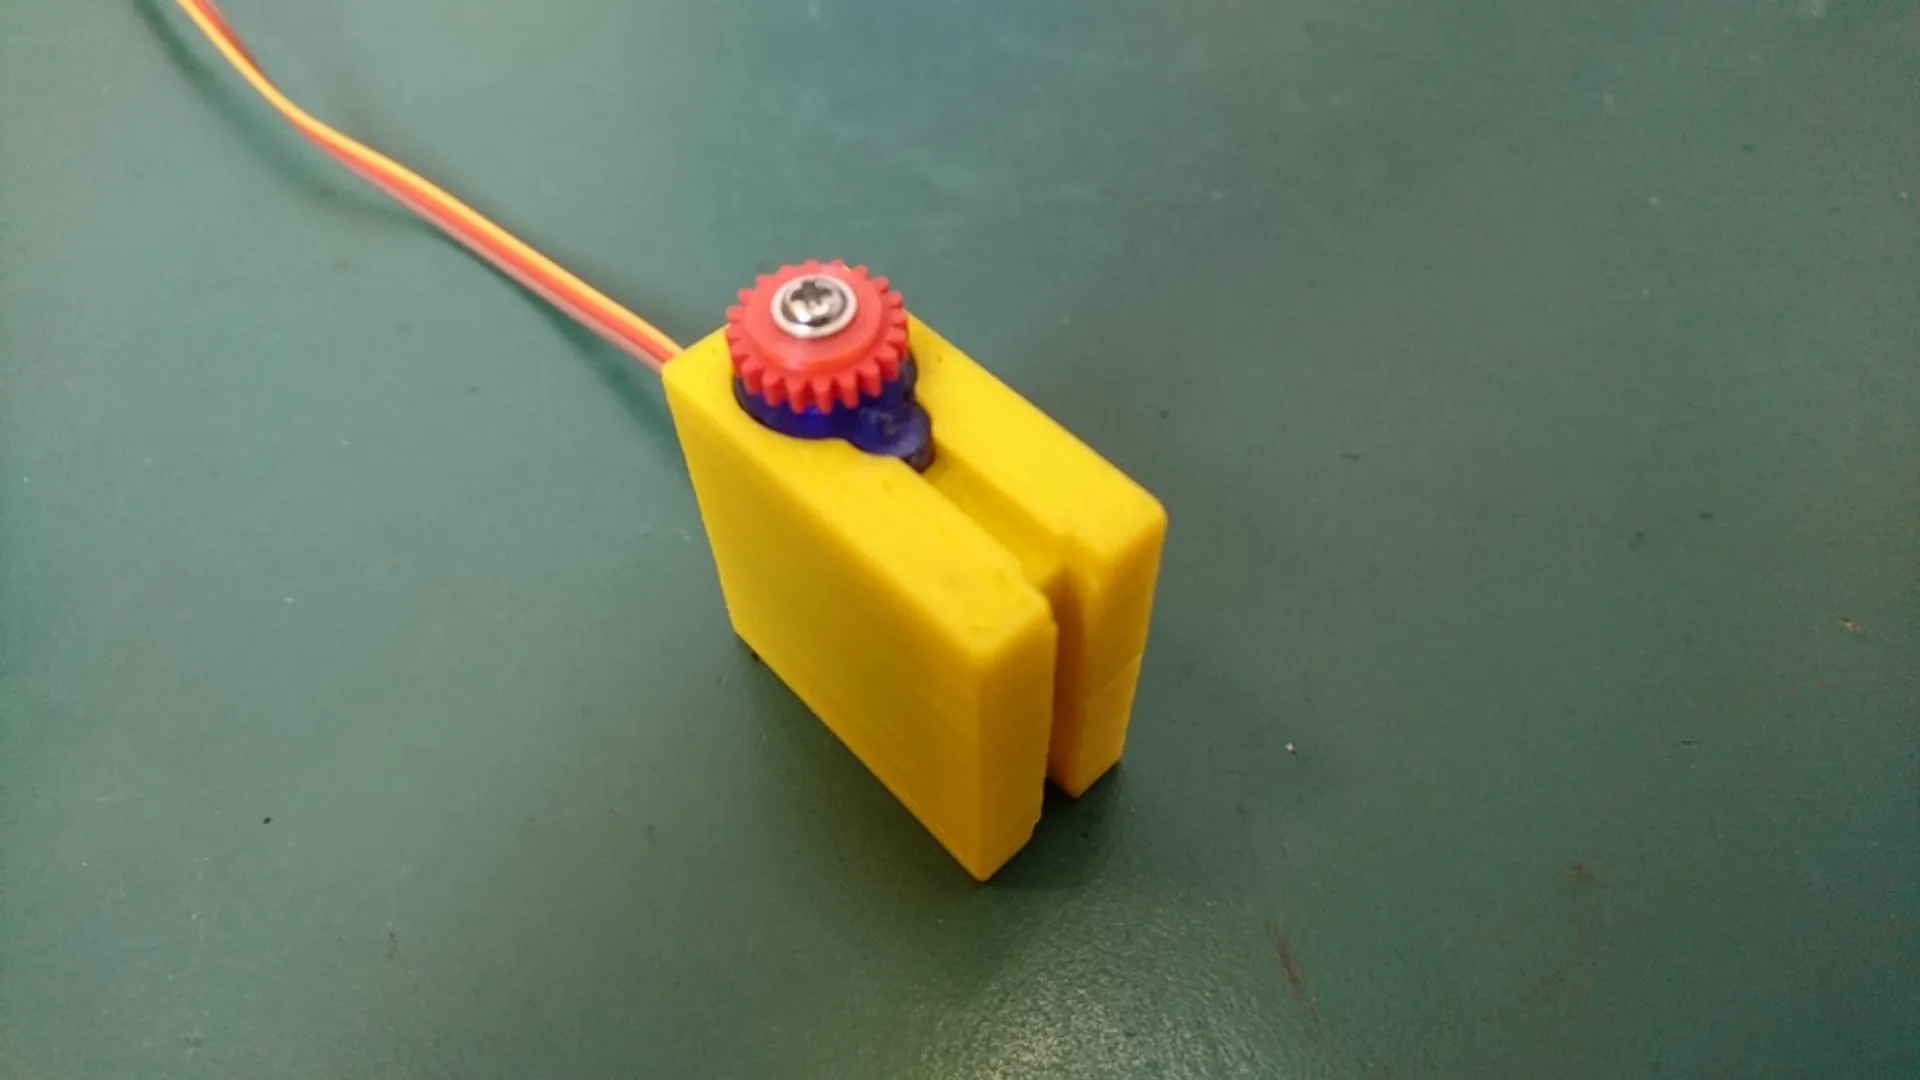
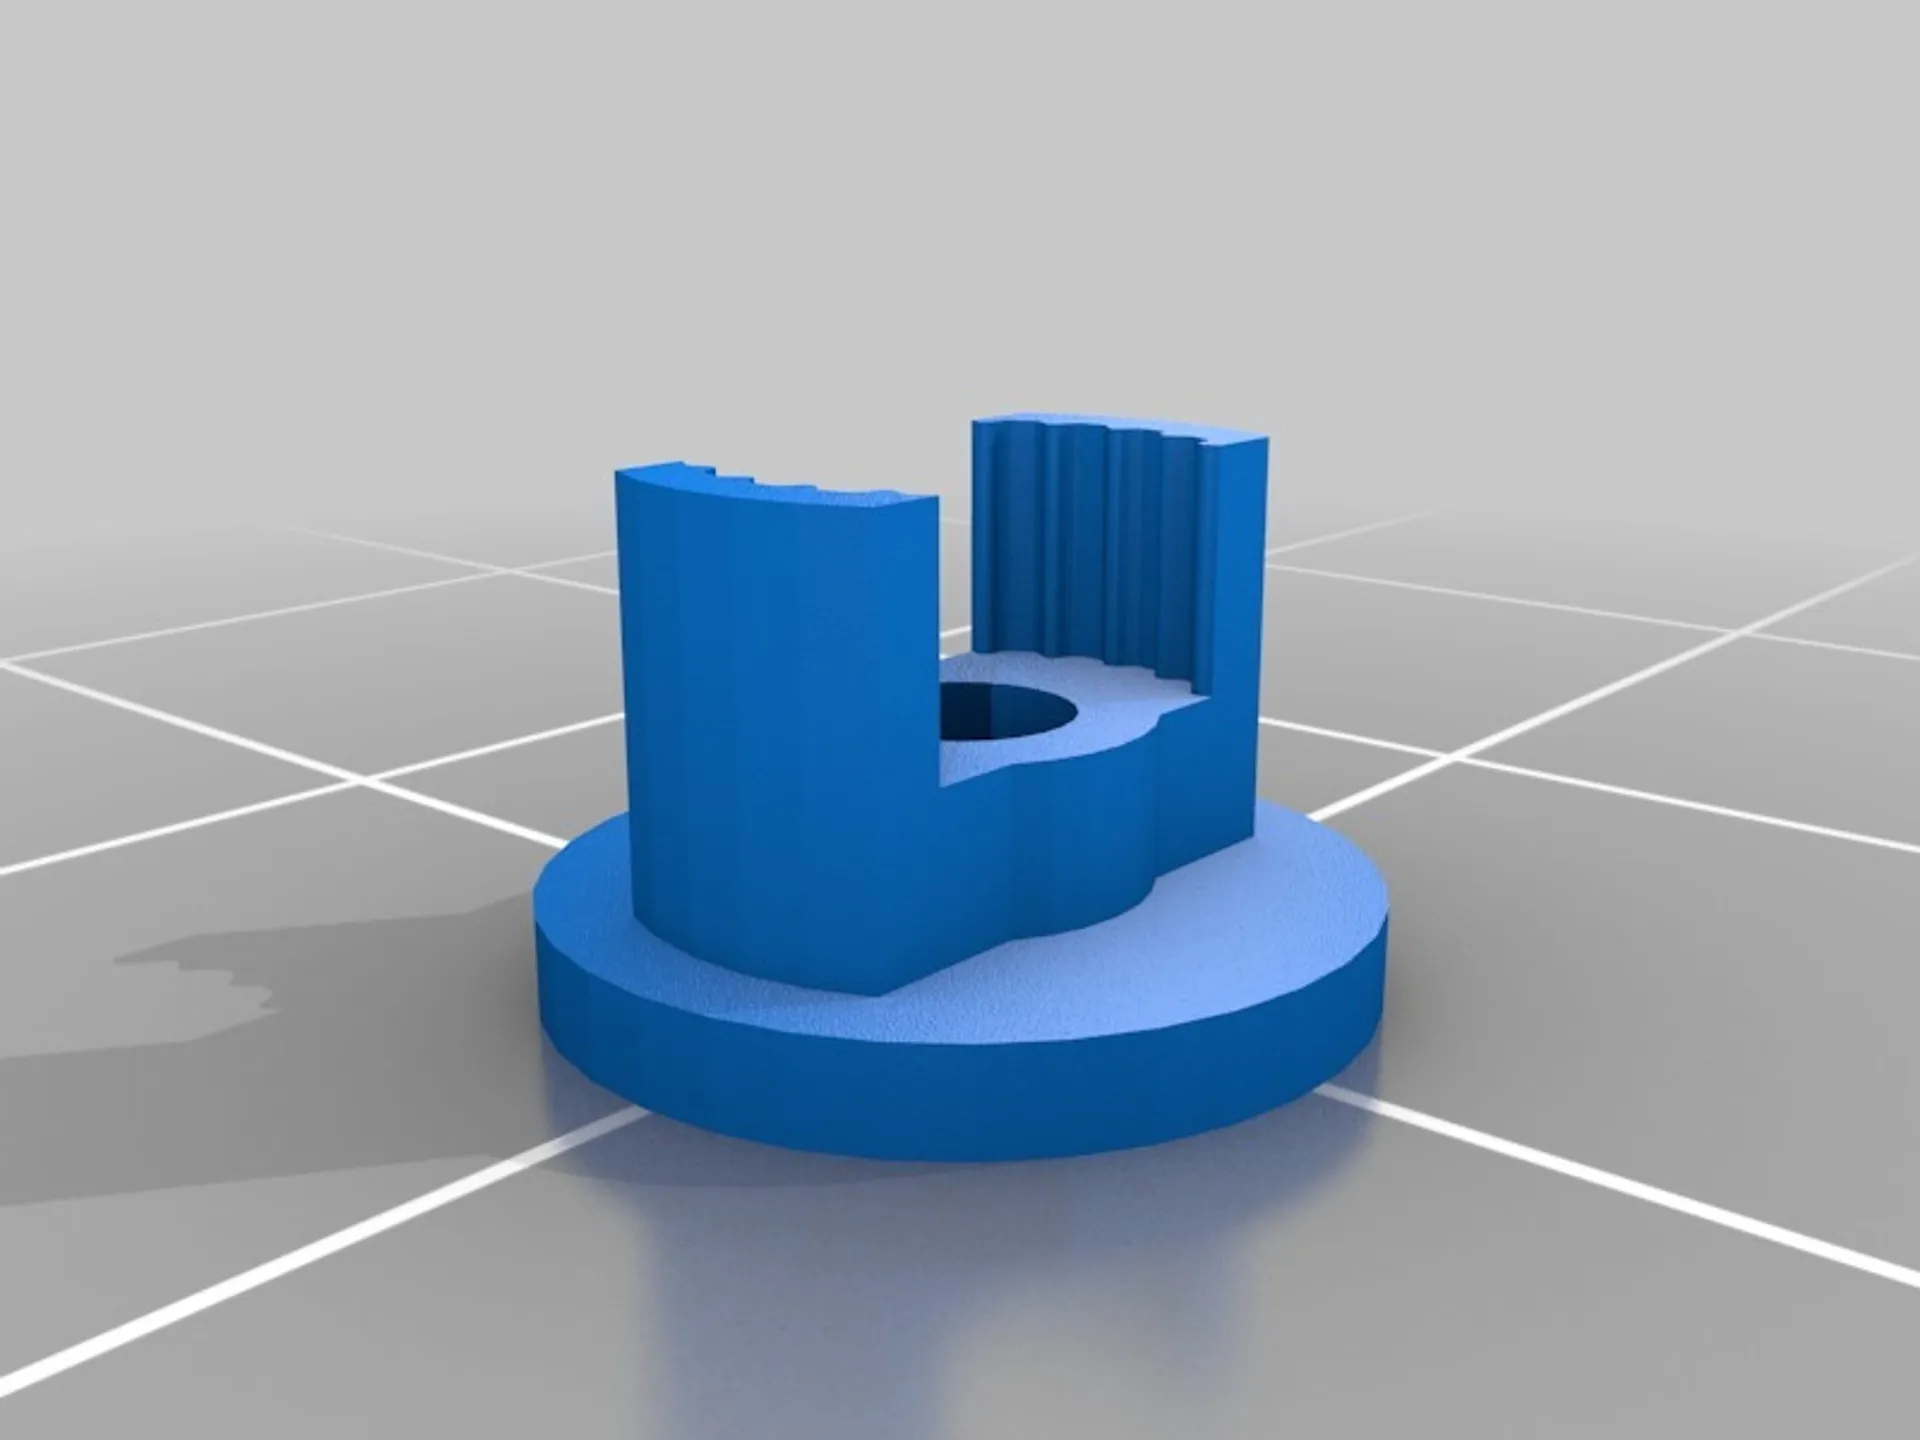
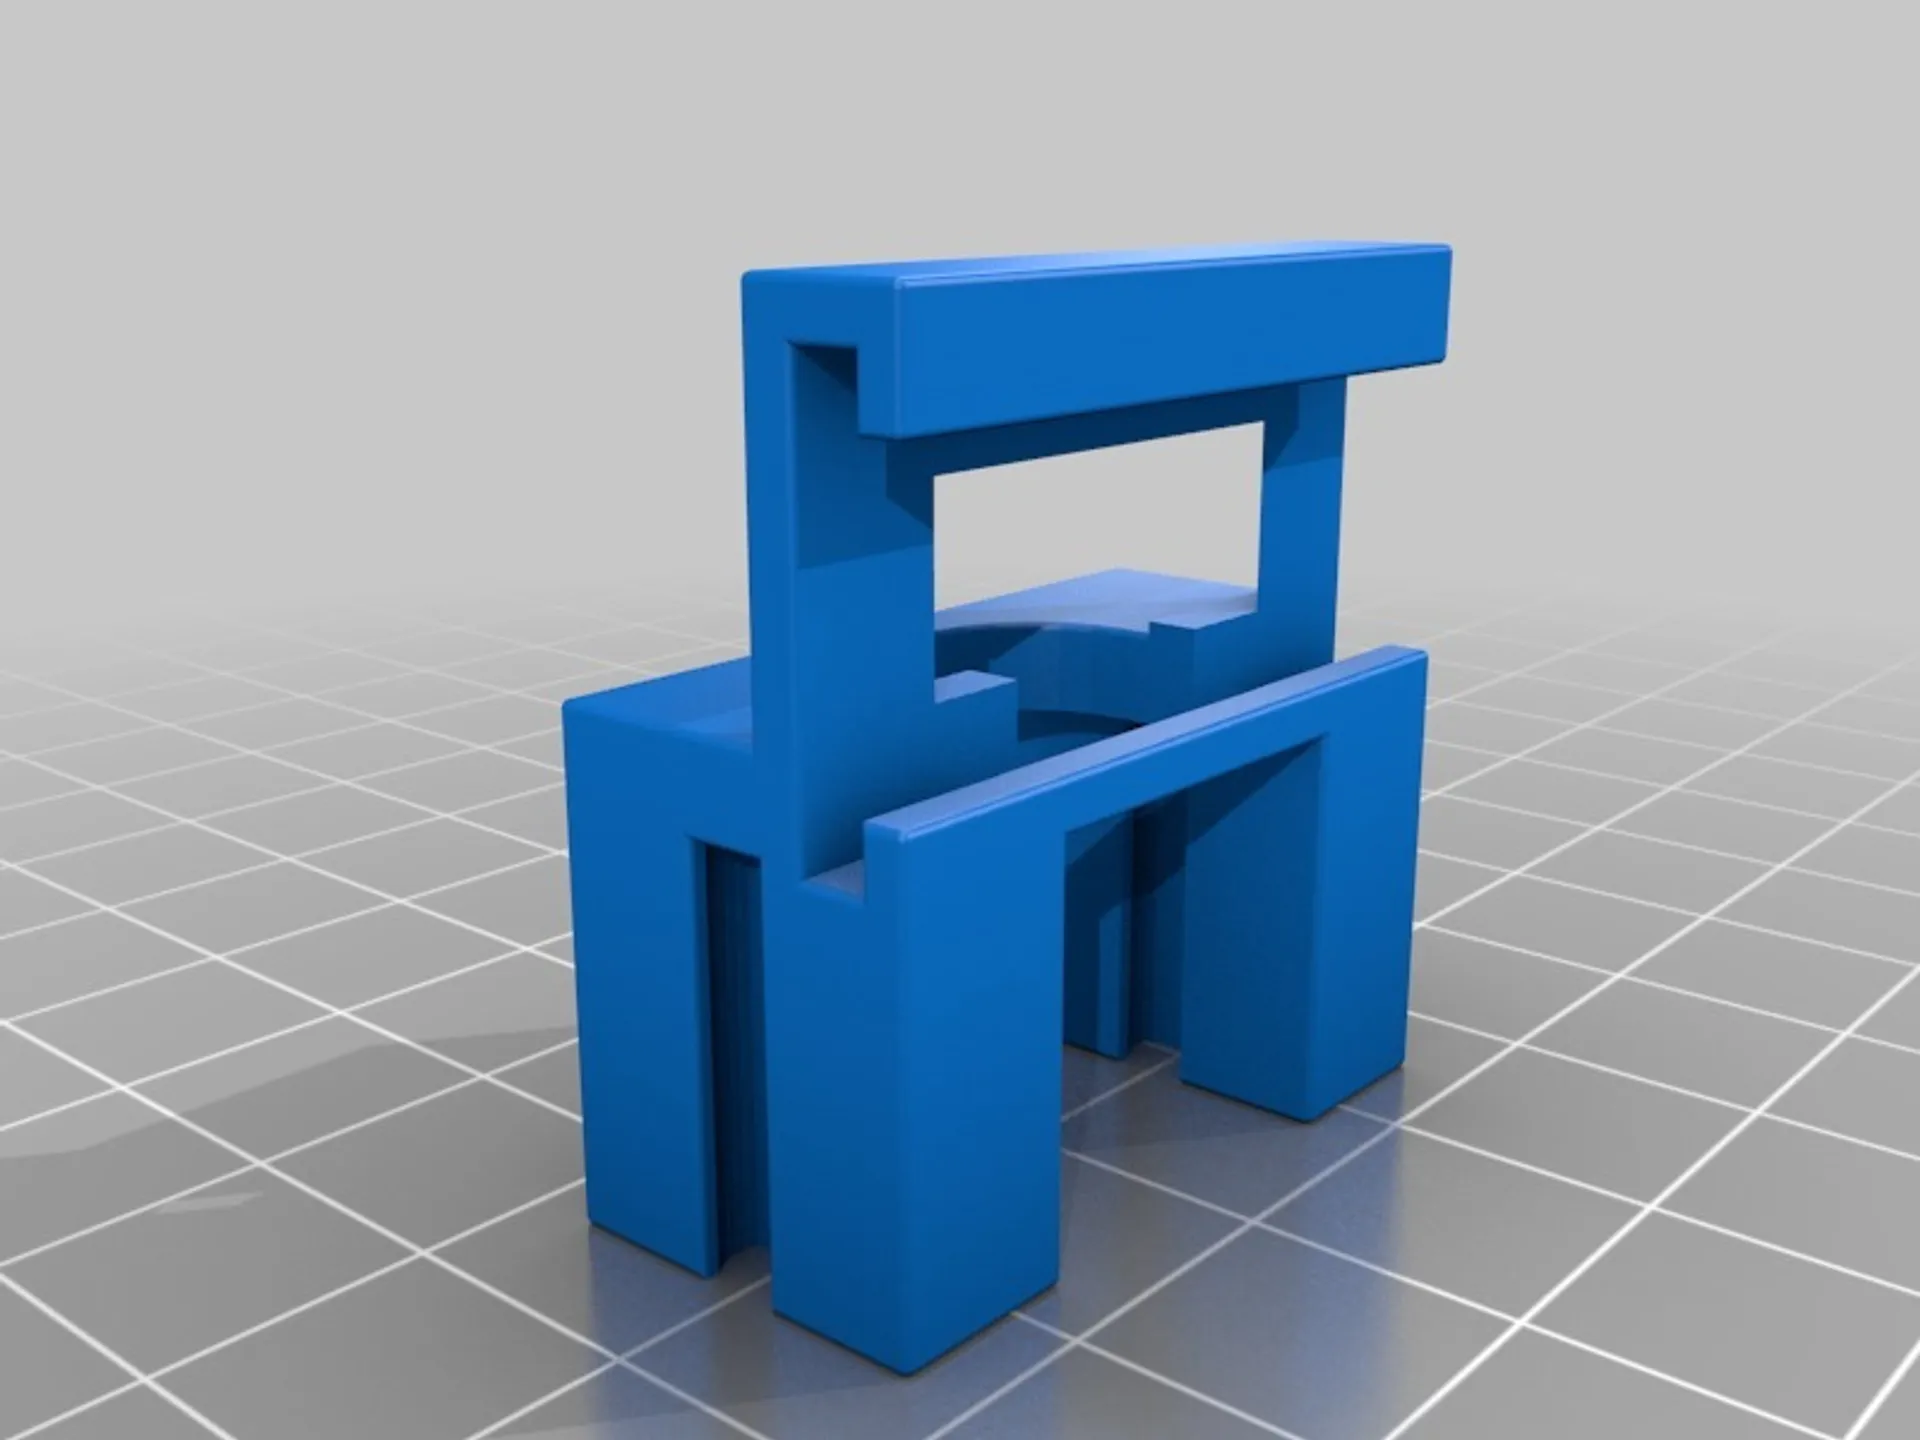
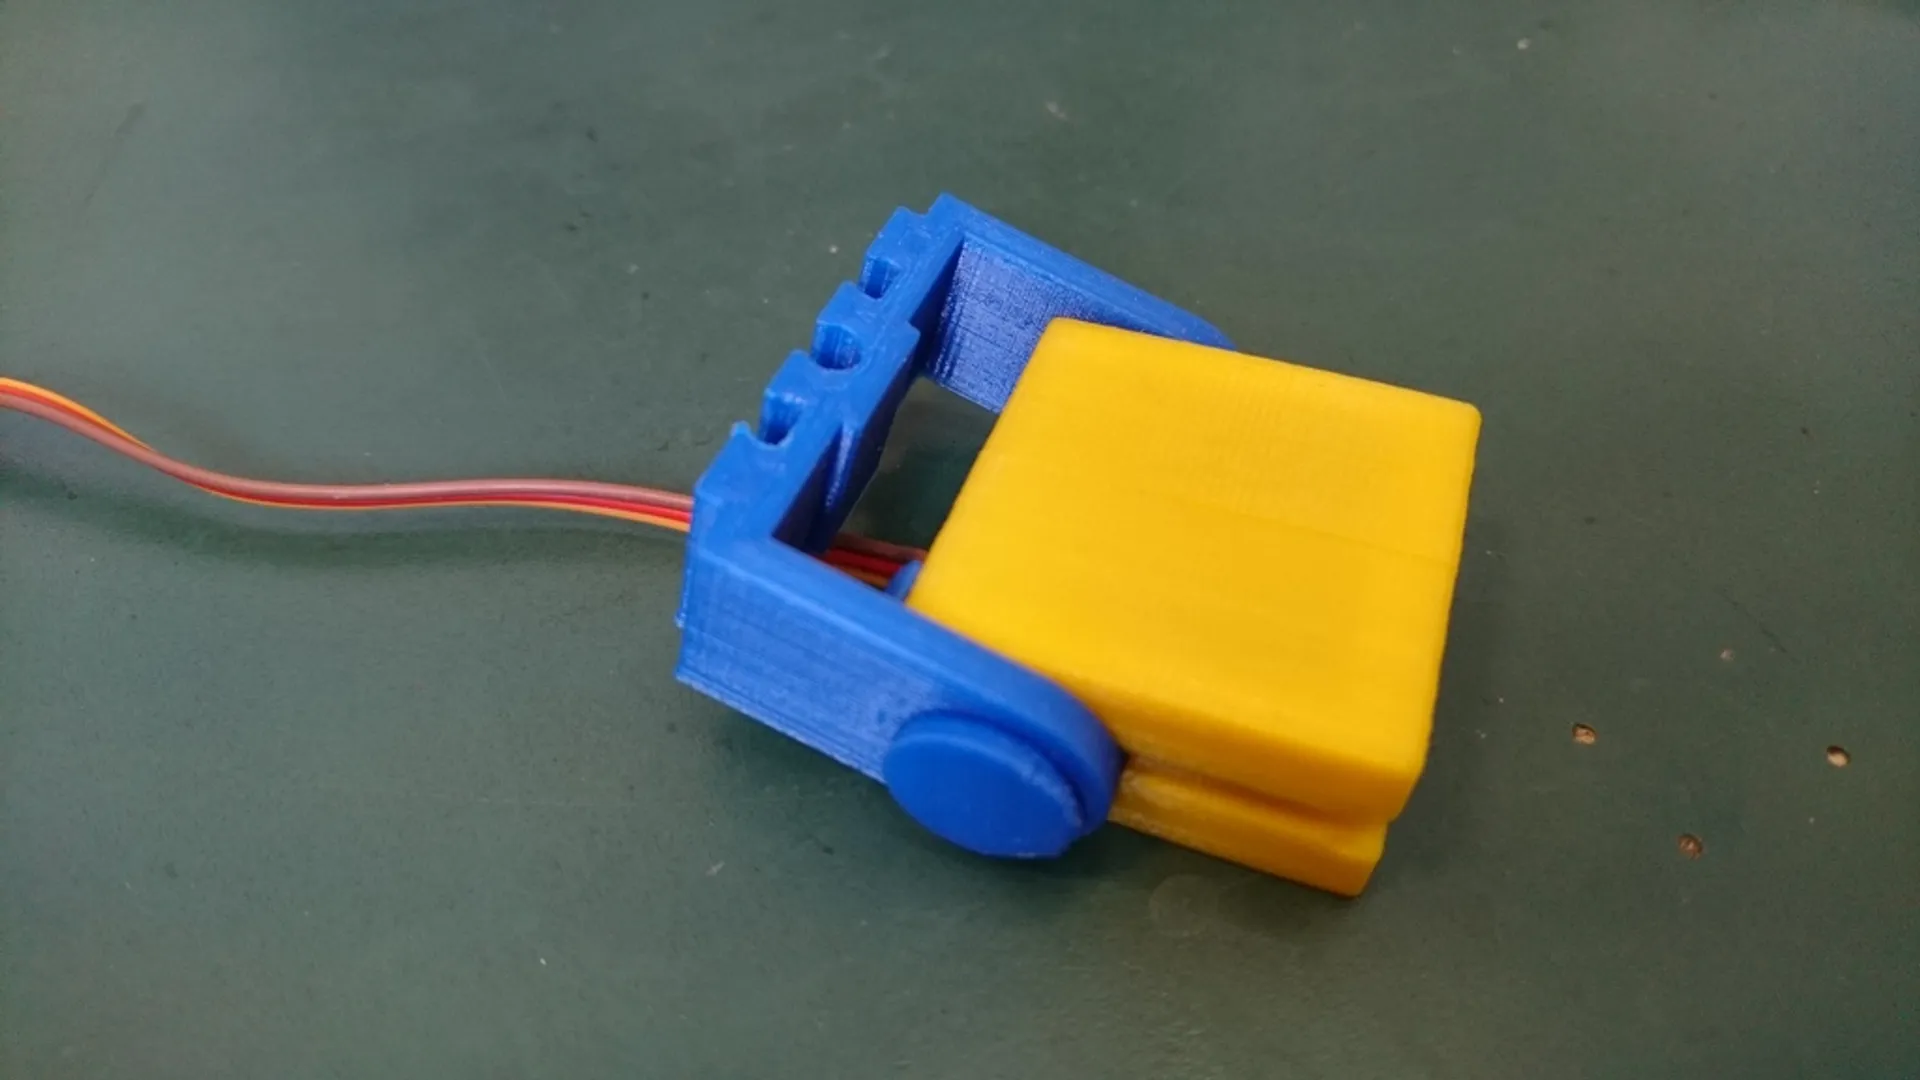
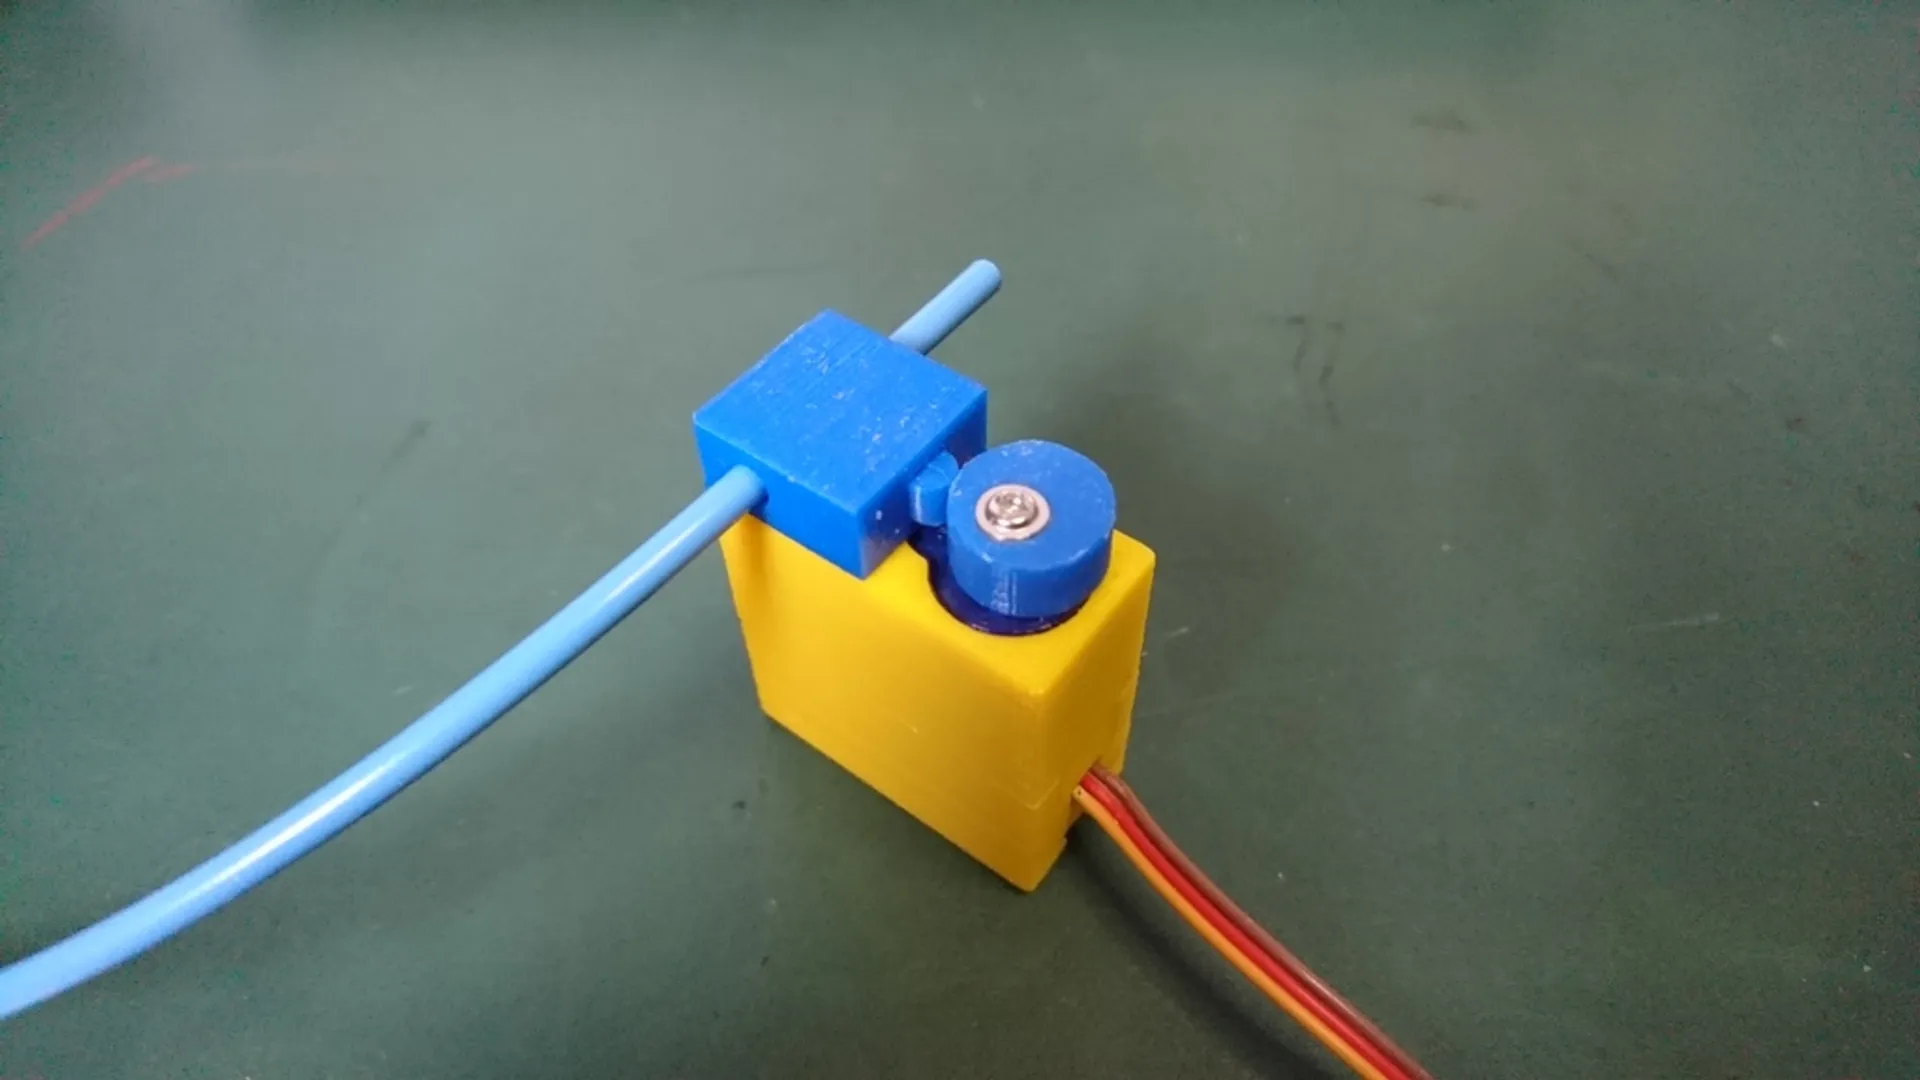
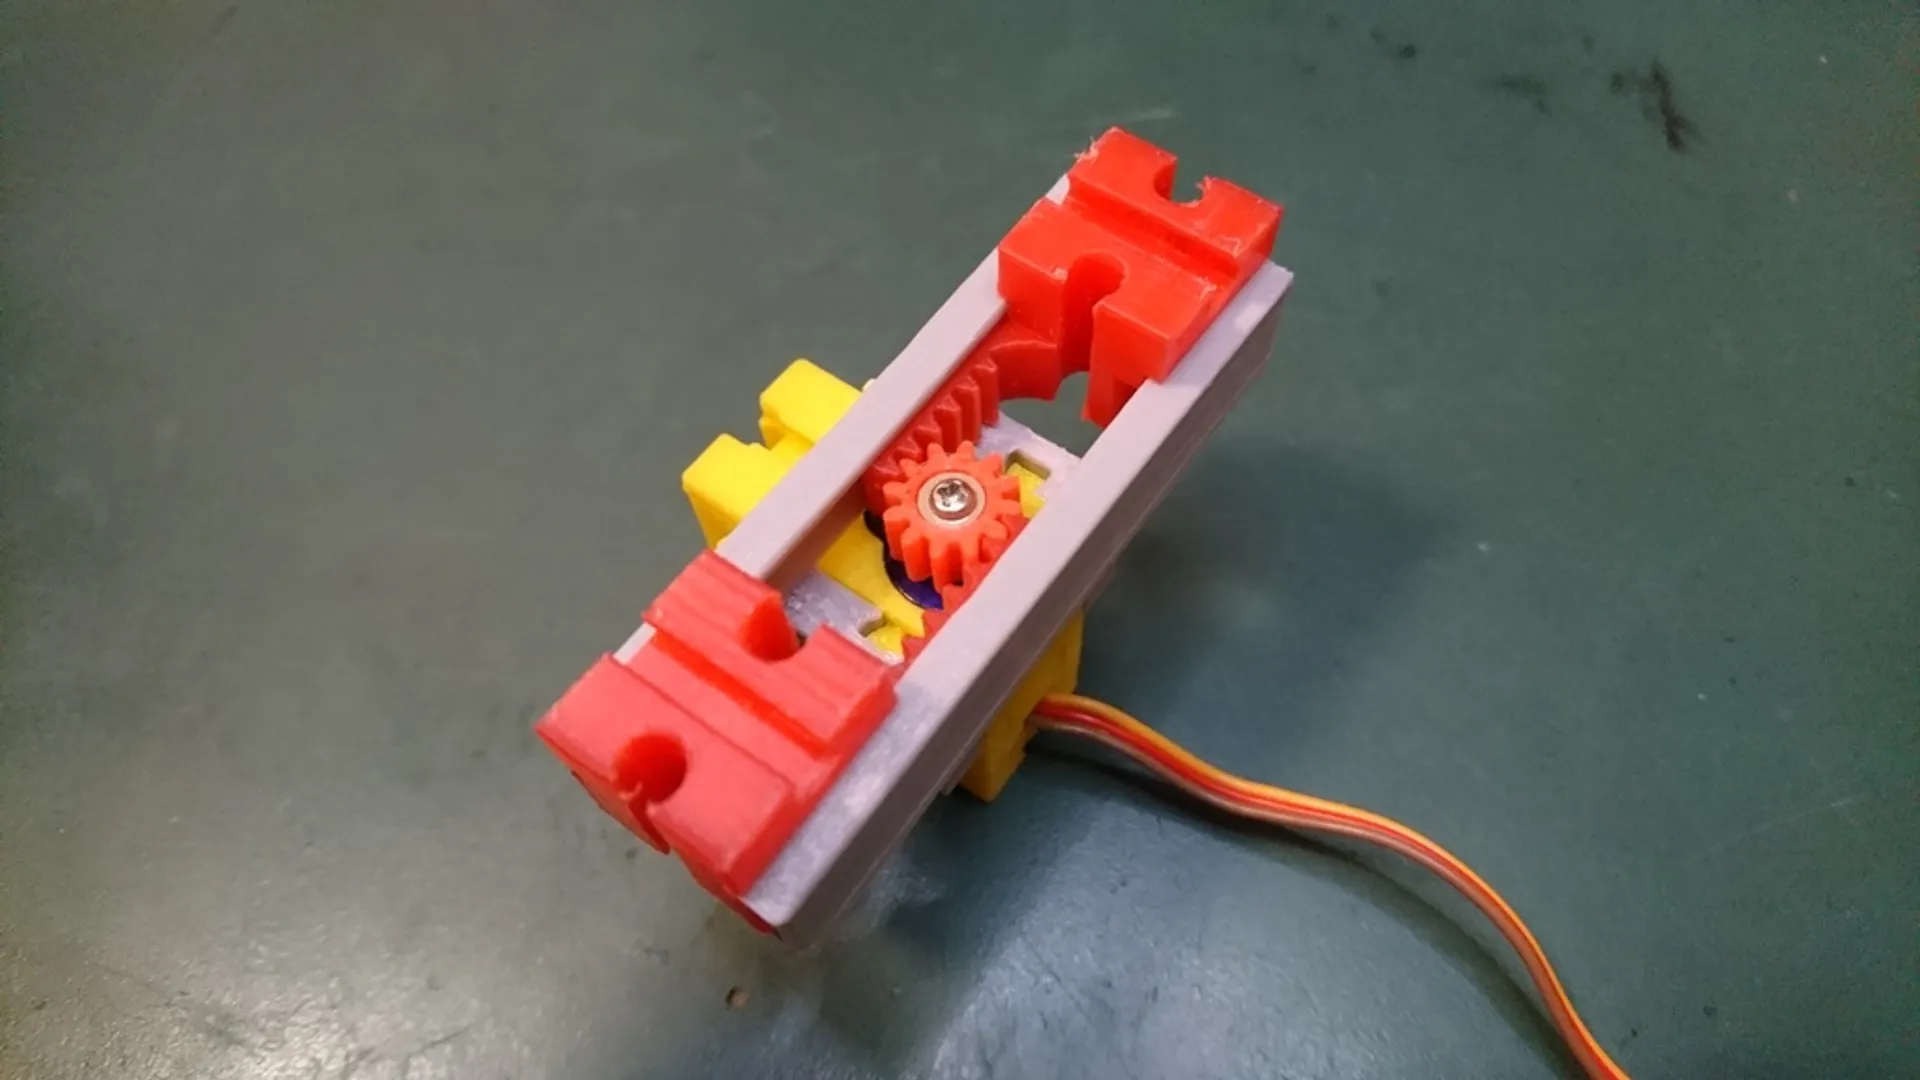
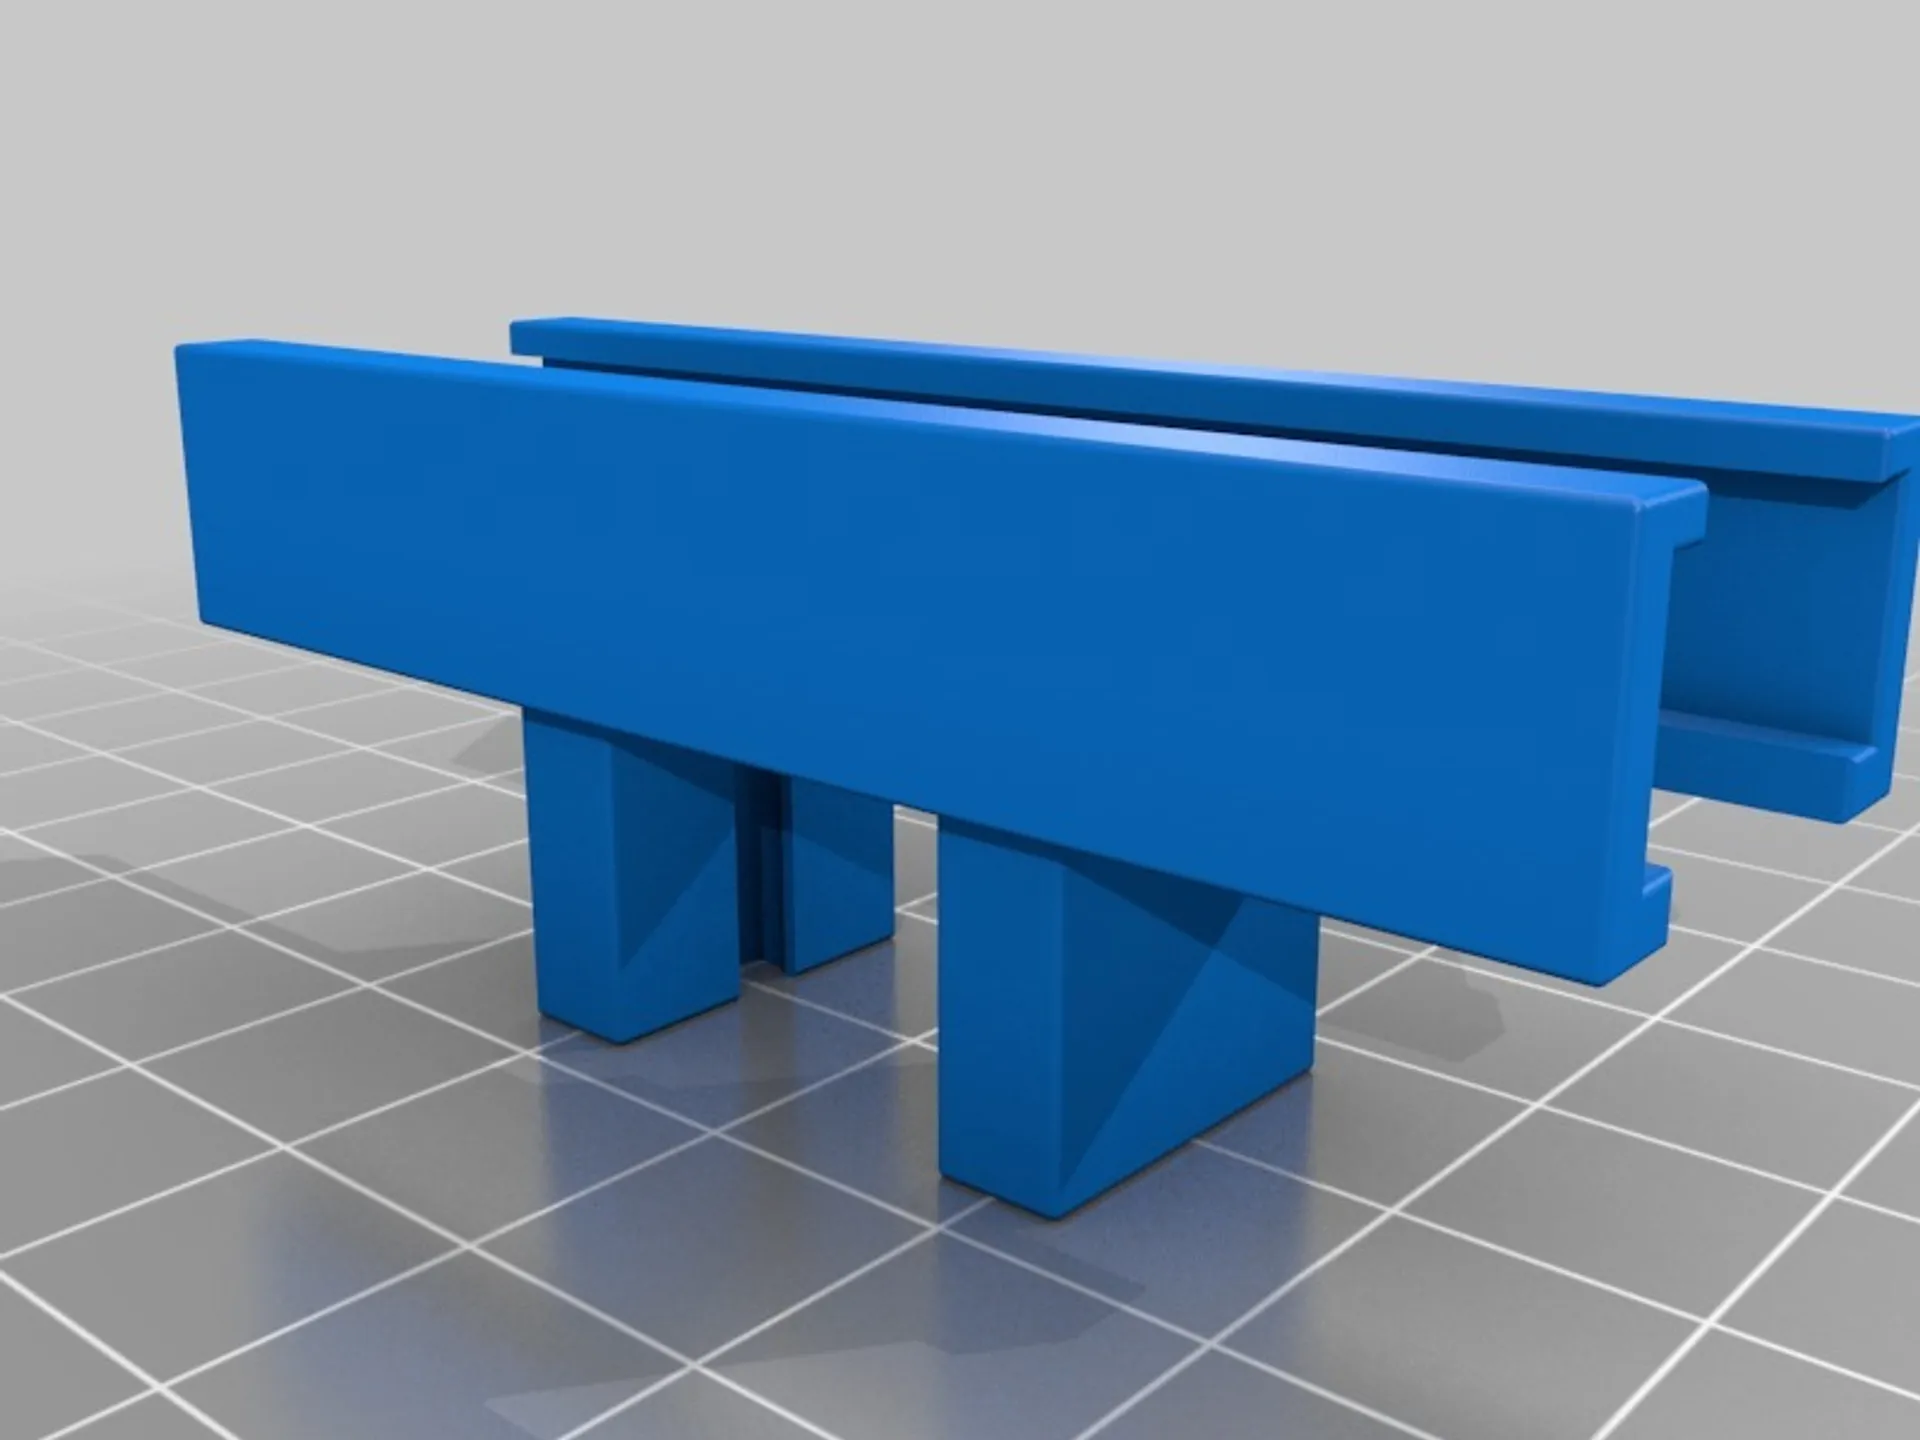
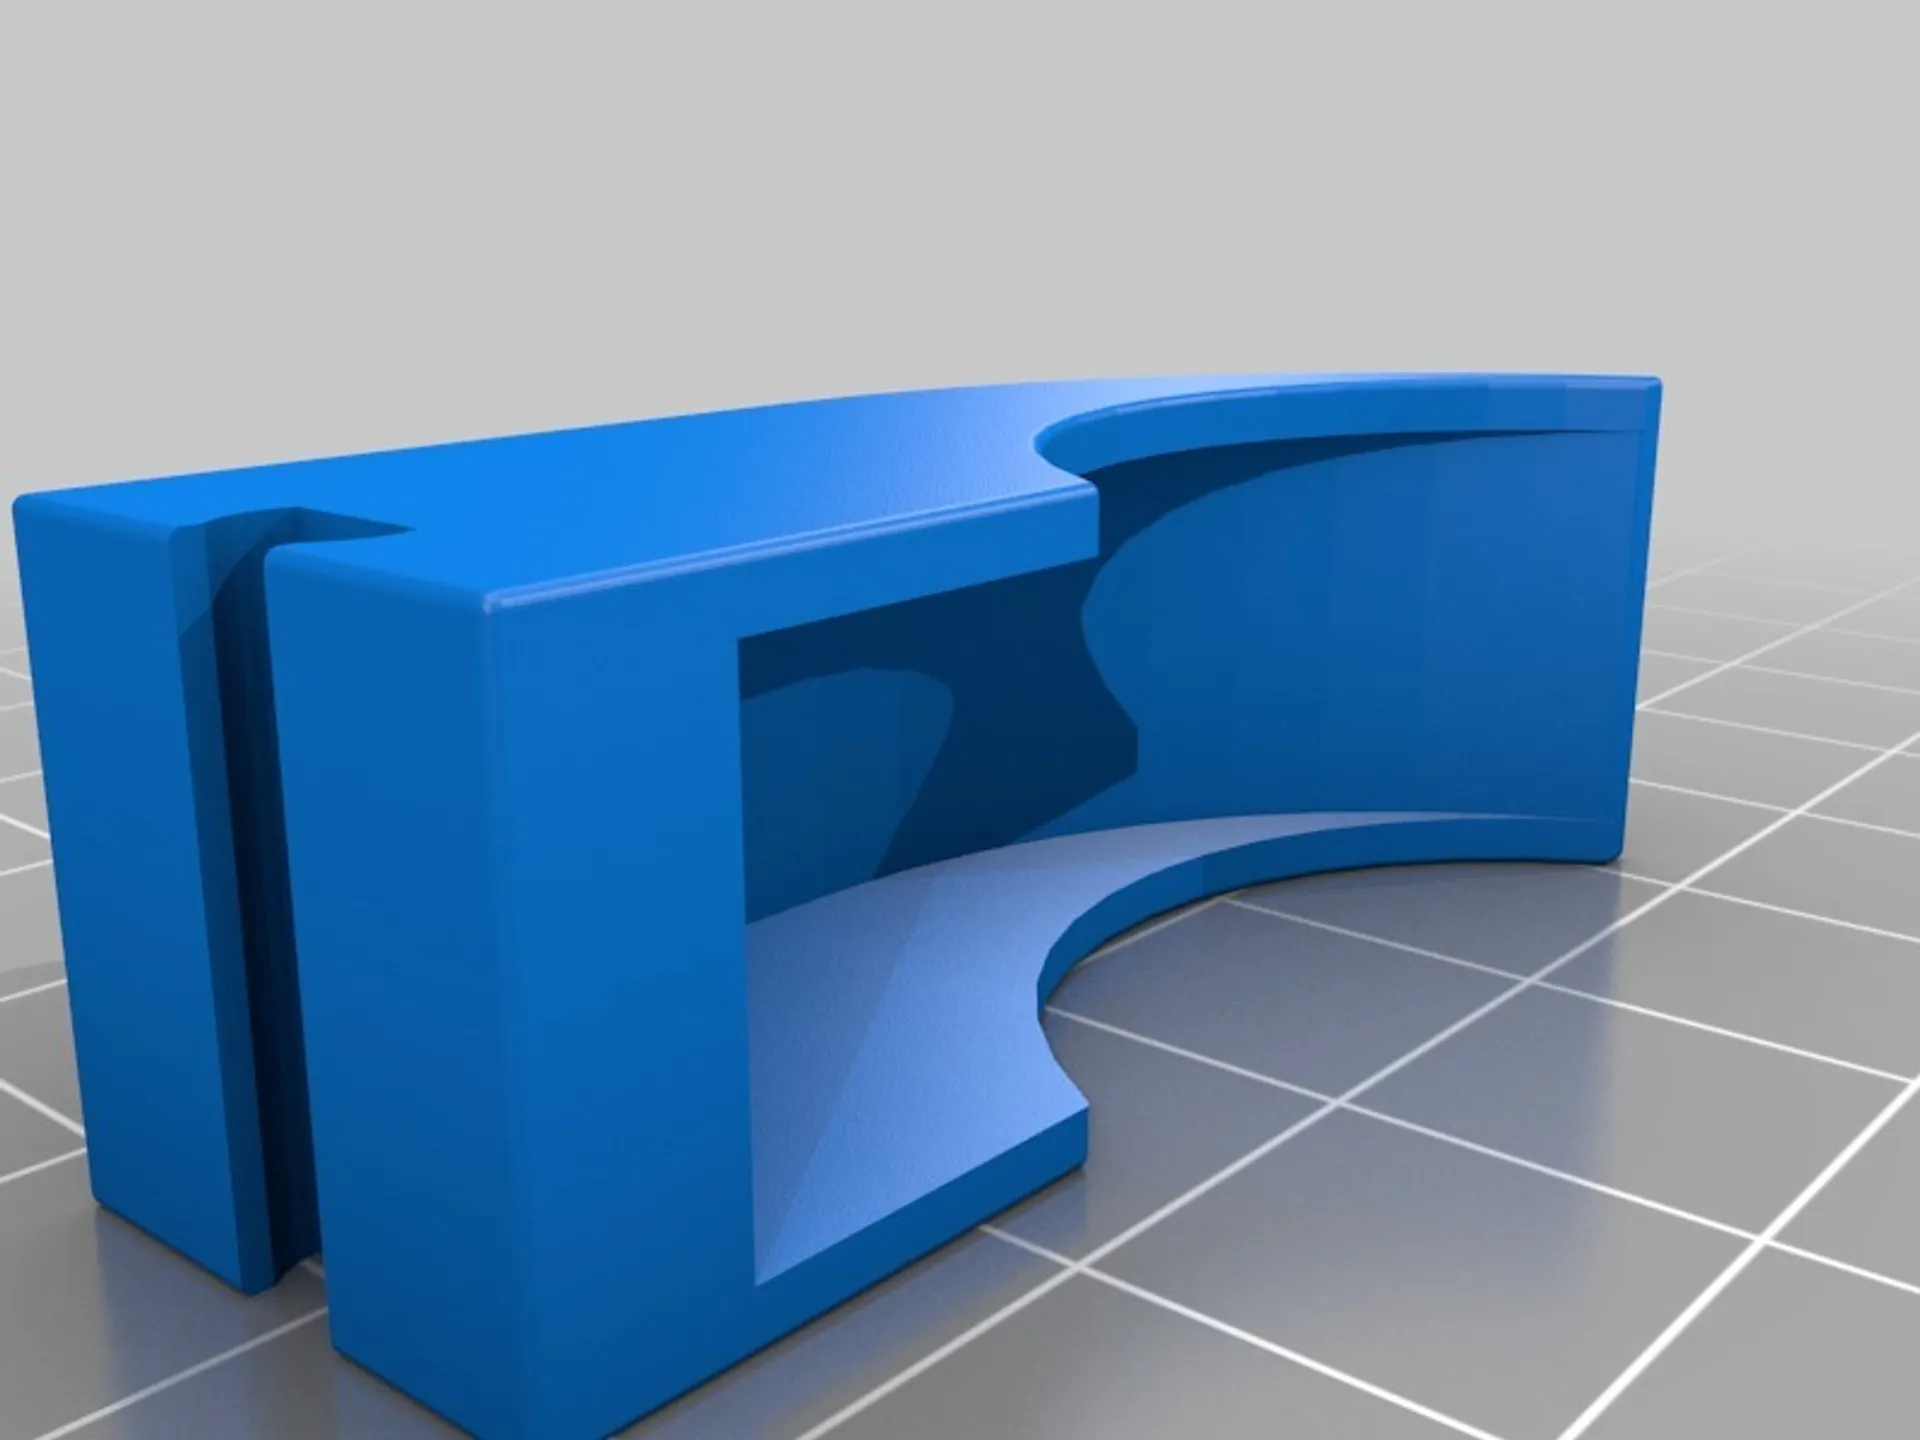
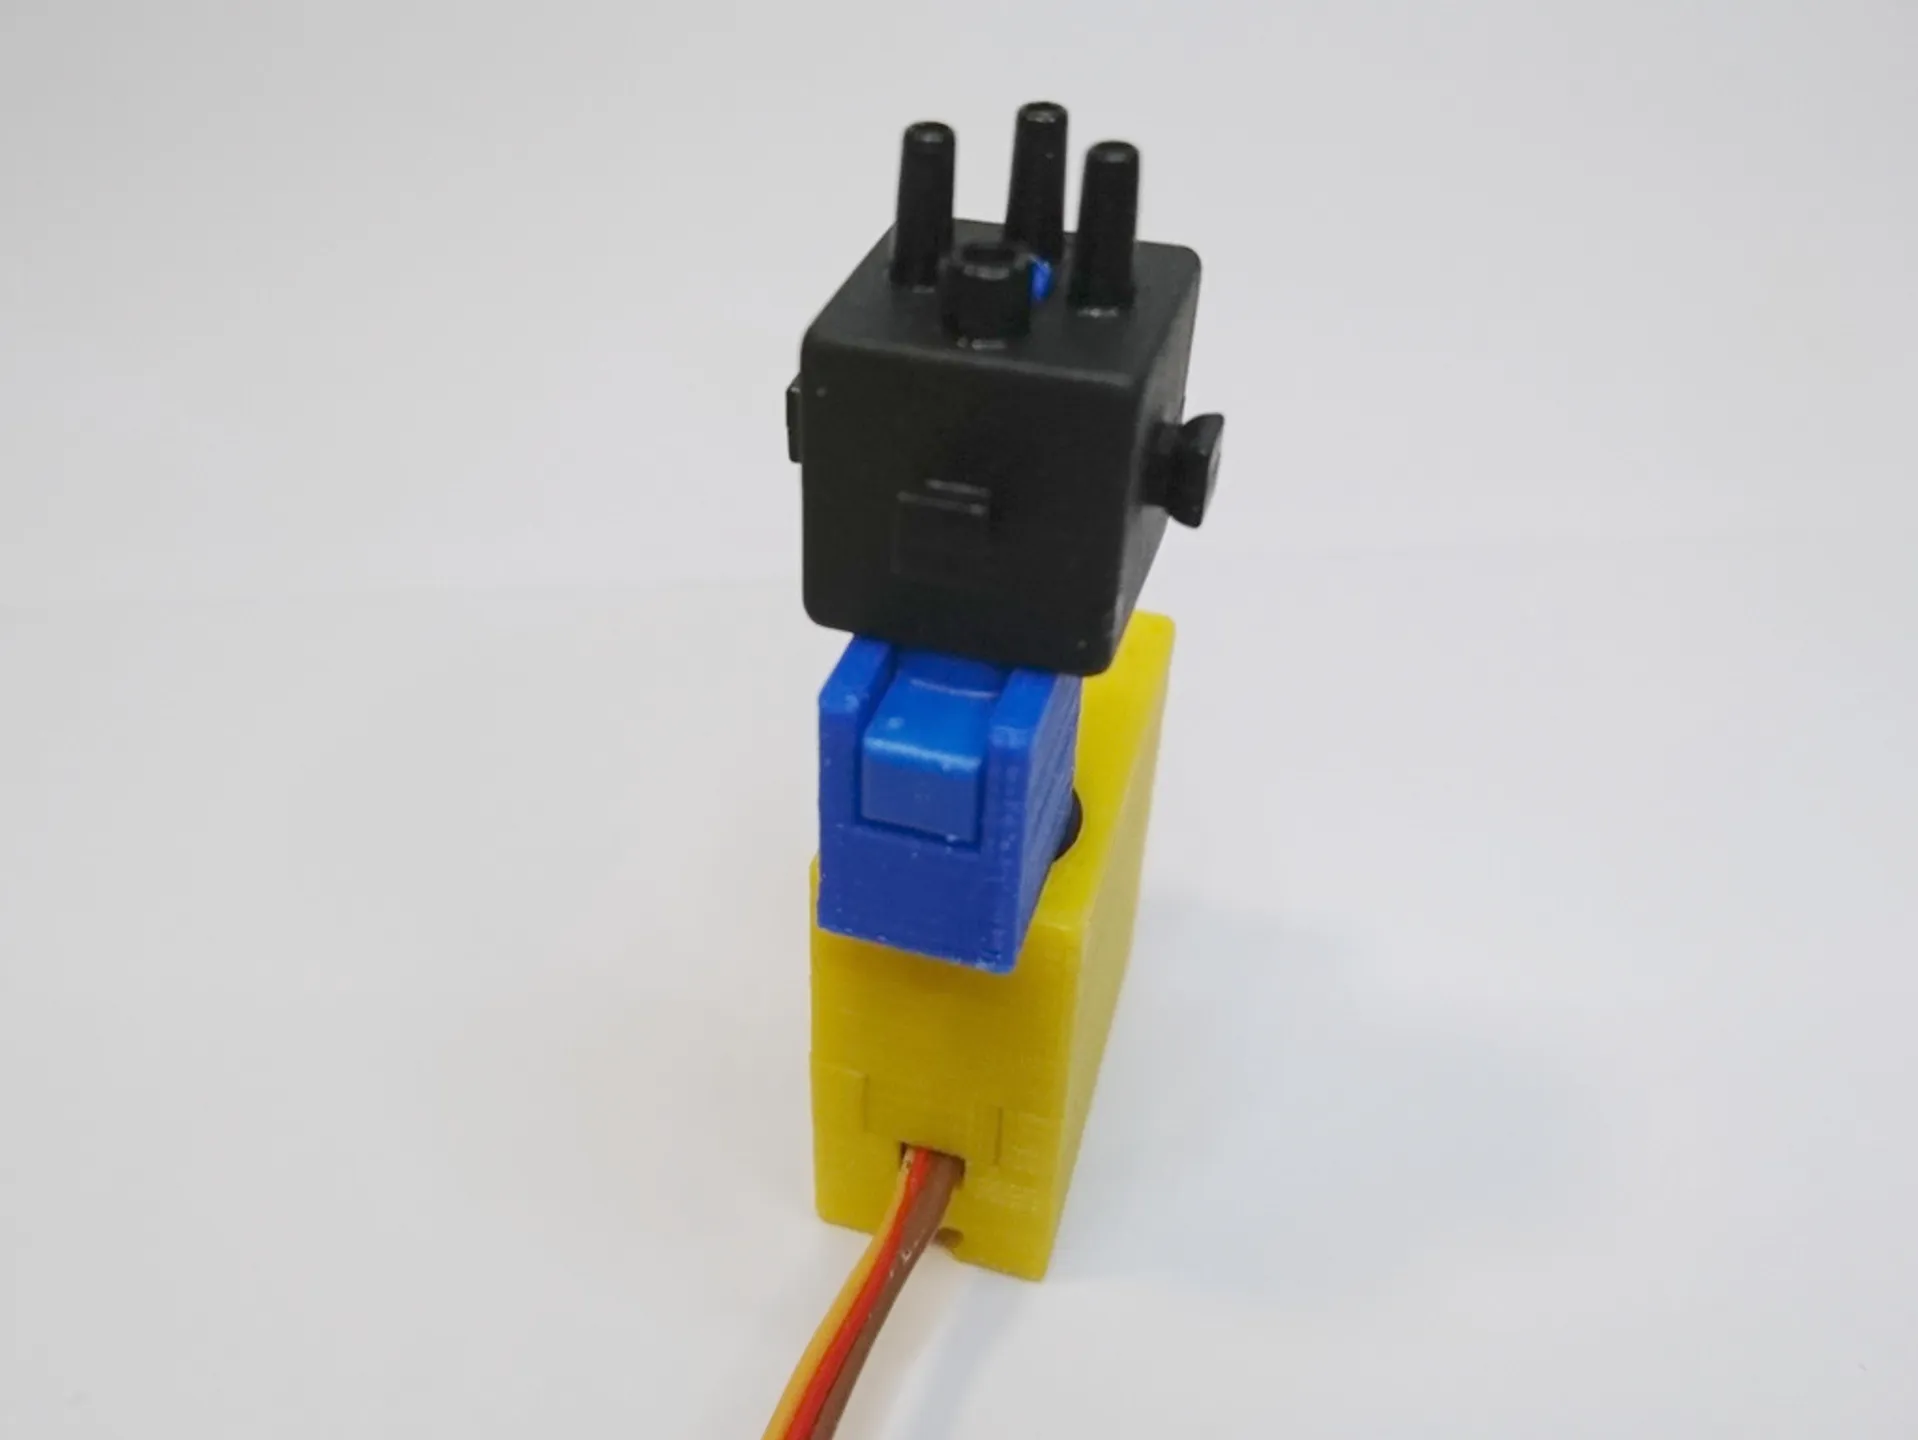
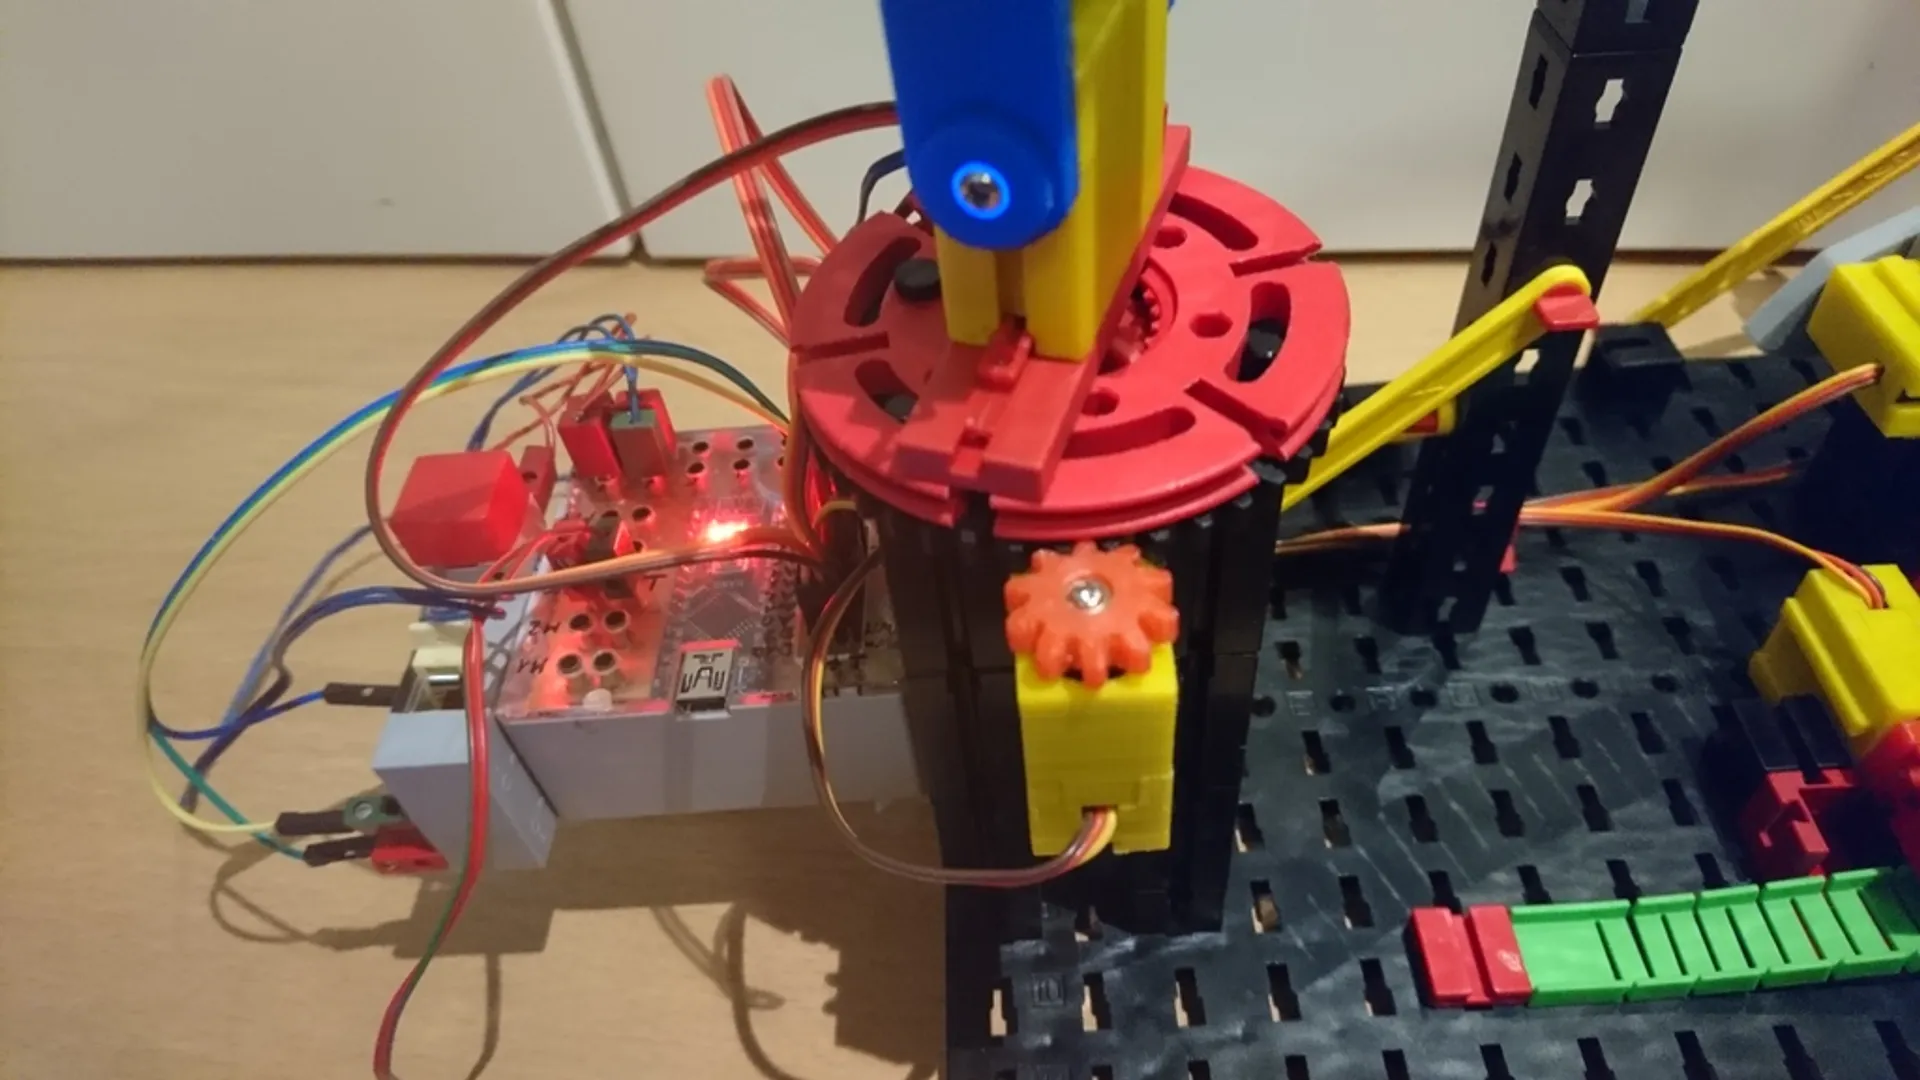
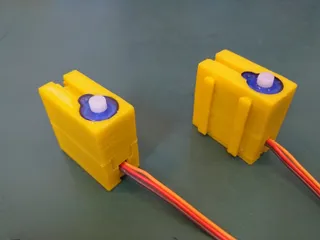
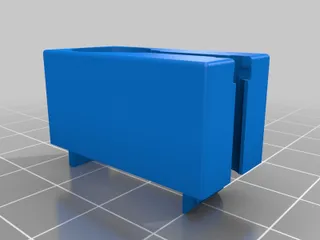
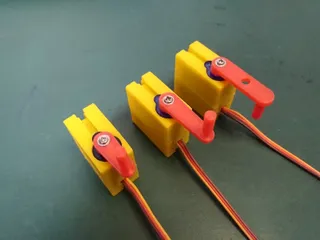
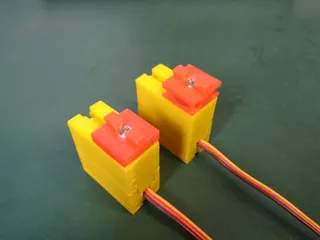
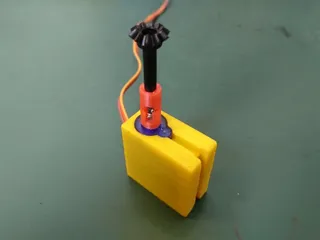
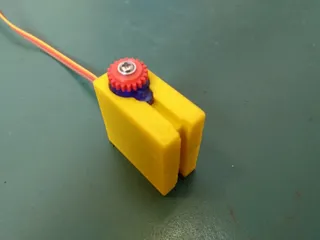
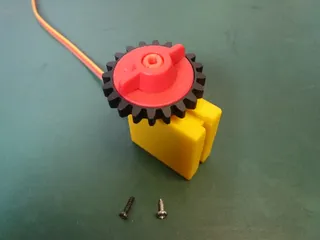
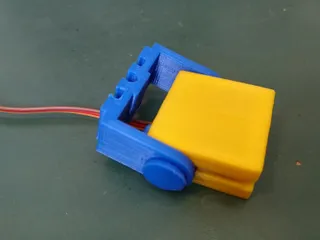
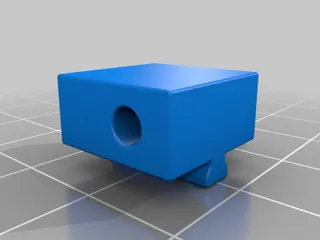
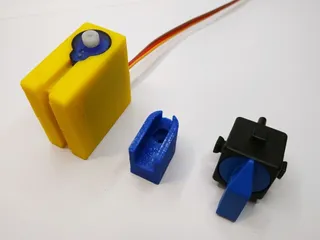
This is an enclosure for the ubiquitous SG90 mini servos (and others with the same dimensions like SG92R or HXT900) which makes it compatible with the fischertechnik construction toy system. It comes in two versions, a "naked" one, and one with pegs at the sides.
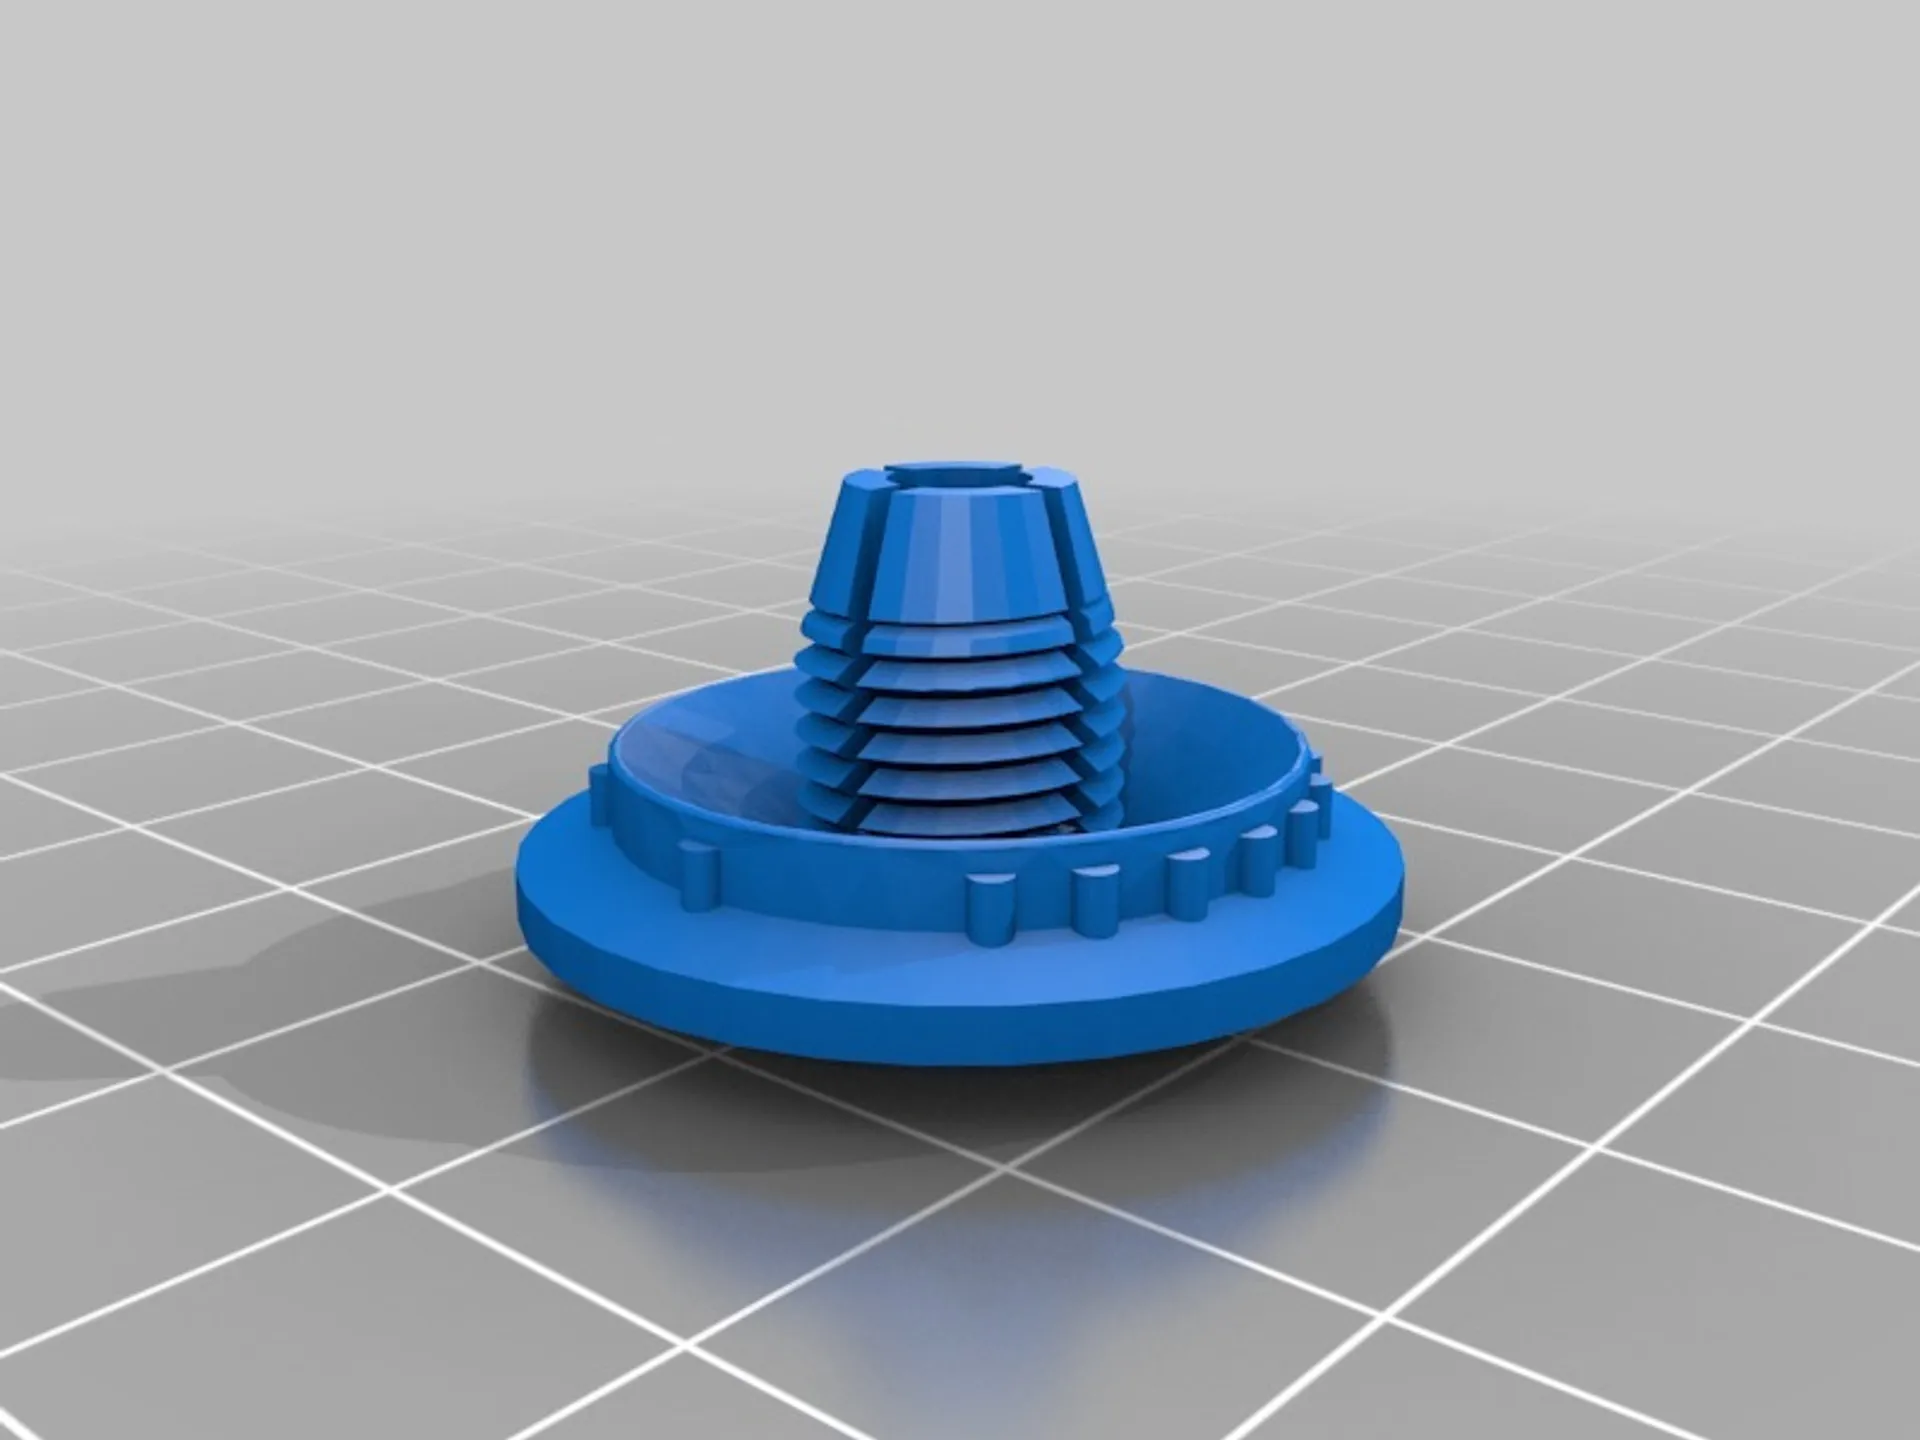
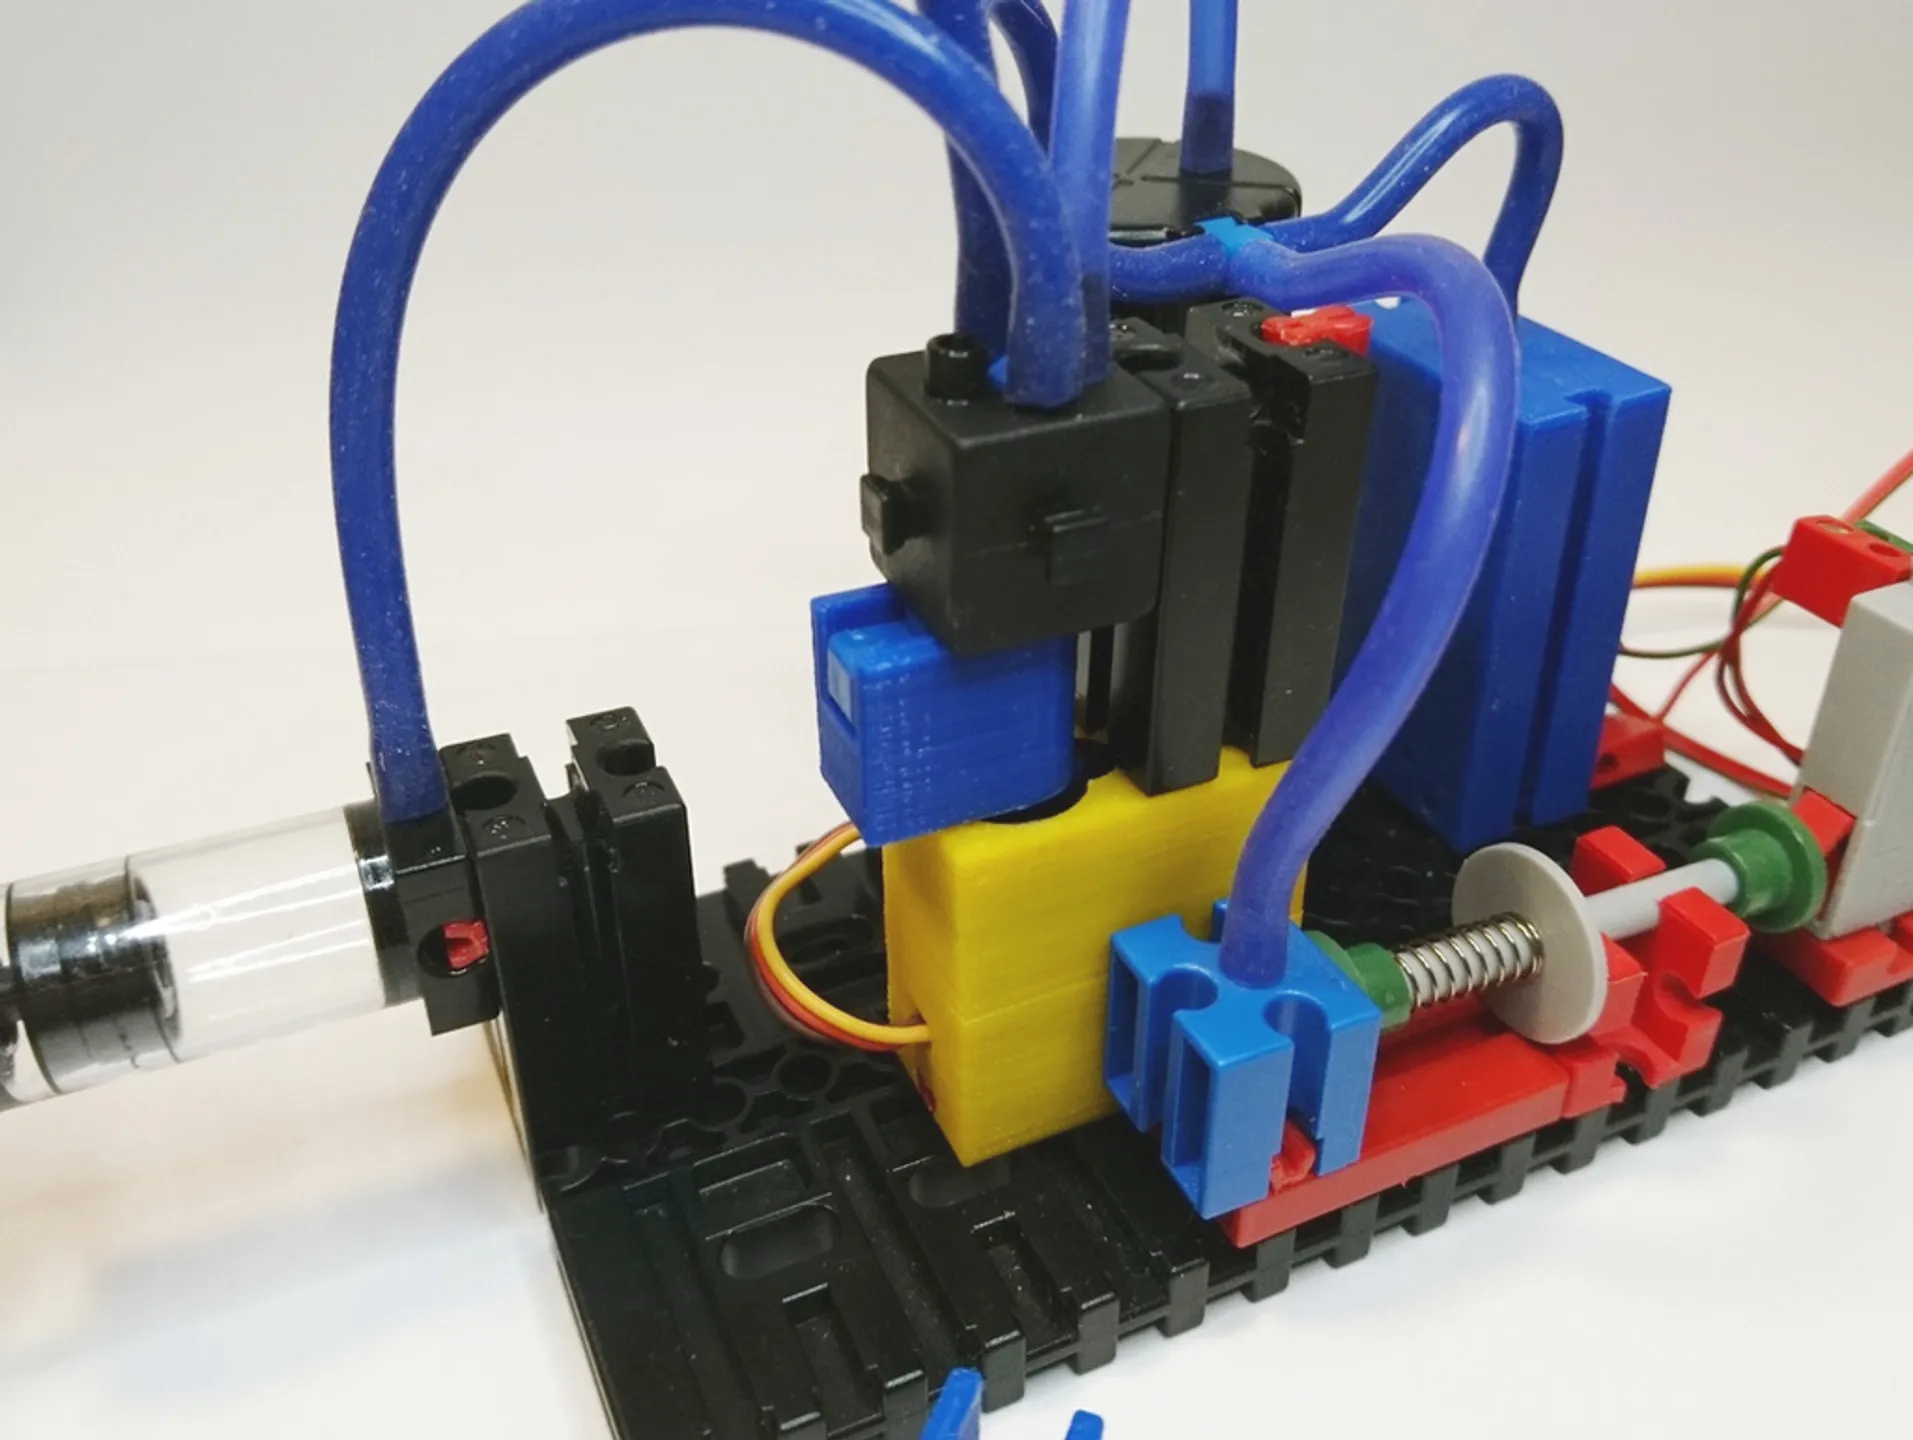
As this is called "mini servo system", I included several adapters for different kinds of fischertechnik parts and applications:
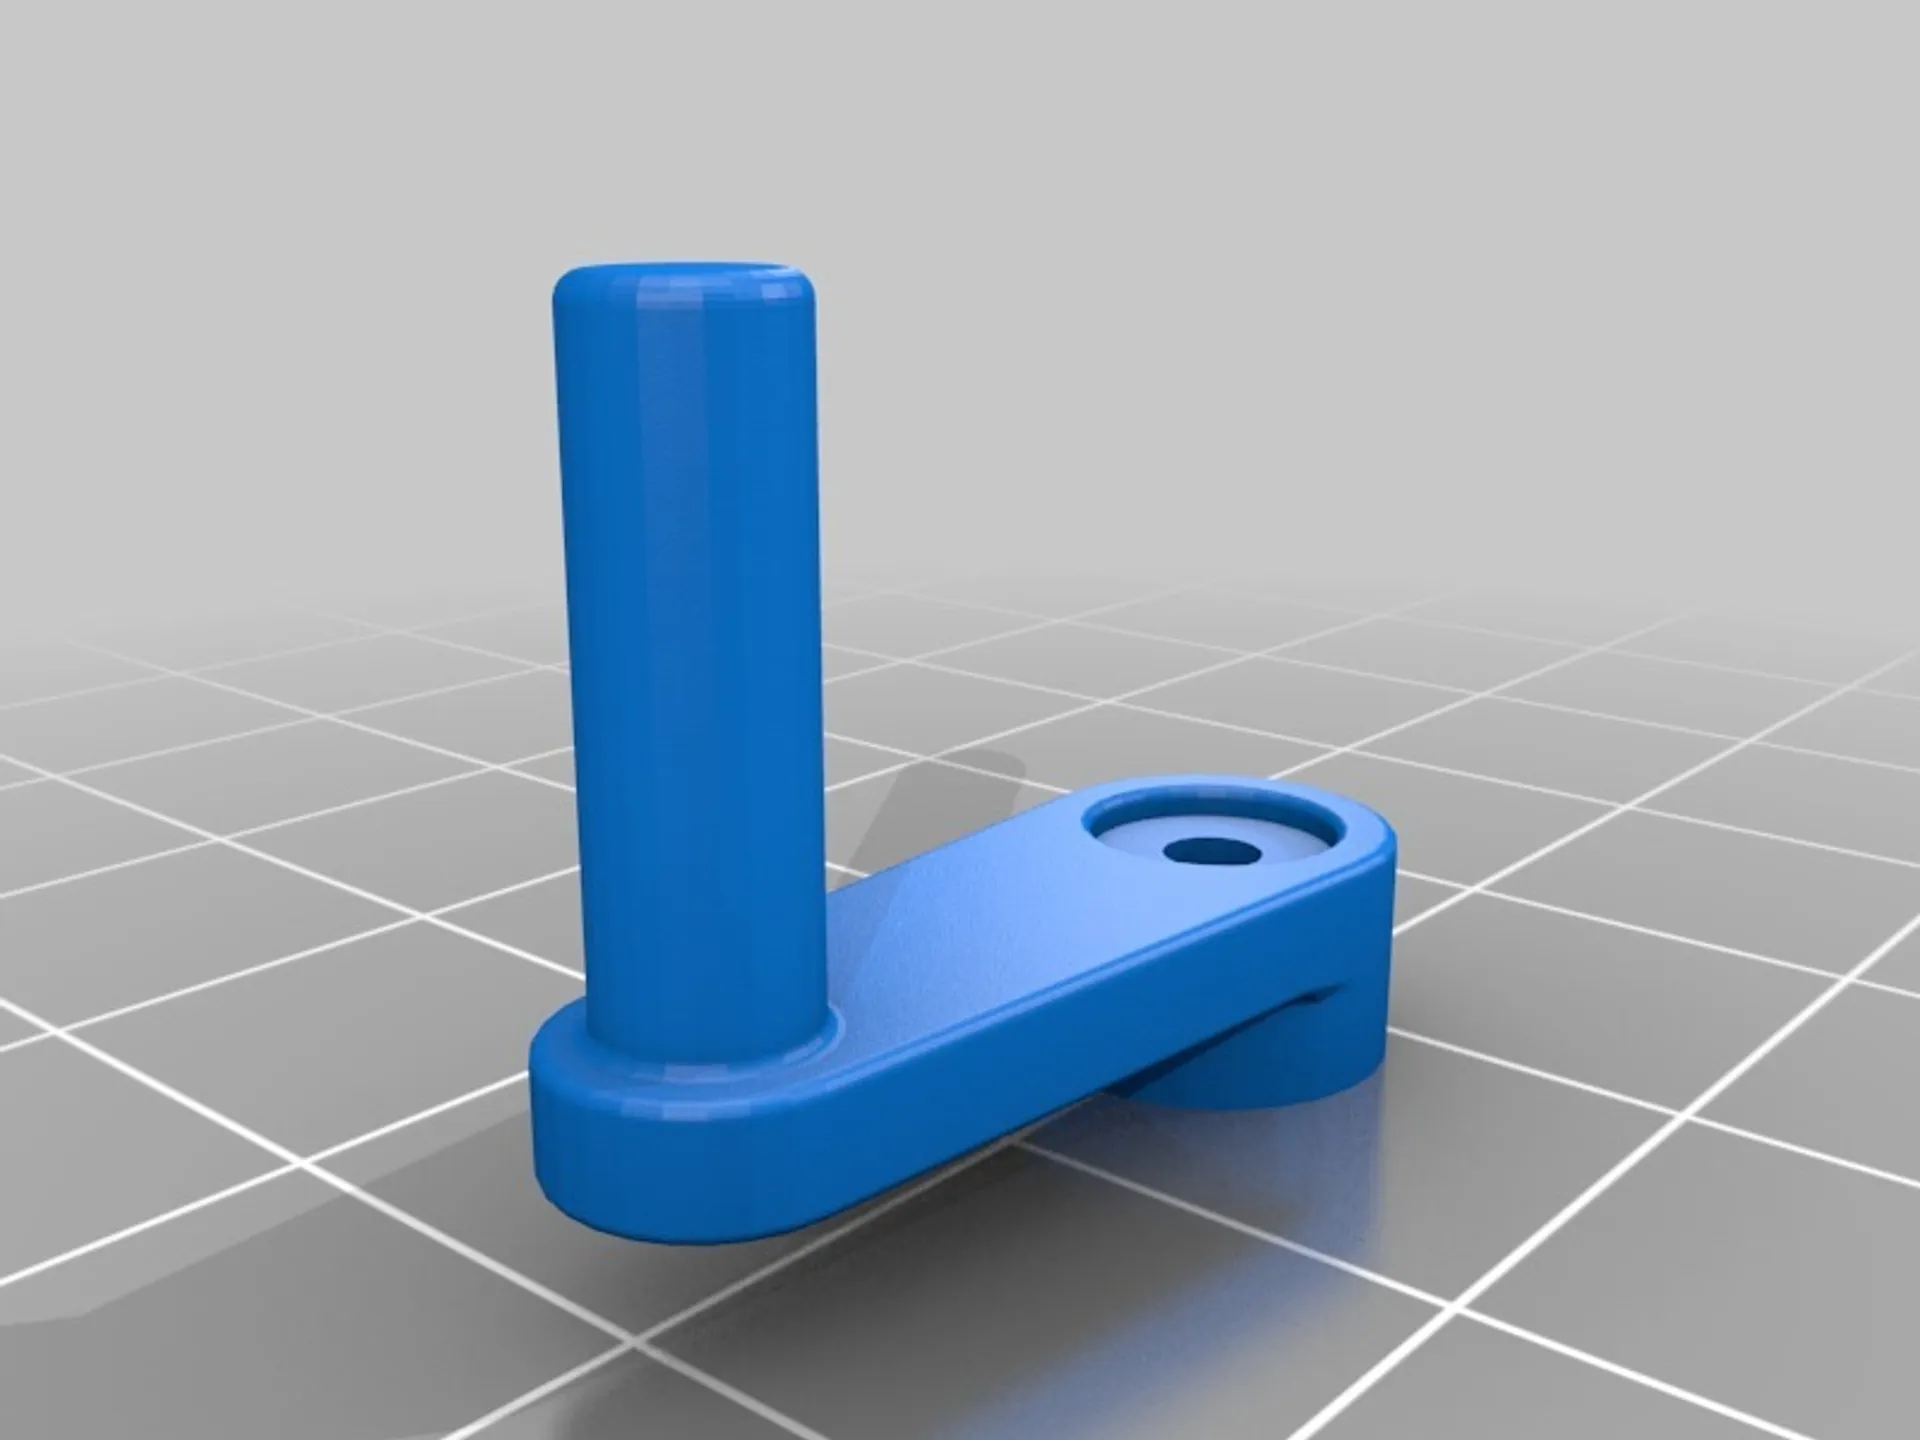
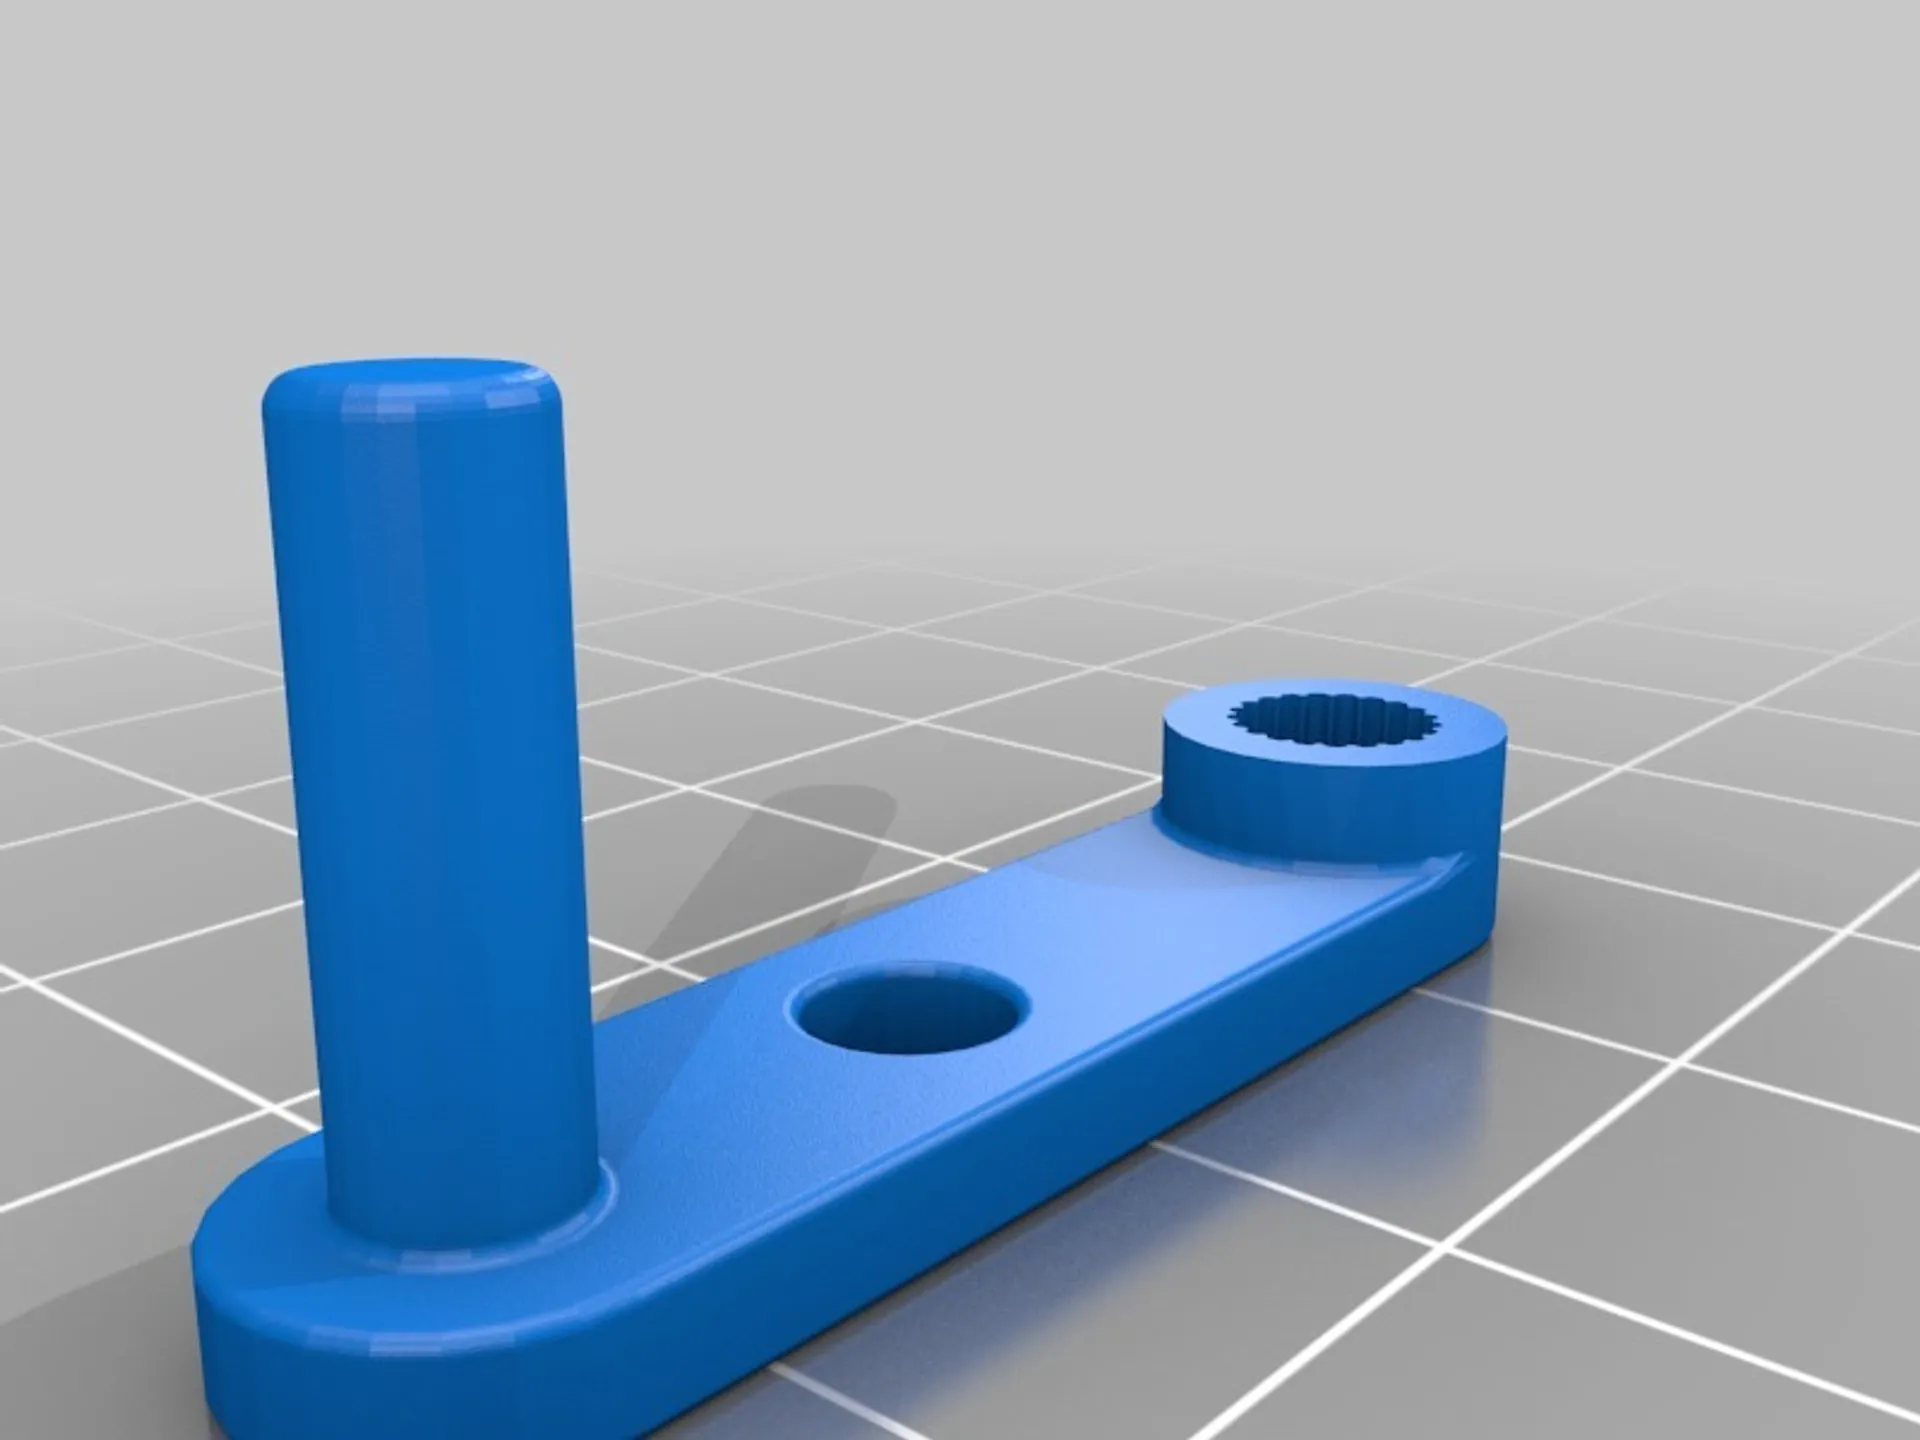
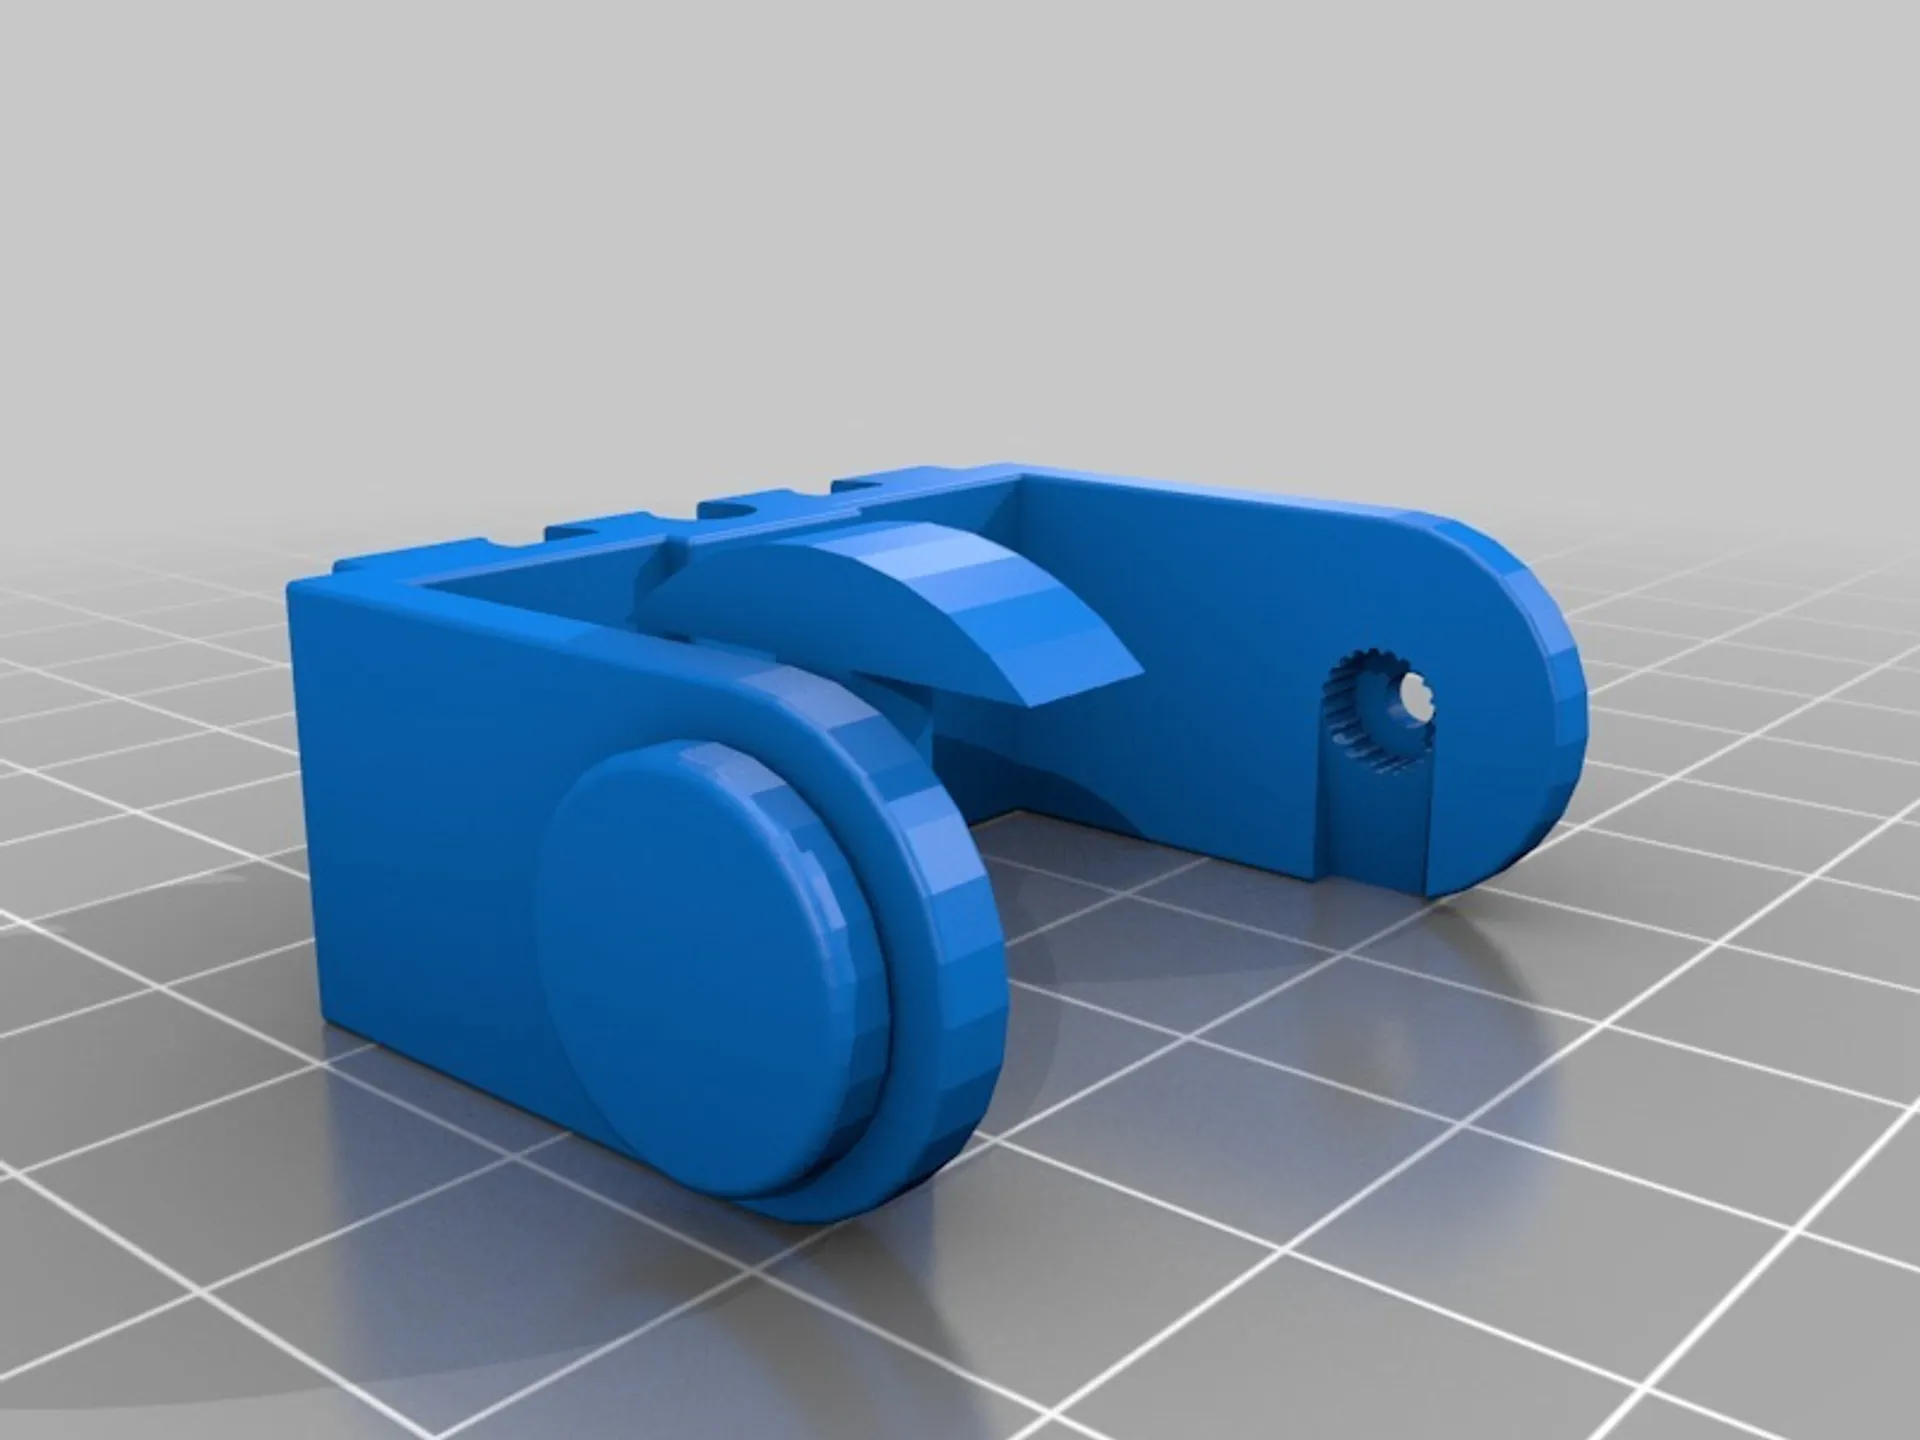
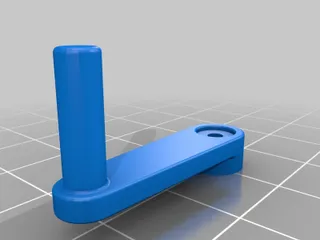
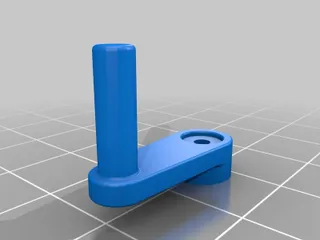
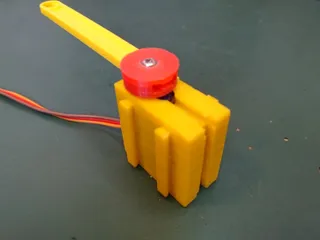
- steering arms with 15, 22.5 and 25mm radius, similar to those provided with the original ft servos (Lenkhebel LR15, LR22,5, LR25)
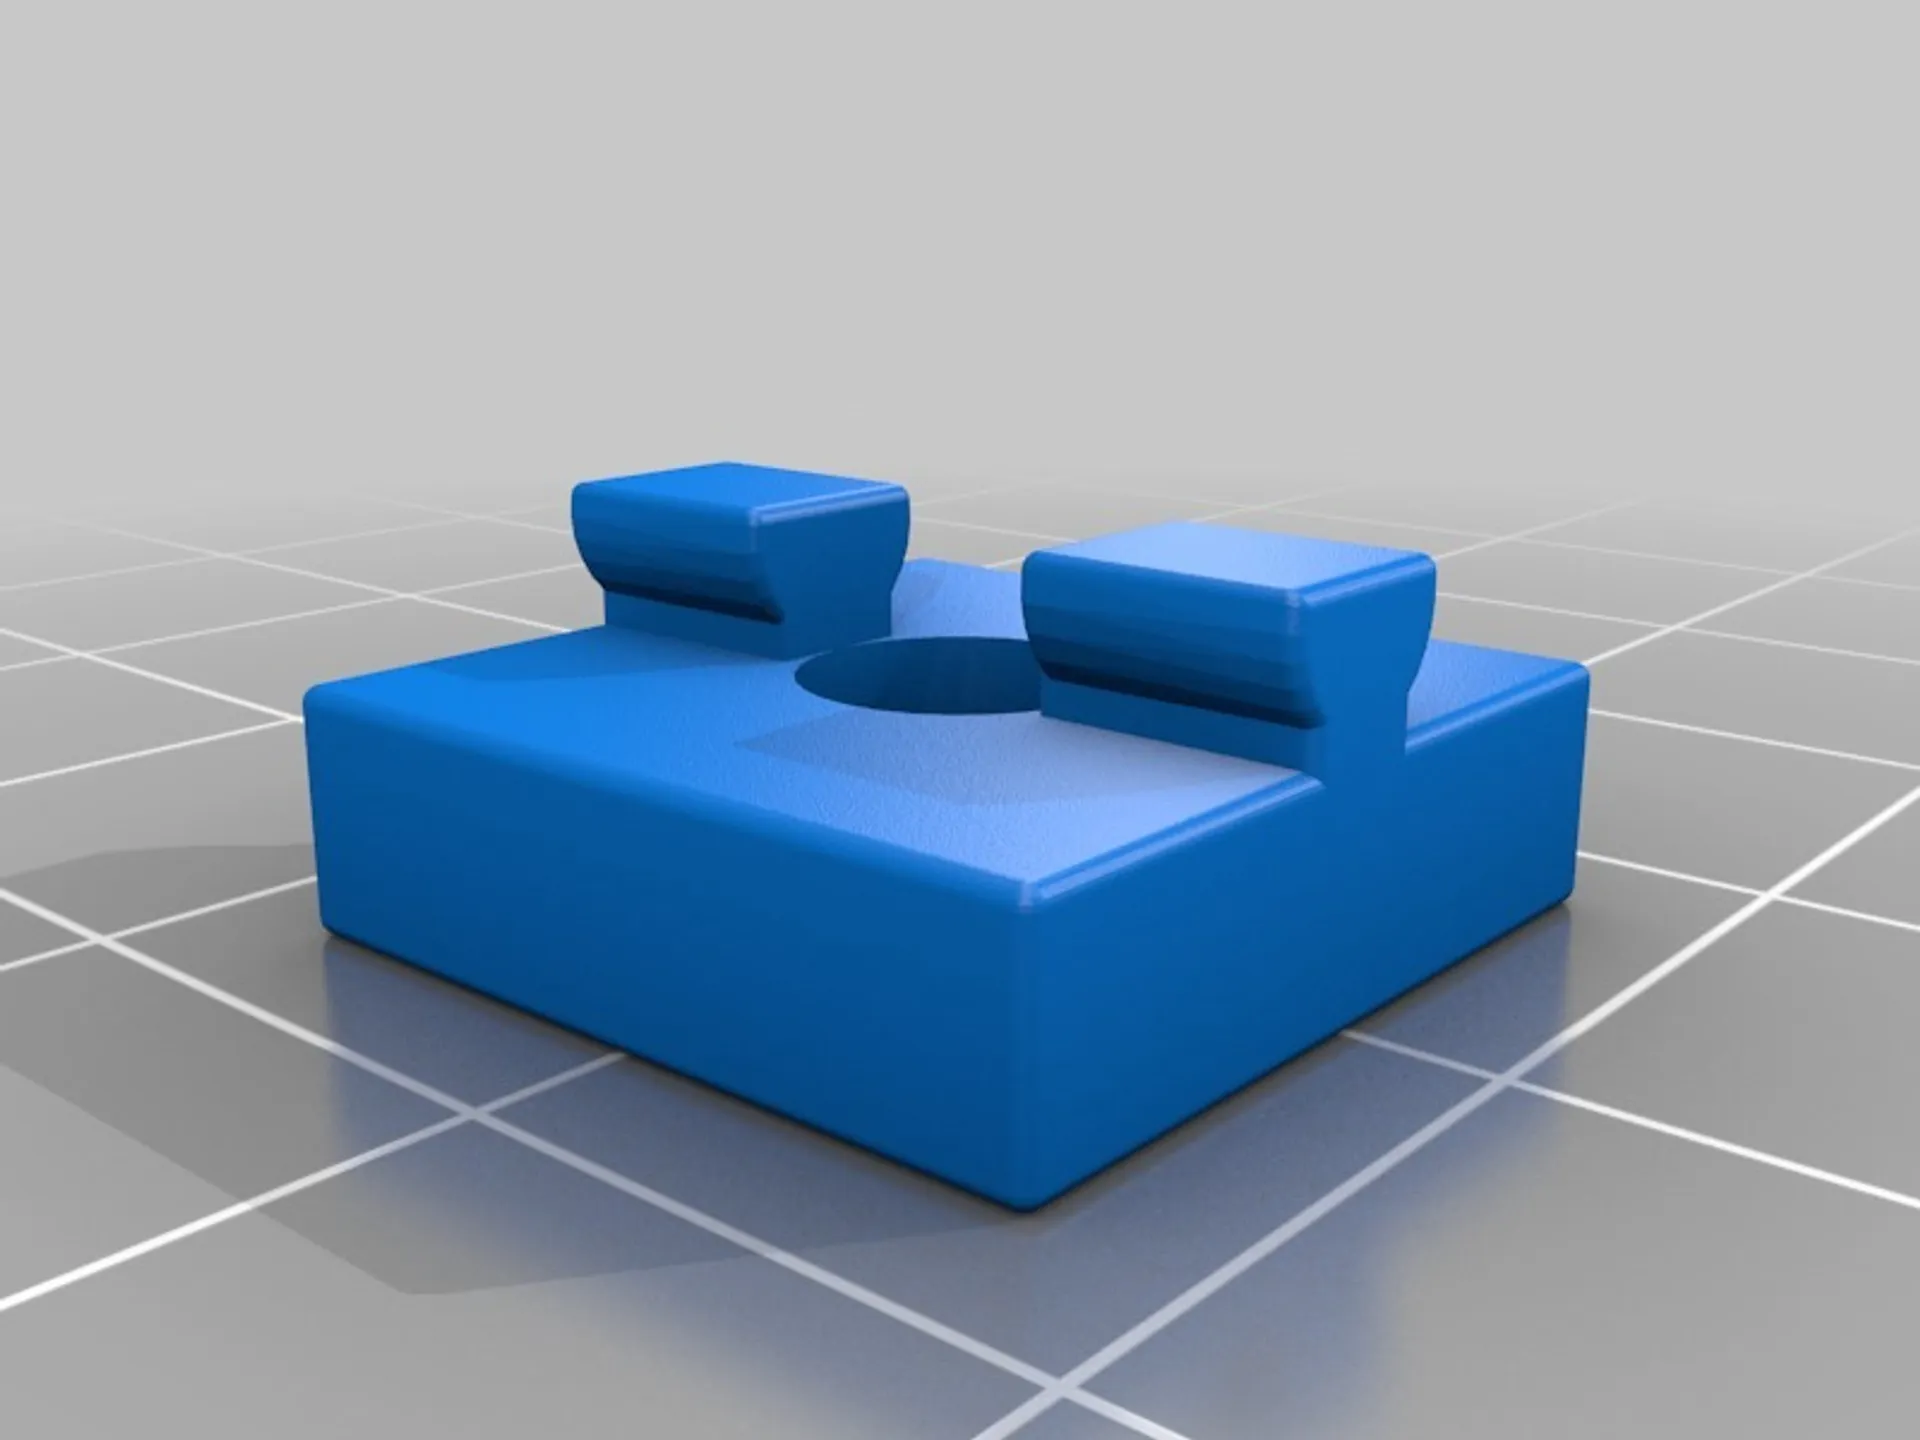
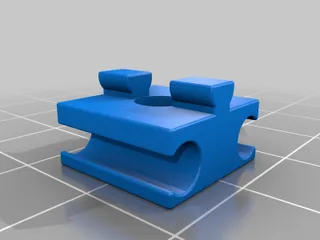
- building block adapter (Baustein 5 and Baustein 7,5)
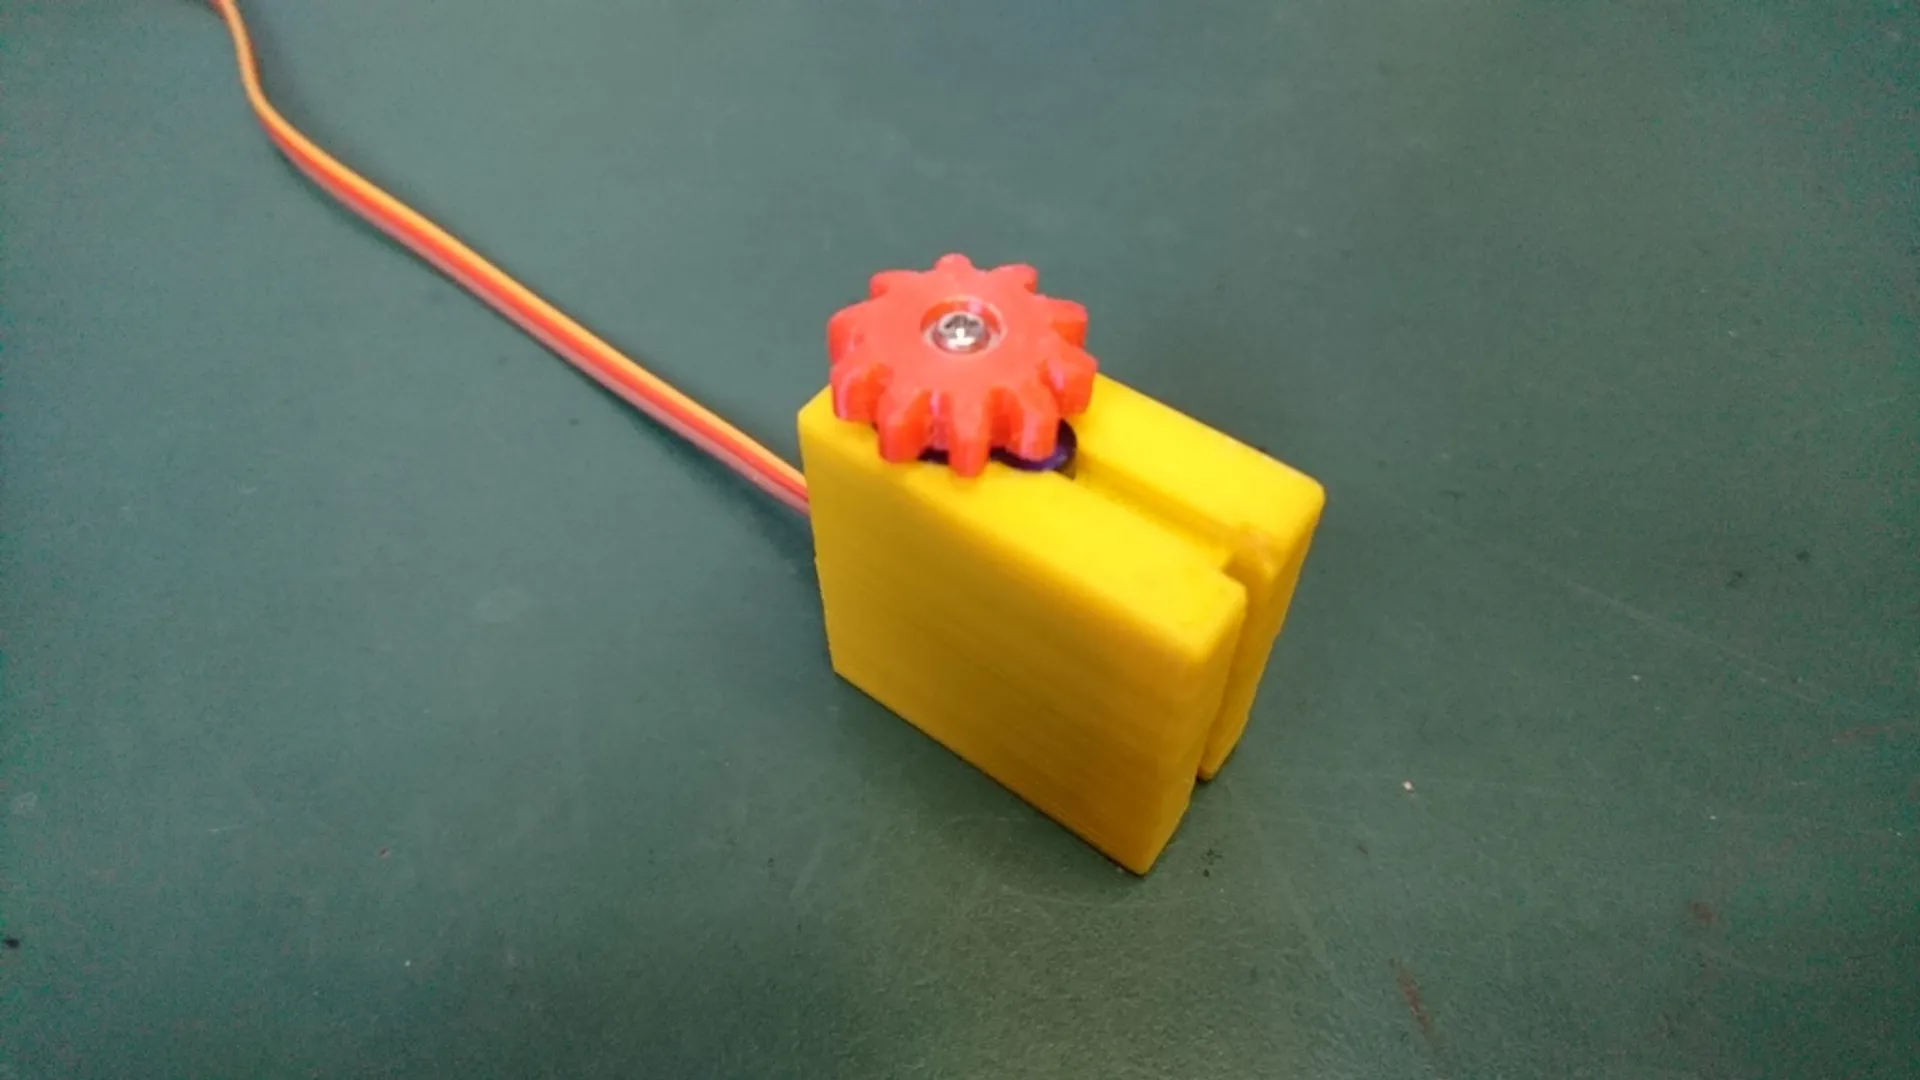
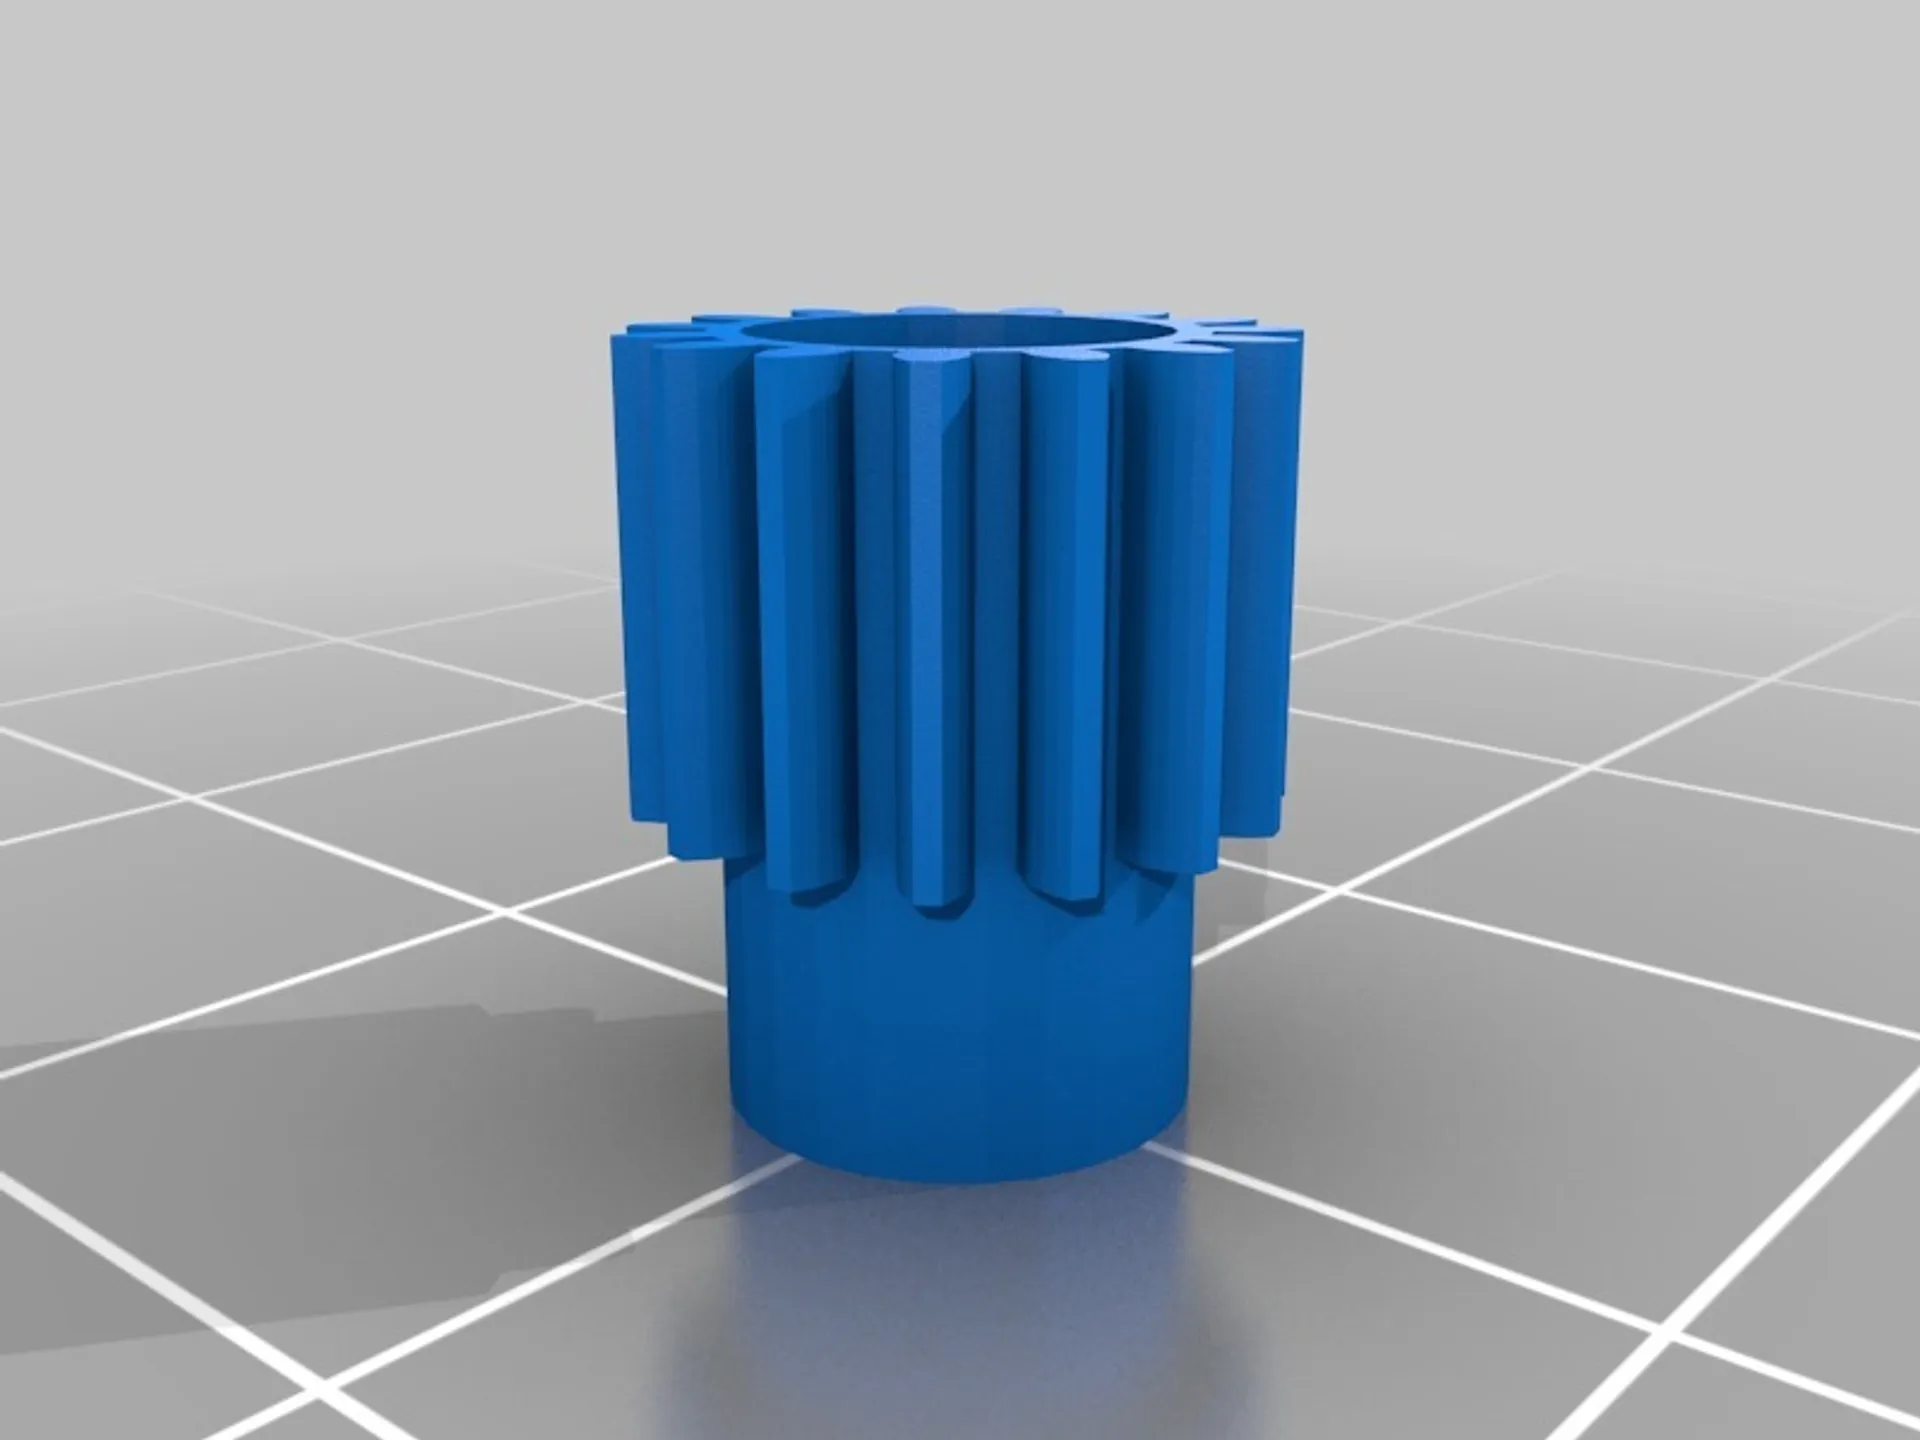
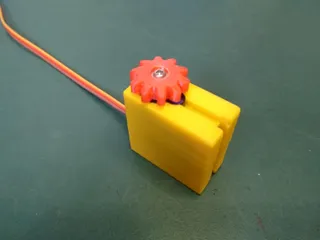
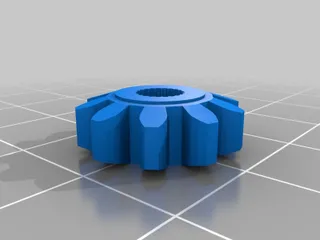
- 10 tooth gear (Zahnrad Z10)
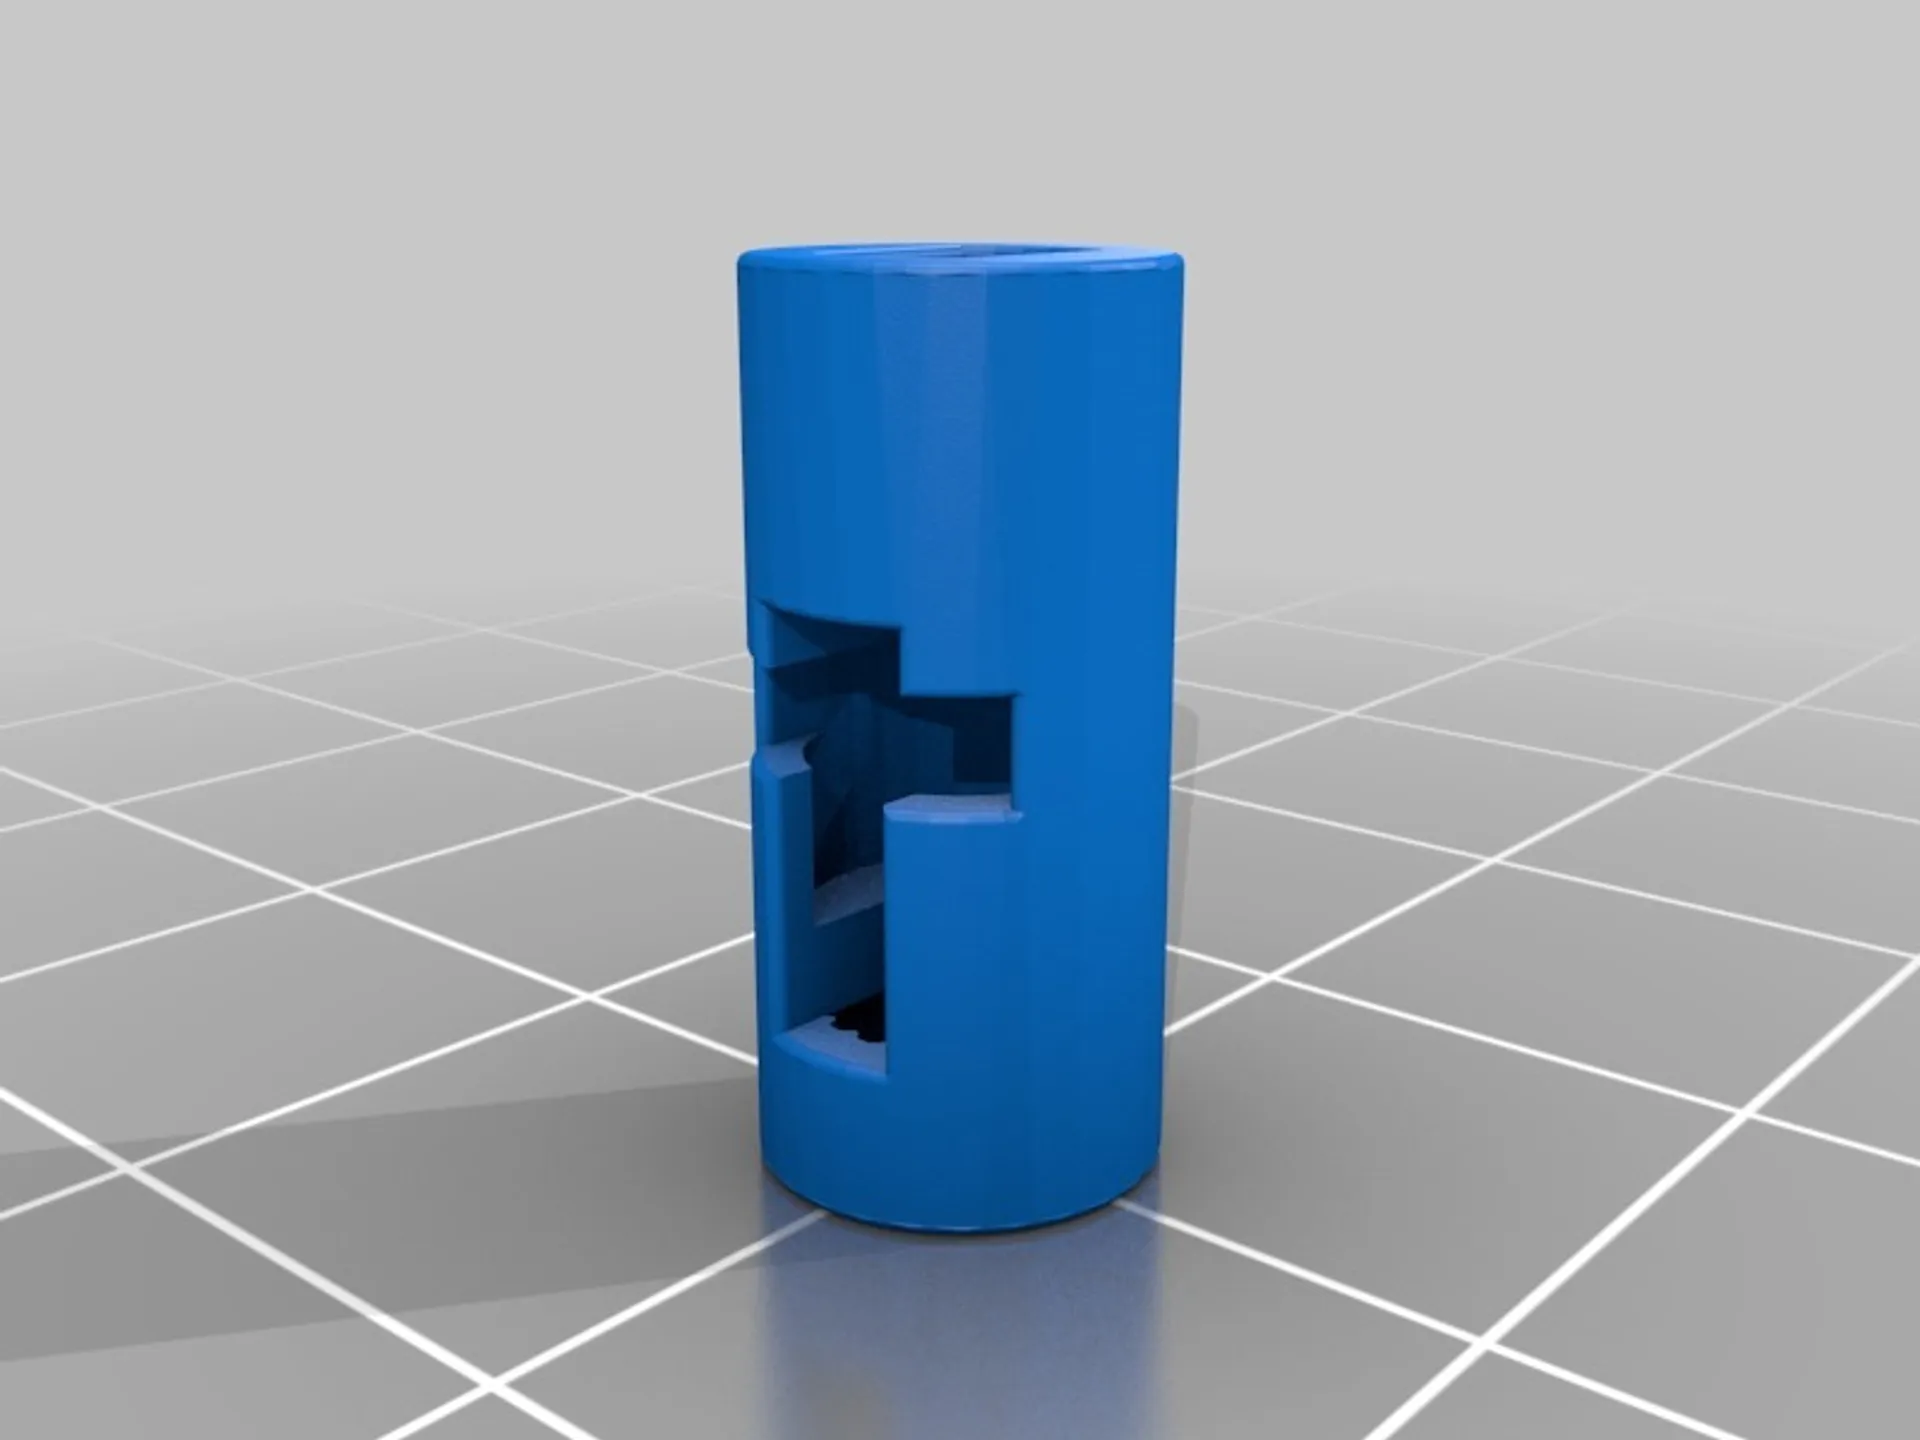
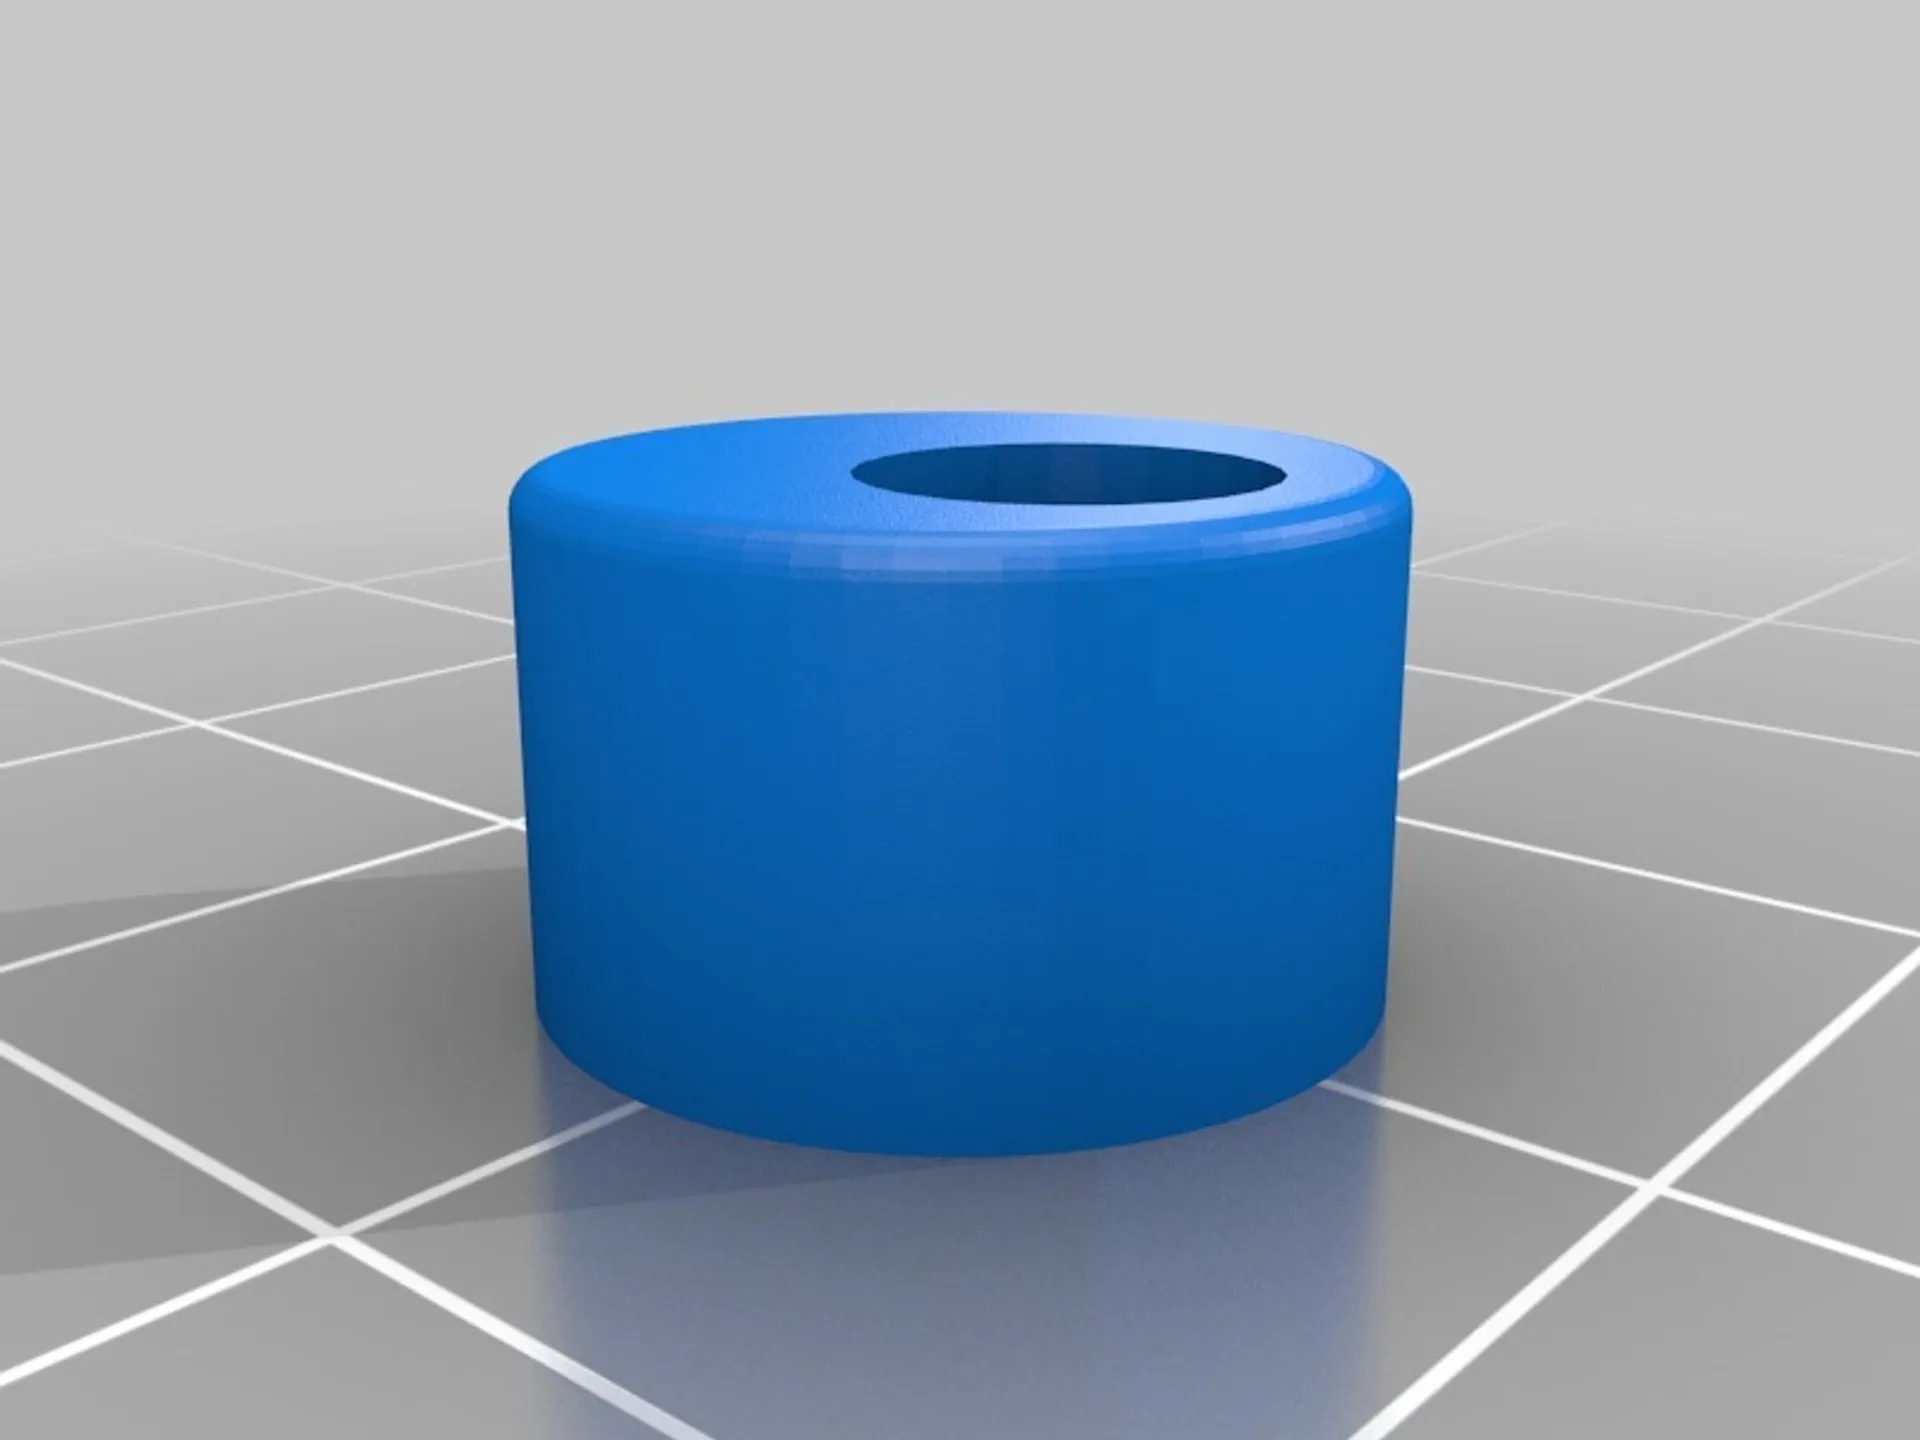
- clip-on axle adapter (Rastachsenkupplung 15)
- dedicated strut adapter for middle or end point mounting (Strebenadapter für Mittel- oder Endbefestigung). I used lamer's Parametric Fischertechnik Parts for this adapter.
- adapter for small m0.5 Z20 gear (S-Riegelscheibe Z20 m0,5), can also be used as alternative (less robust) strut adapter
- adapter for bigger gears and metal axles (Flachnabenzange)
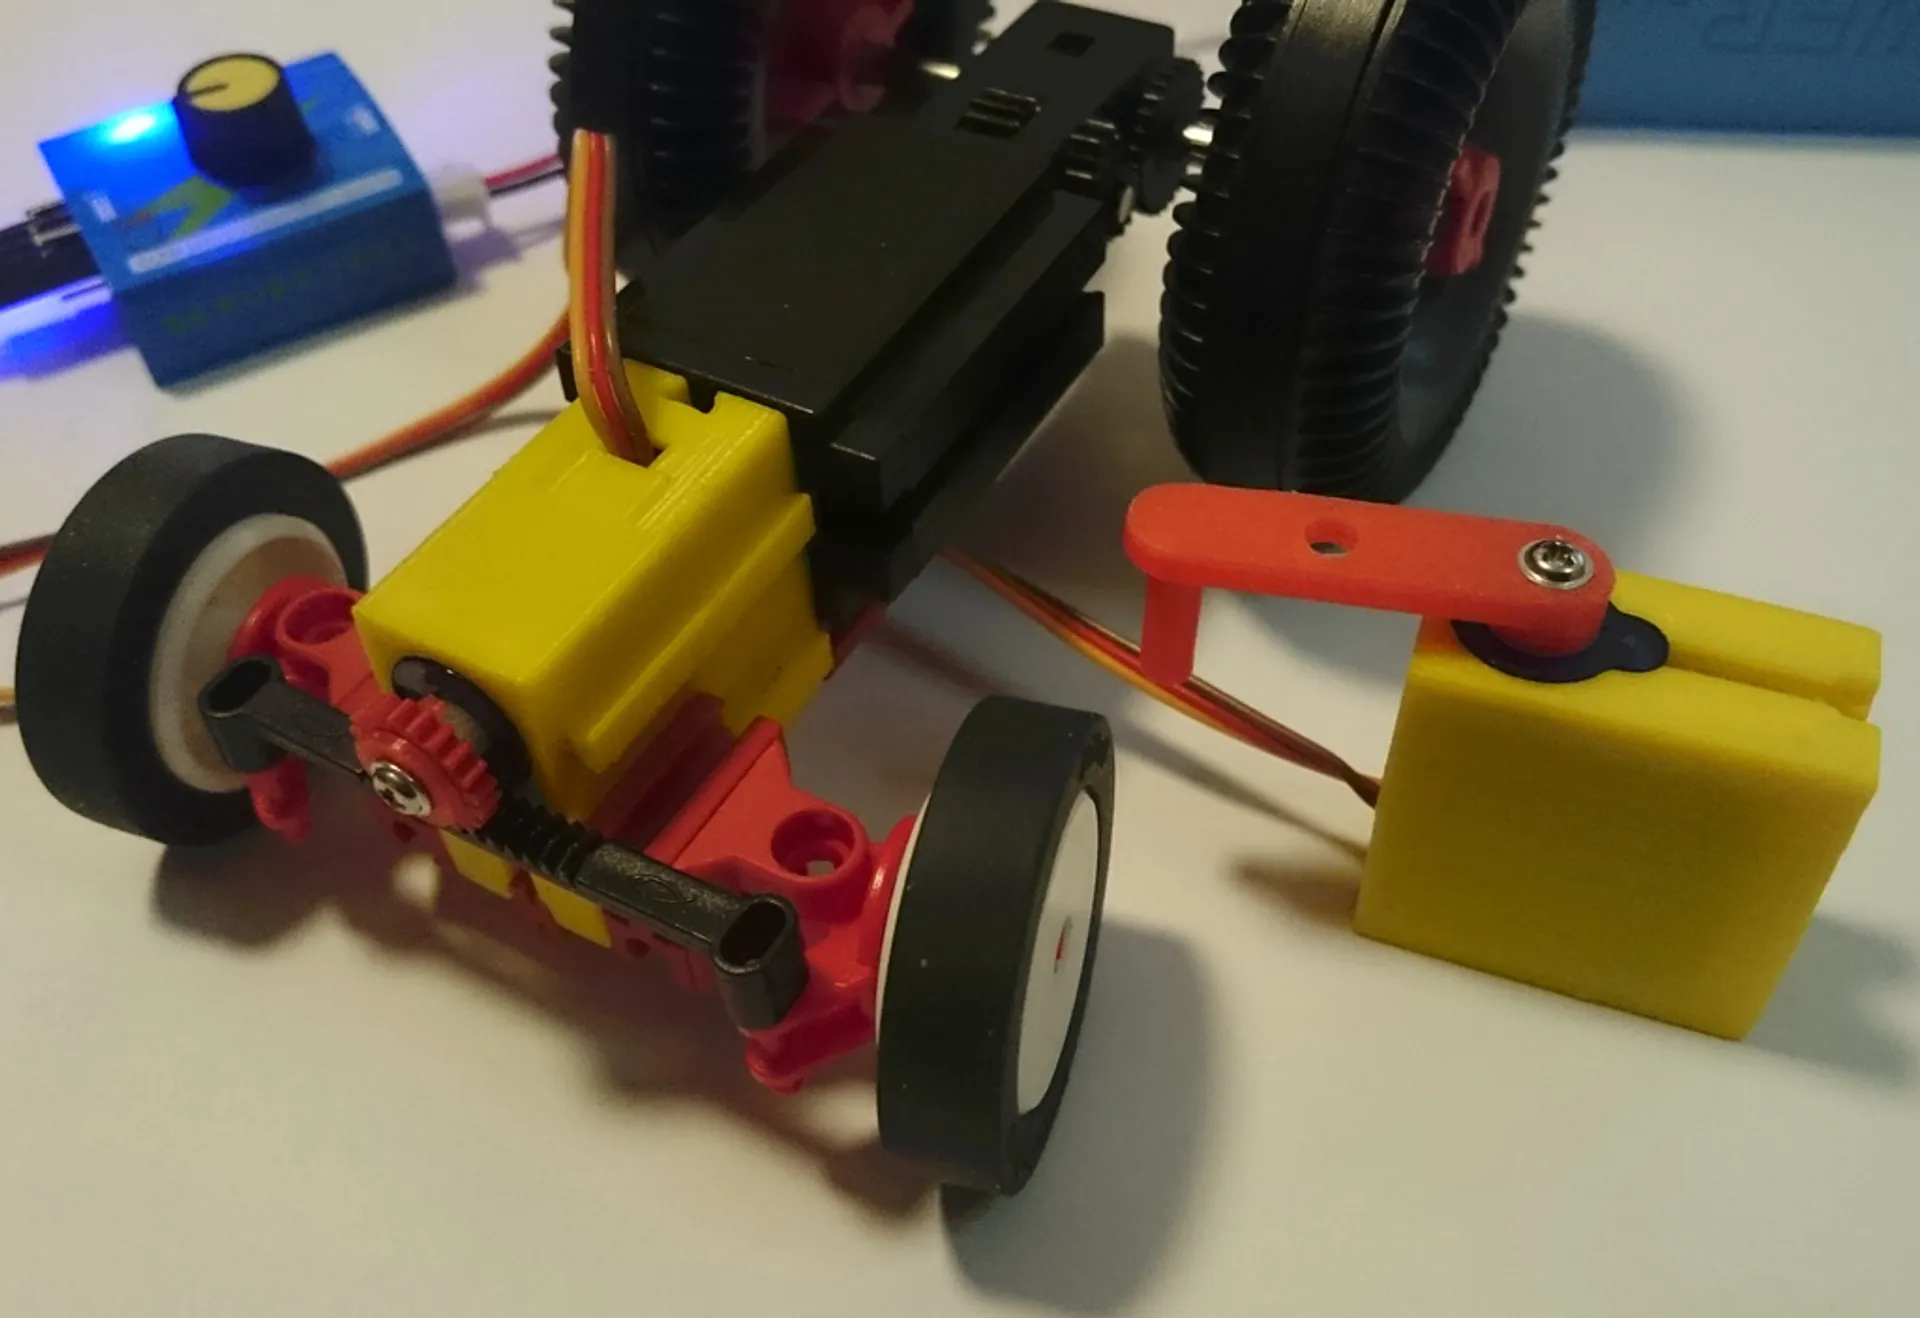
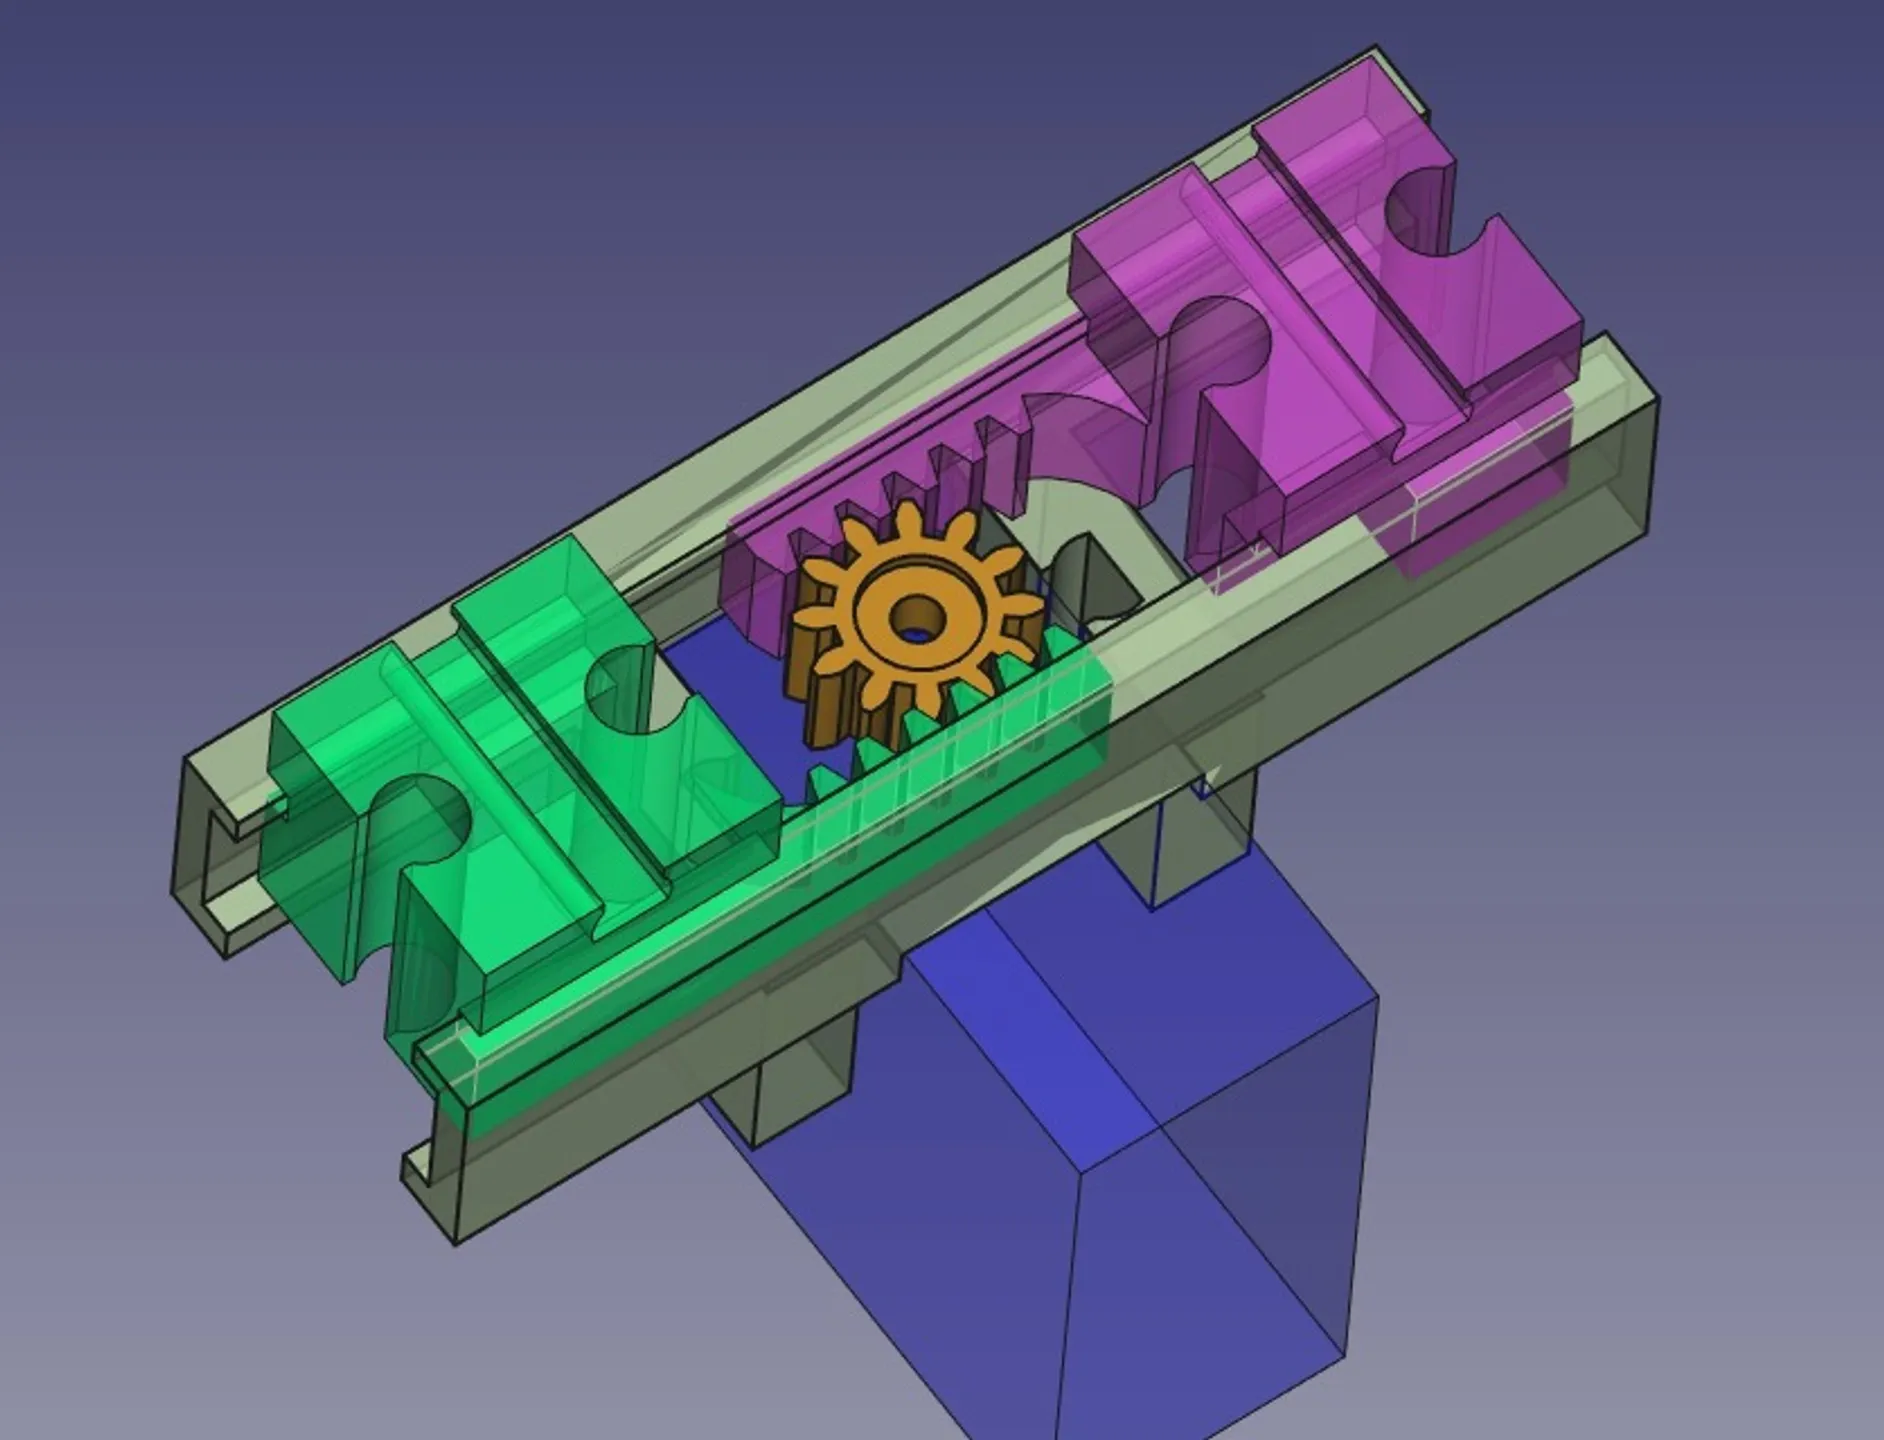
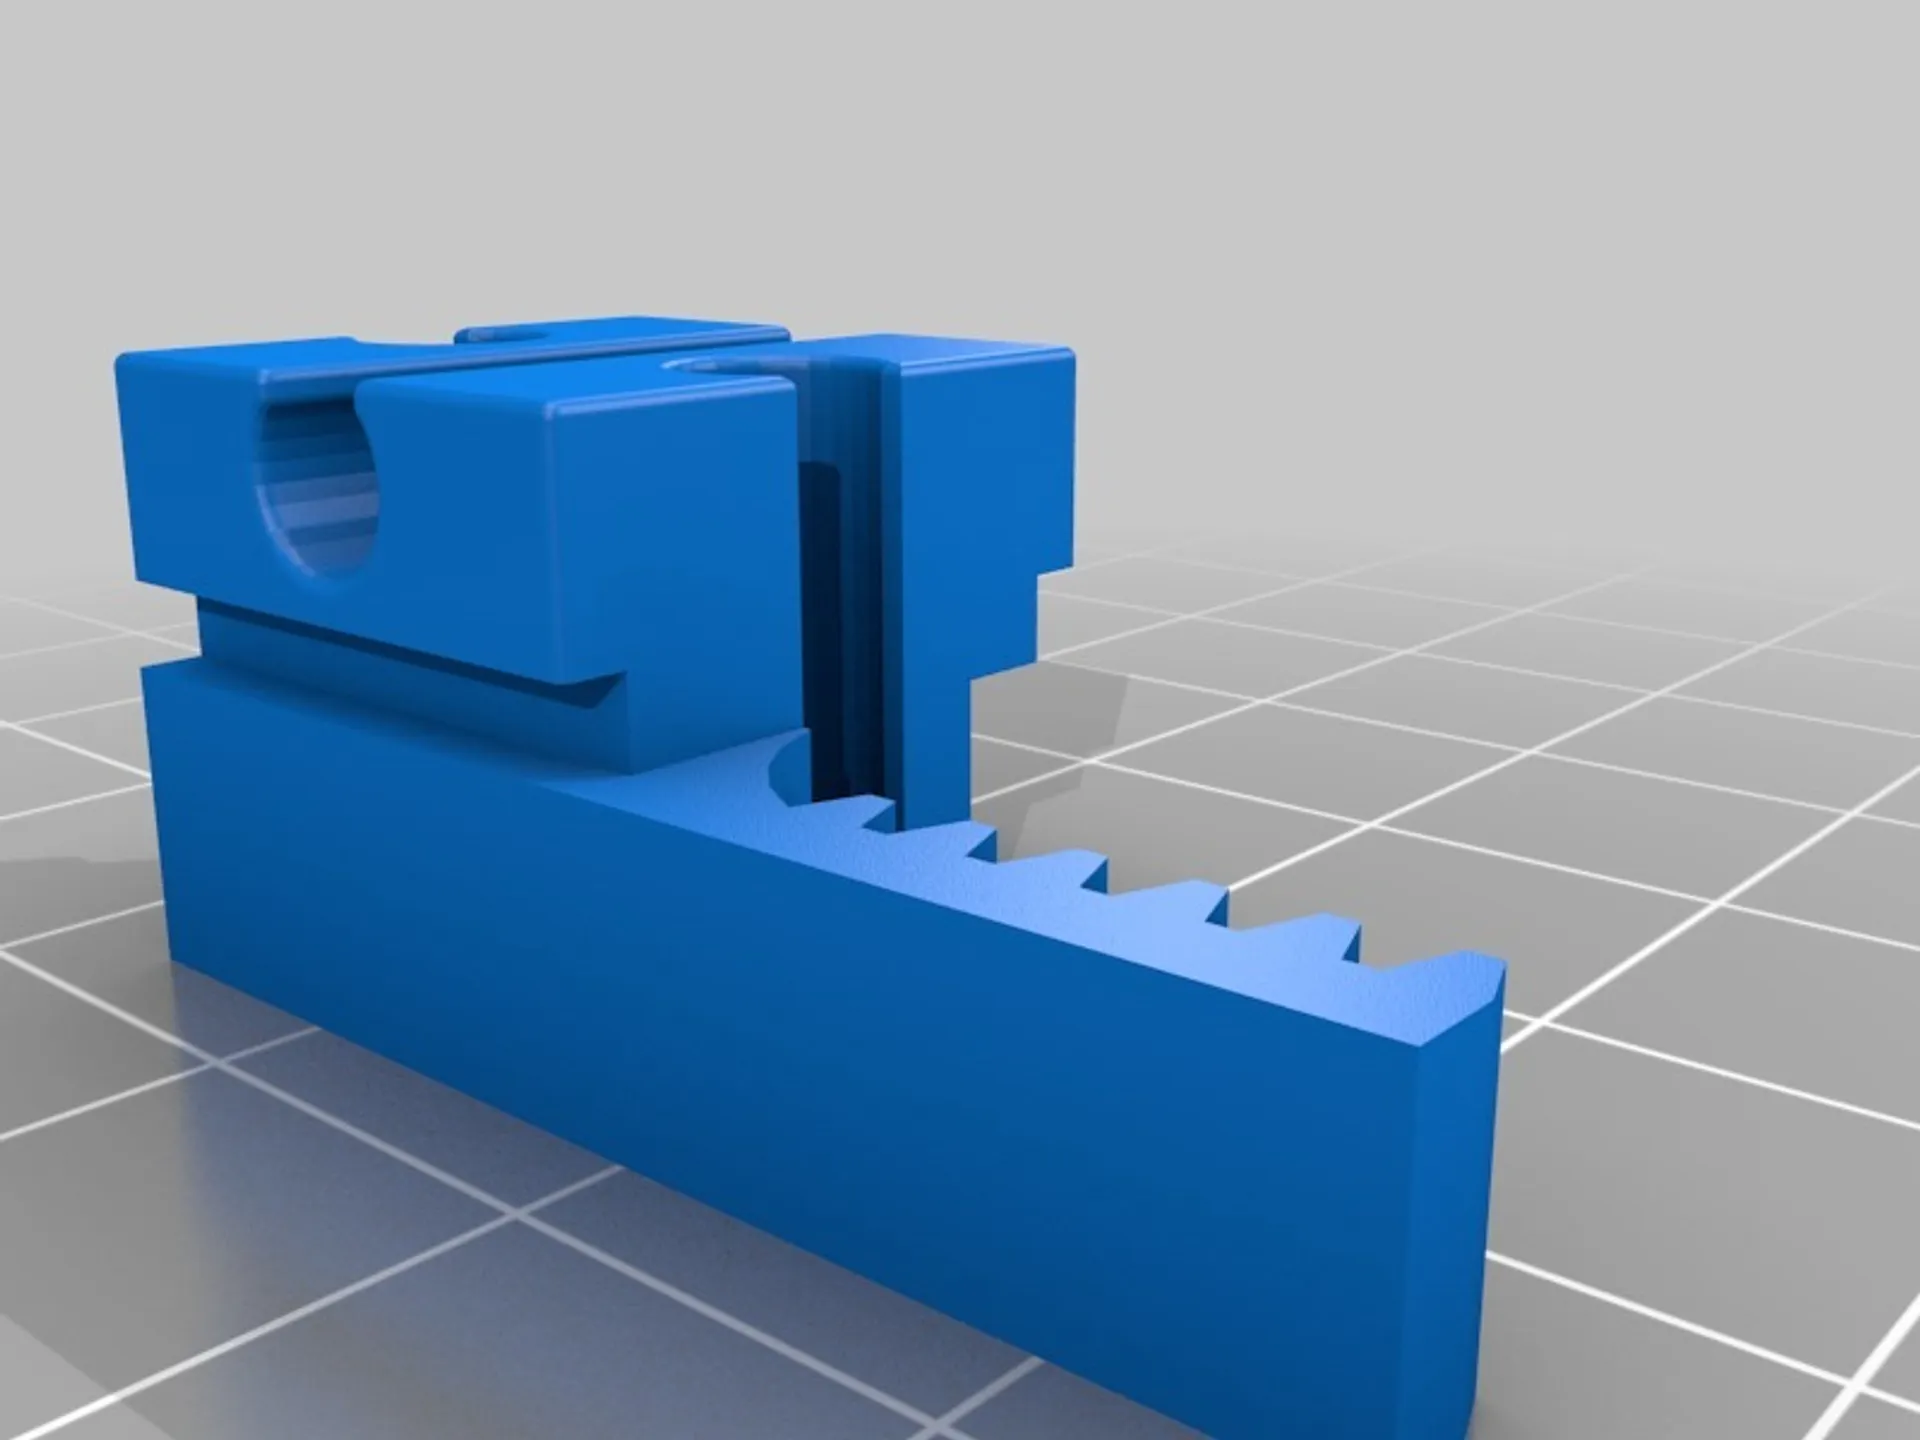
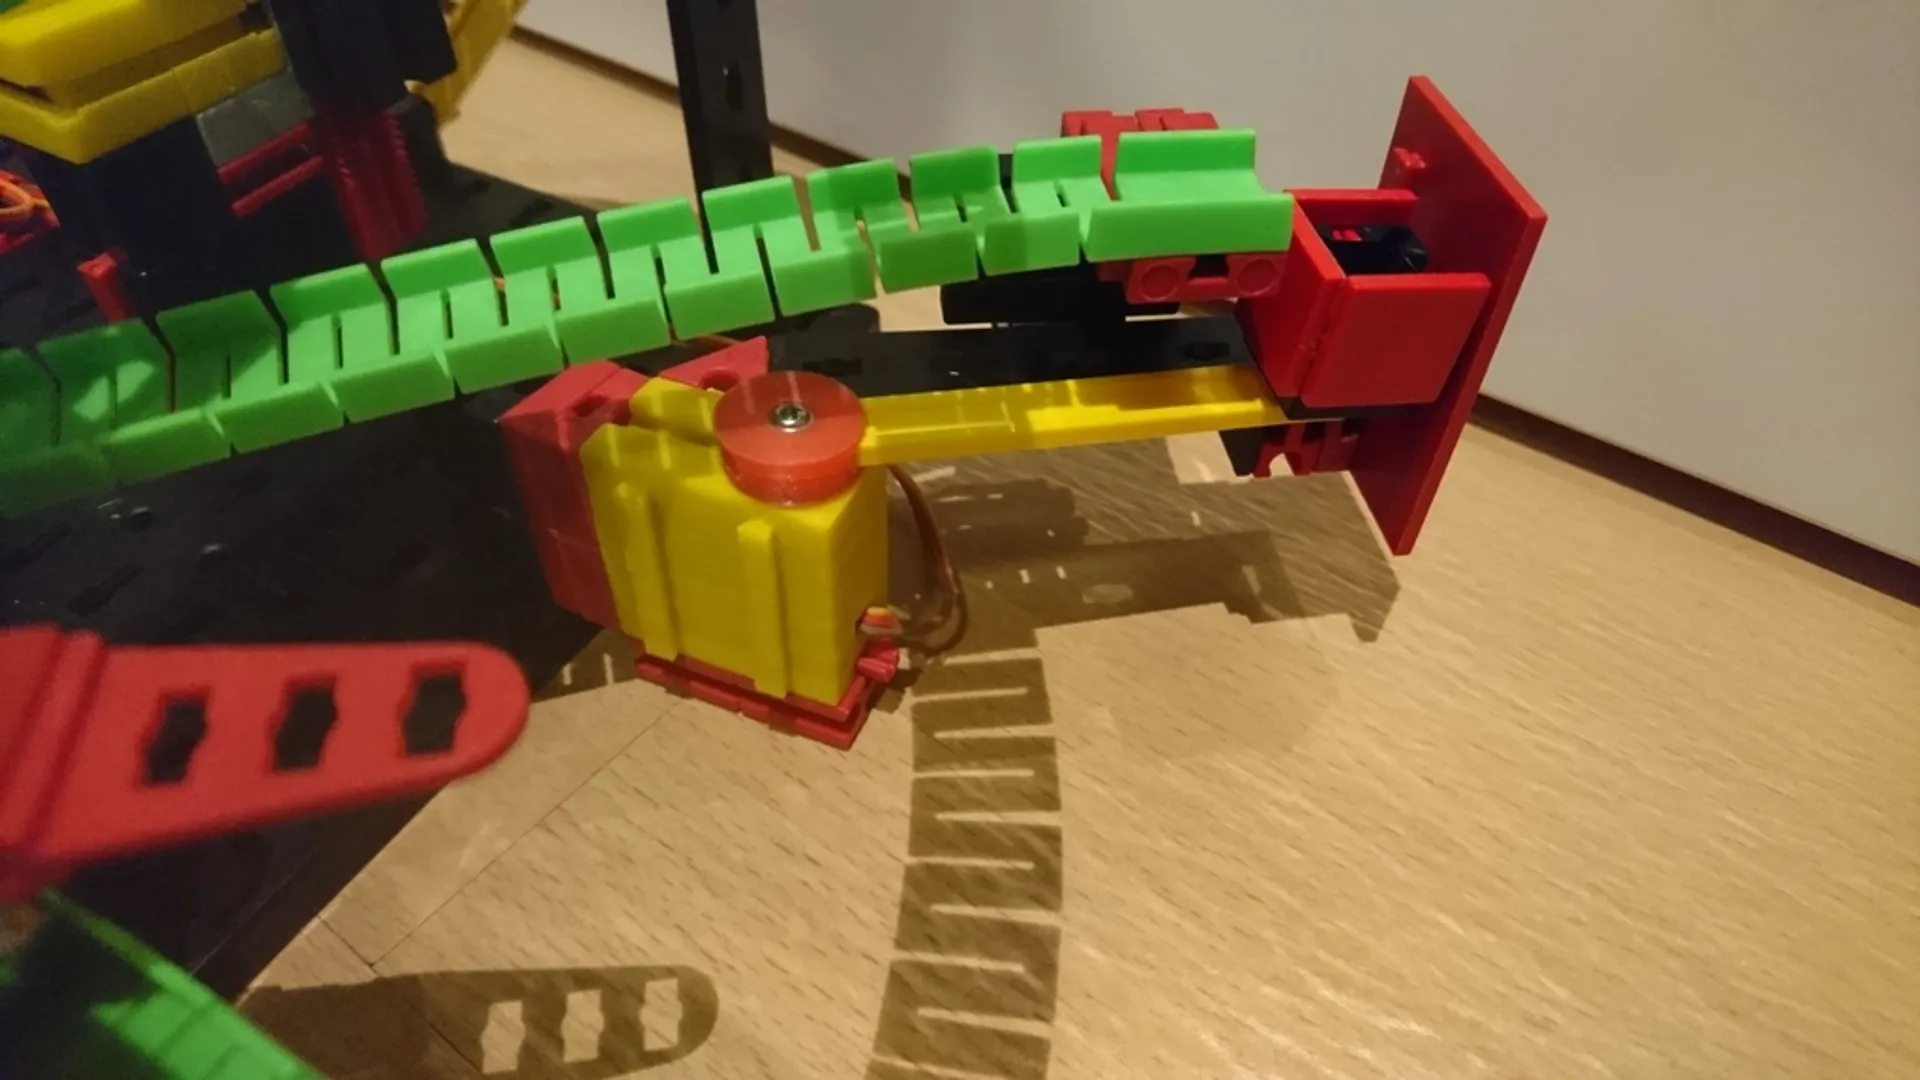
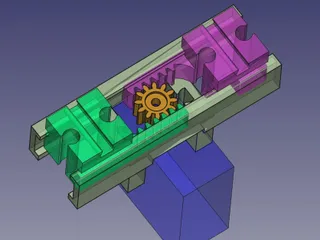
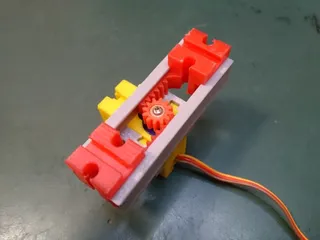
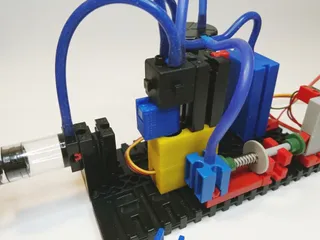
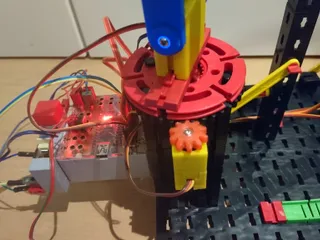
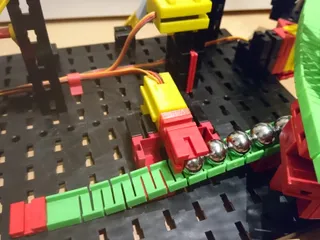
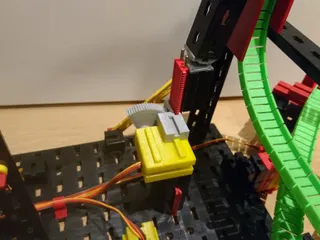
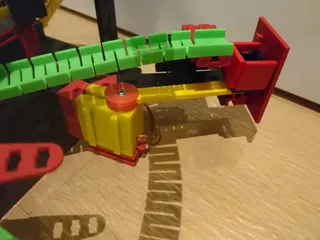
- gear rack drive (similar to ft Hubgetriebe). This needs an enclosure with pegs and can be installed in two positions with a small gear (travel ca. 8mm) or a large gear (travel ca. 40mm).
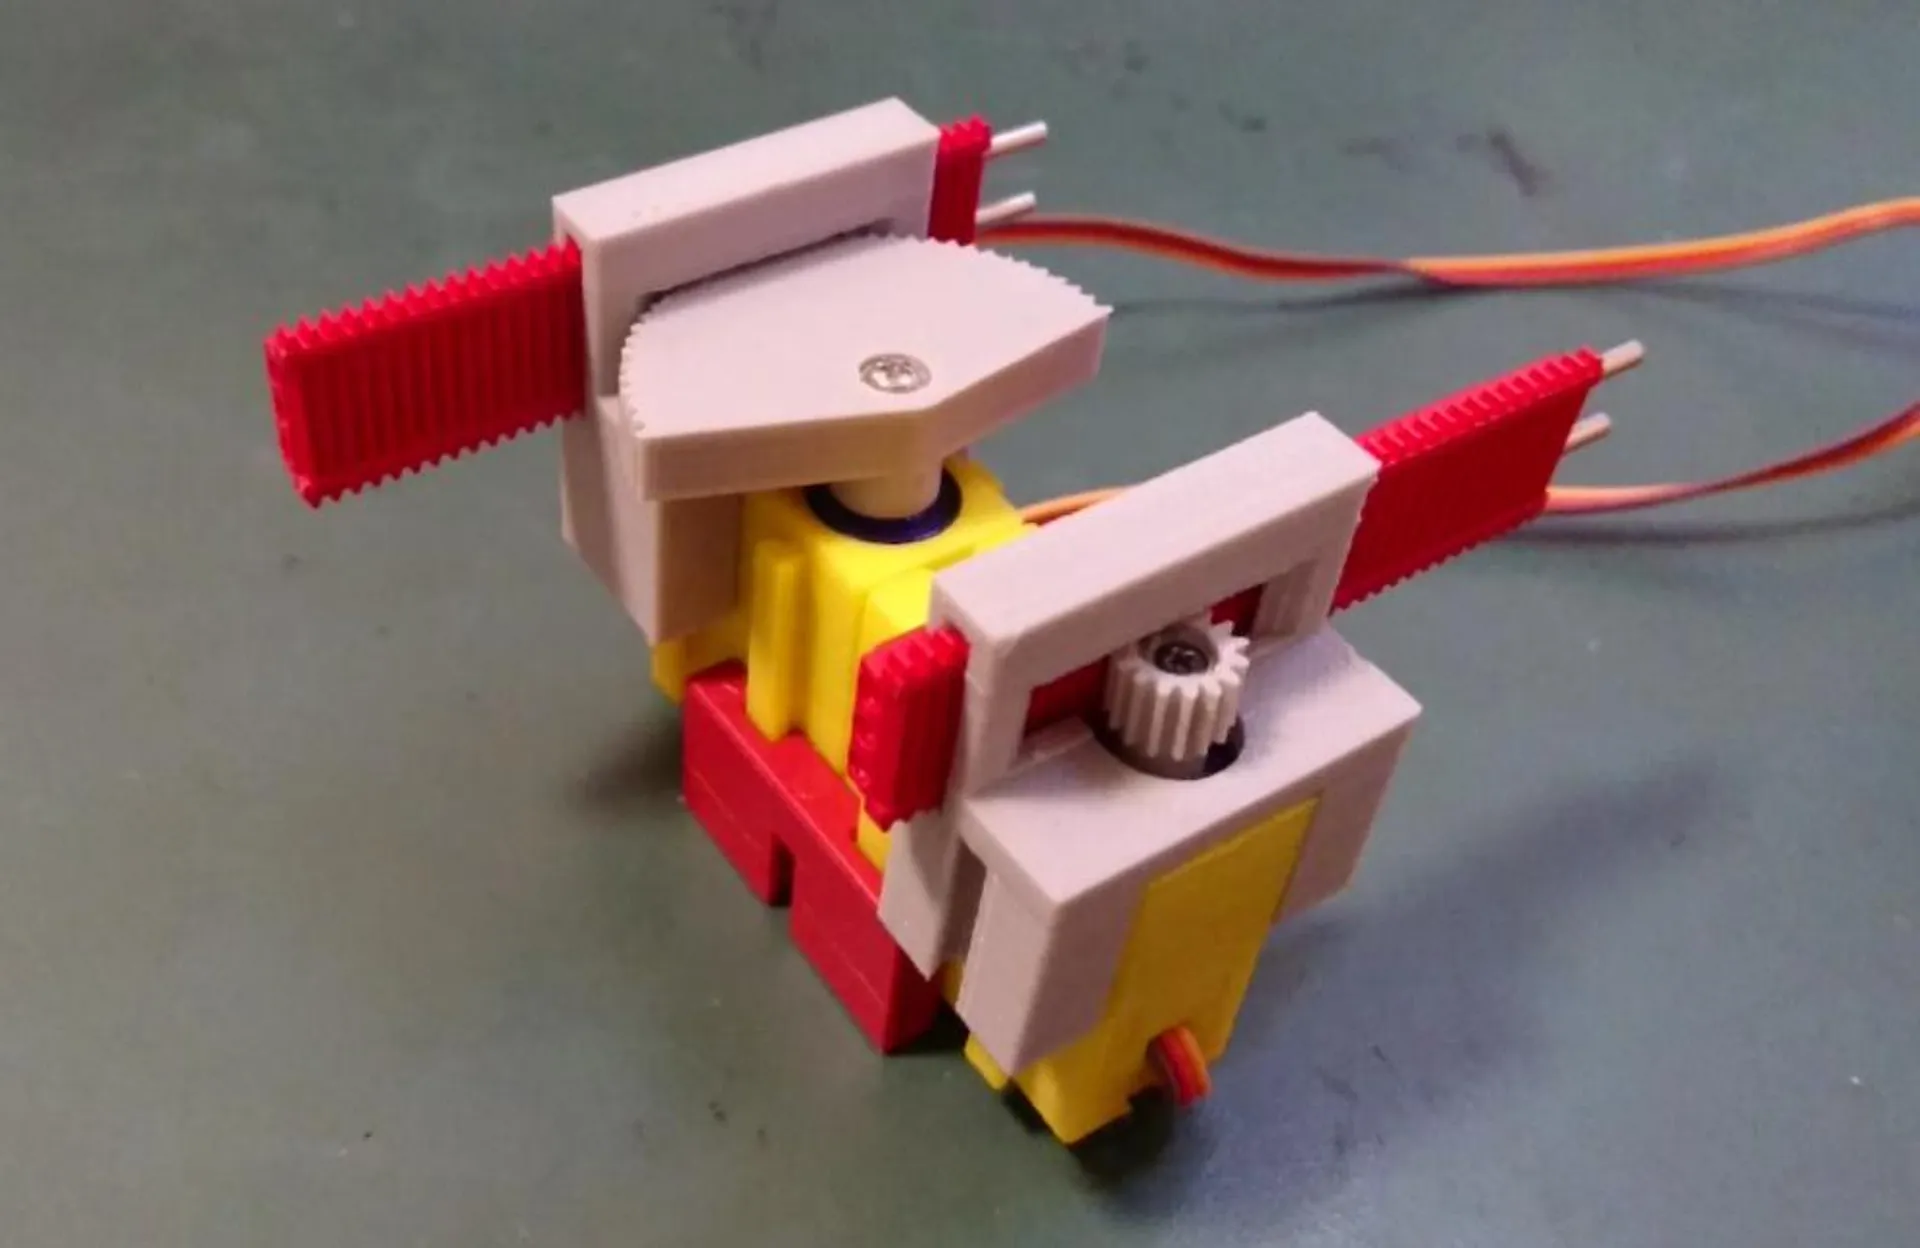
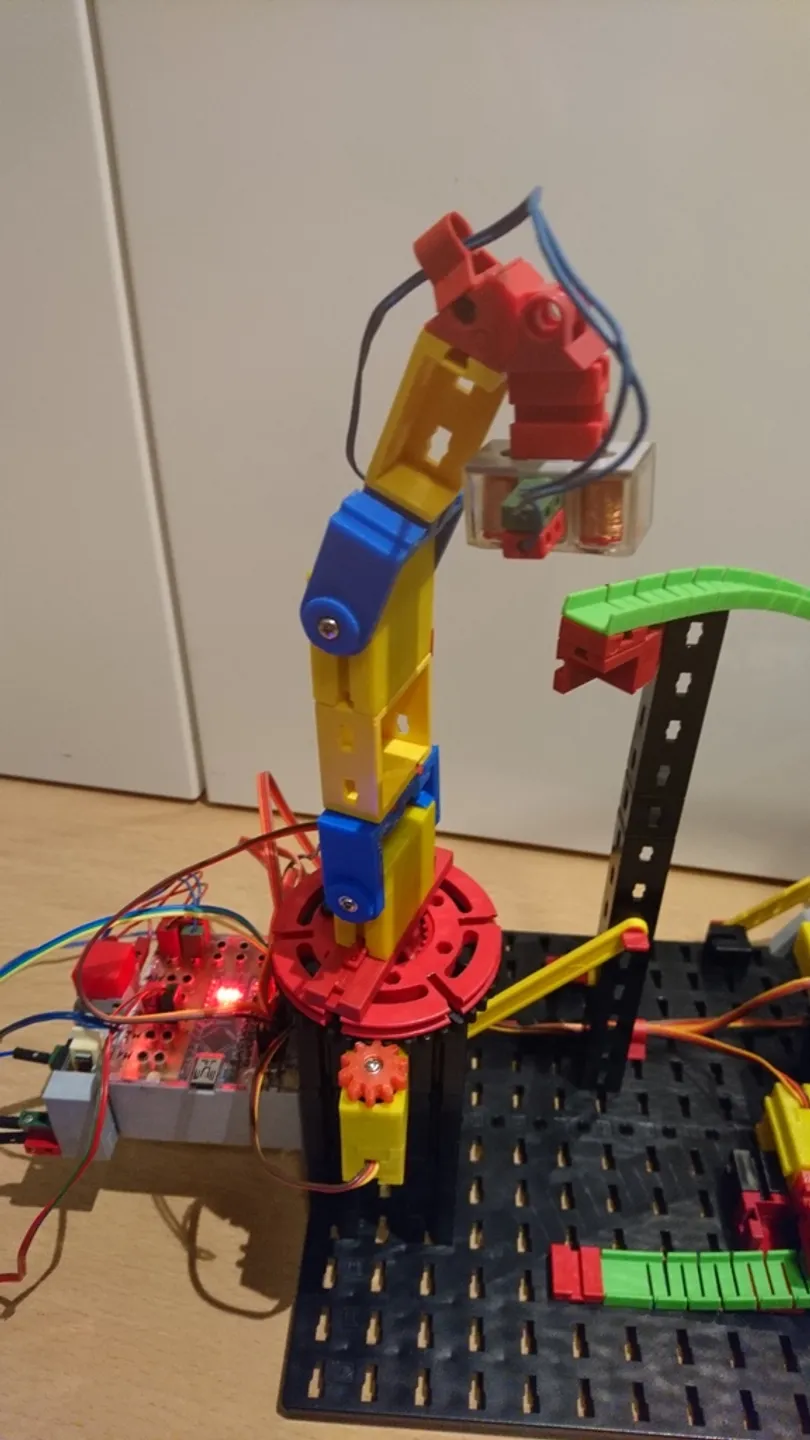
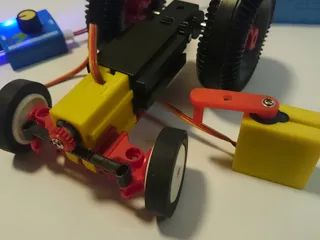
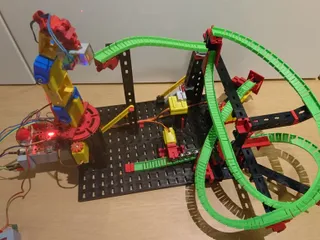
- adapter for roboter arm, with print-in-place mounting on the opposite side. Unfortunately, the SG90s are too weak for a reliable 3-element arm, but 2 will work, 3 in some cases.
- pneumatic valve for 4mm tubes. This is kind of experimental and needs improvement, as it does not close completely air-tight.
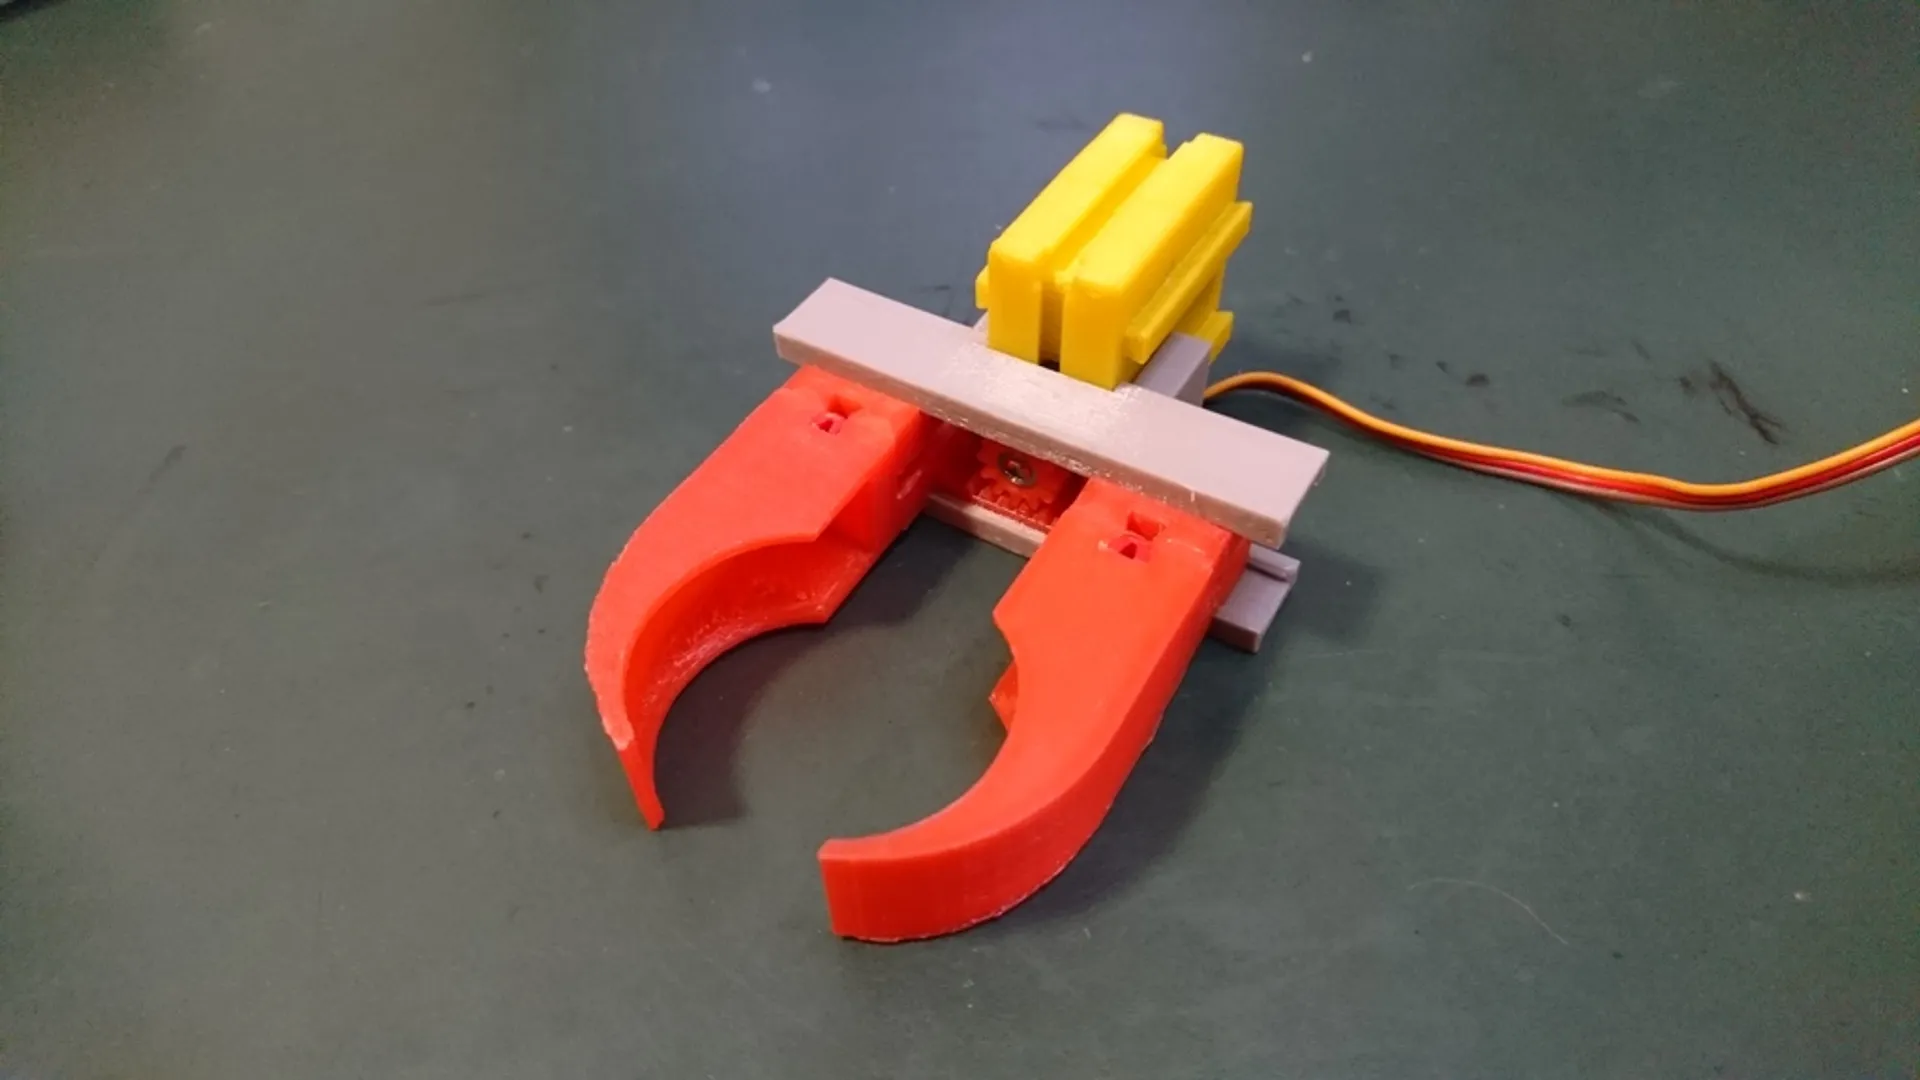
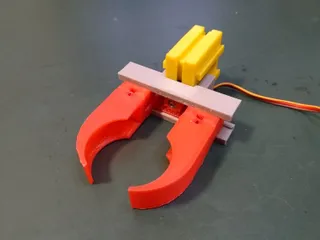
- robotic gripper with rounded gripper hand, needs enclosure with pegs.
(added 2018-12-21) adapter for fischertechnik pneumatic manual valve (Handventil) Most adapters are designed to be fixed with the screws included with the SG90 horns. Adapter 7 needs a screw with a smaller head.
There is a thread on this thing in the fischertechnik community forum.
Find my other fischertechnik designs here.
Print Settings
Printer:
Anet A8
Rafts:
Doesn't Matter
Supports:
Yes
Resolution:
.1 mm
Infill:
20%
Filament: any PLA
Notes:
Print all .stl as provided (with supports), except
- upper parts of enclosure: turn upside down
- 05_Strut_adapter_top: turn upside down
- 08_Gear_rack_drive_large_gear and _small_gear: turn upside down
- 10_Valve_main_body: turn 90° so that square opening points upwards
- 11_Gripper_rack: turn upside down
- 11_Gripper_arm: turn 90° so that teeth point upwards
Post-Printing
Assembly
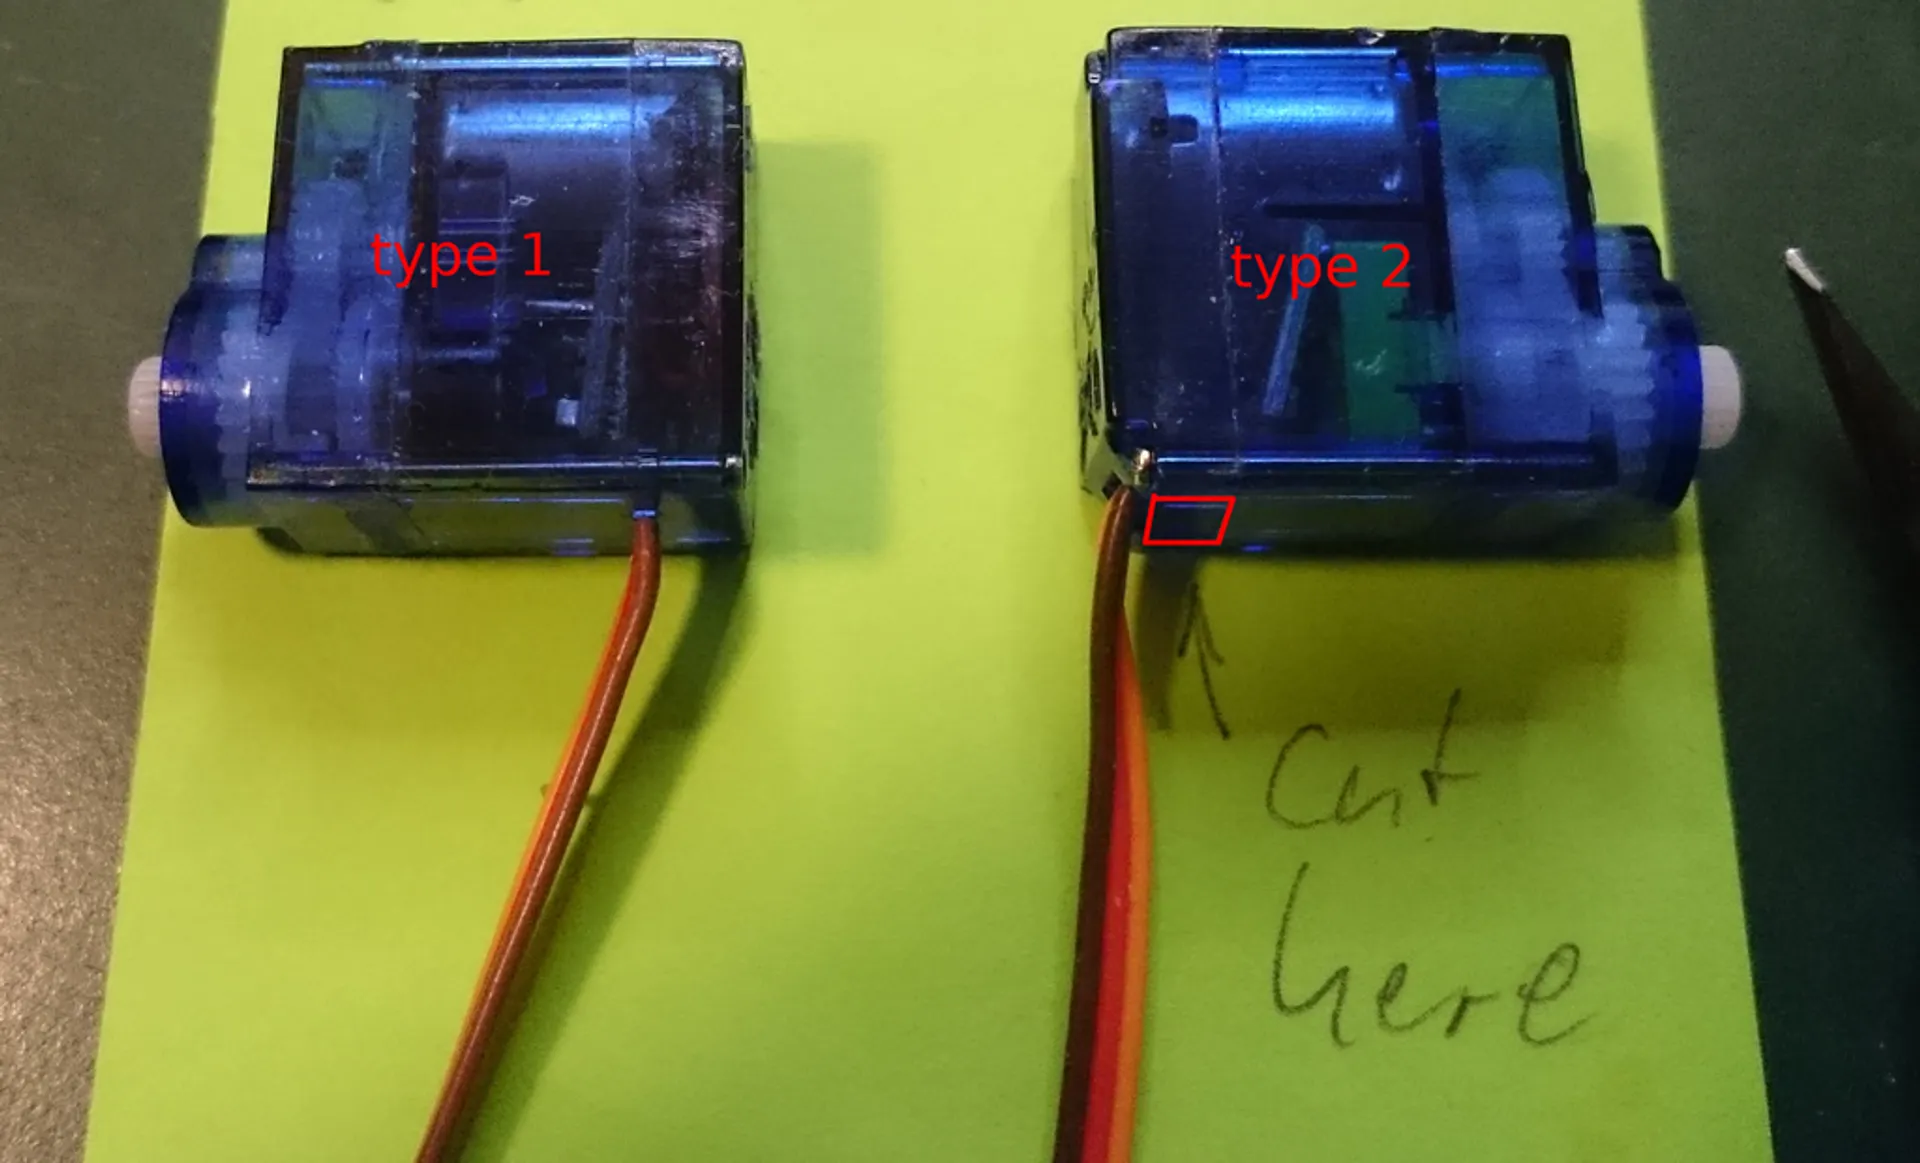
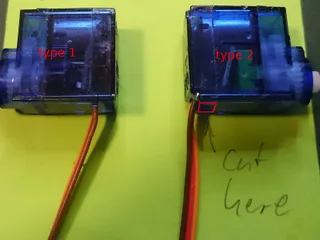
- On ebay there are currently two versions of this servo, although the shops' images only show type 1. They differ in the position of the cable outlet. Type 2 has its outlet at the very bottom, while in type 1 complies with the sg90 datasheet and has its outlet ca. 3mm from the bottom. For type 2 you'll have to remove a small piece of plastic above the cable outlet (see last image).
- Completely remove (cut and sand) both mounting flanges from the servo. As the enclosure fits very tightly, you also might want to remove the sticker. There seem to be quite some error margin in production, if your model is a bit too big to fit, just sand off maybe .5 mm from the sides to make it fit.
- Completely(!) remove any filament remains inside the two enclosure parts.
- Fit servo into upper half of the enclosure first, then fit the bottom half. Take care when pushing both parts closed as the link will easily break, a little sanding of the small chamfered part of the link can help it slip into place without breaking.
- The case should keep closed by itself, even if the link breaks, but you can use 1-2 drops of superglue if you want an even tighter and more stable fit.
Category: Construction Toys
Tags
Model origin
The author marked this model as their own original creation. Imported from Thingiverse.


