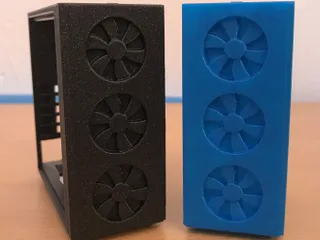
Raspberry Pi Zero / Zero 2 Case


Description
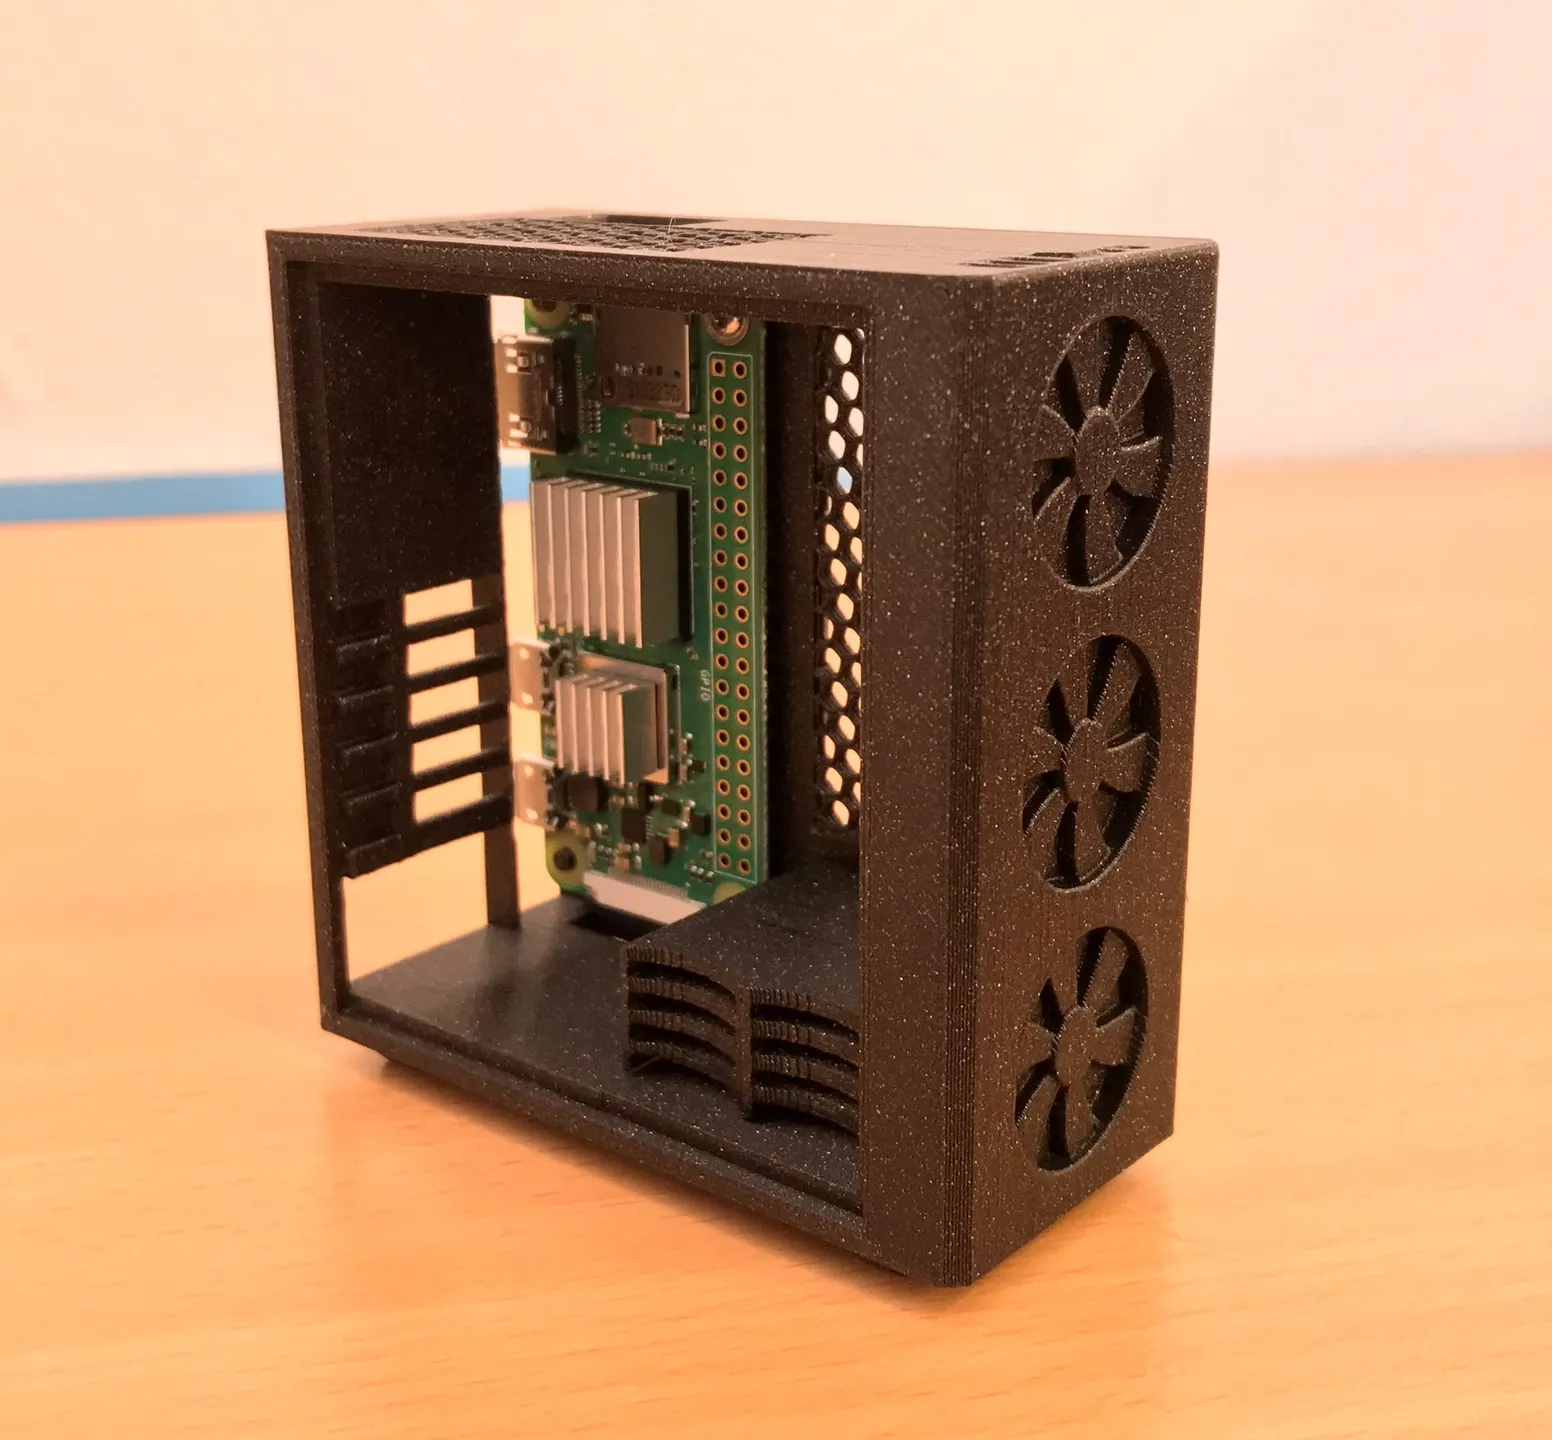
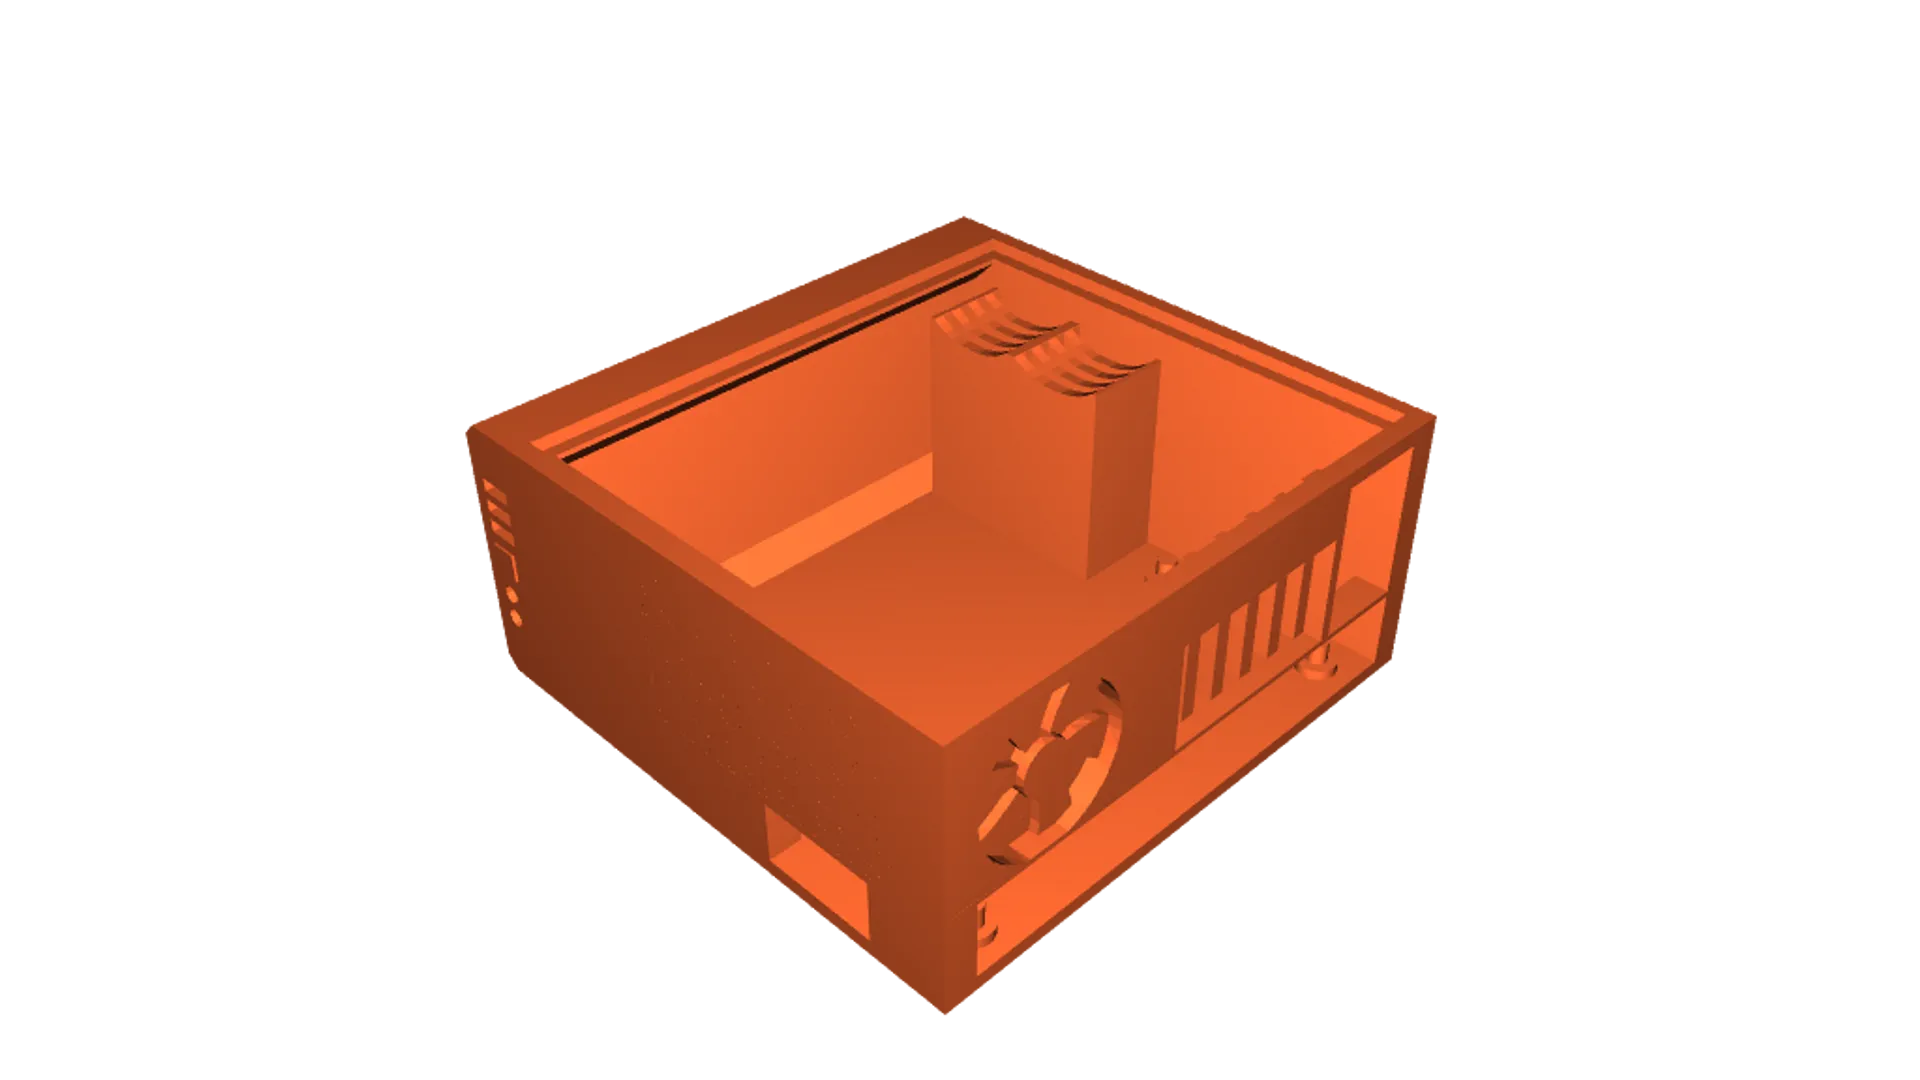
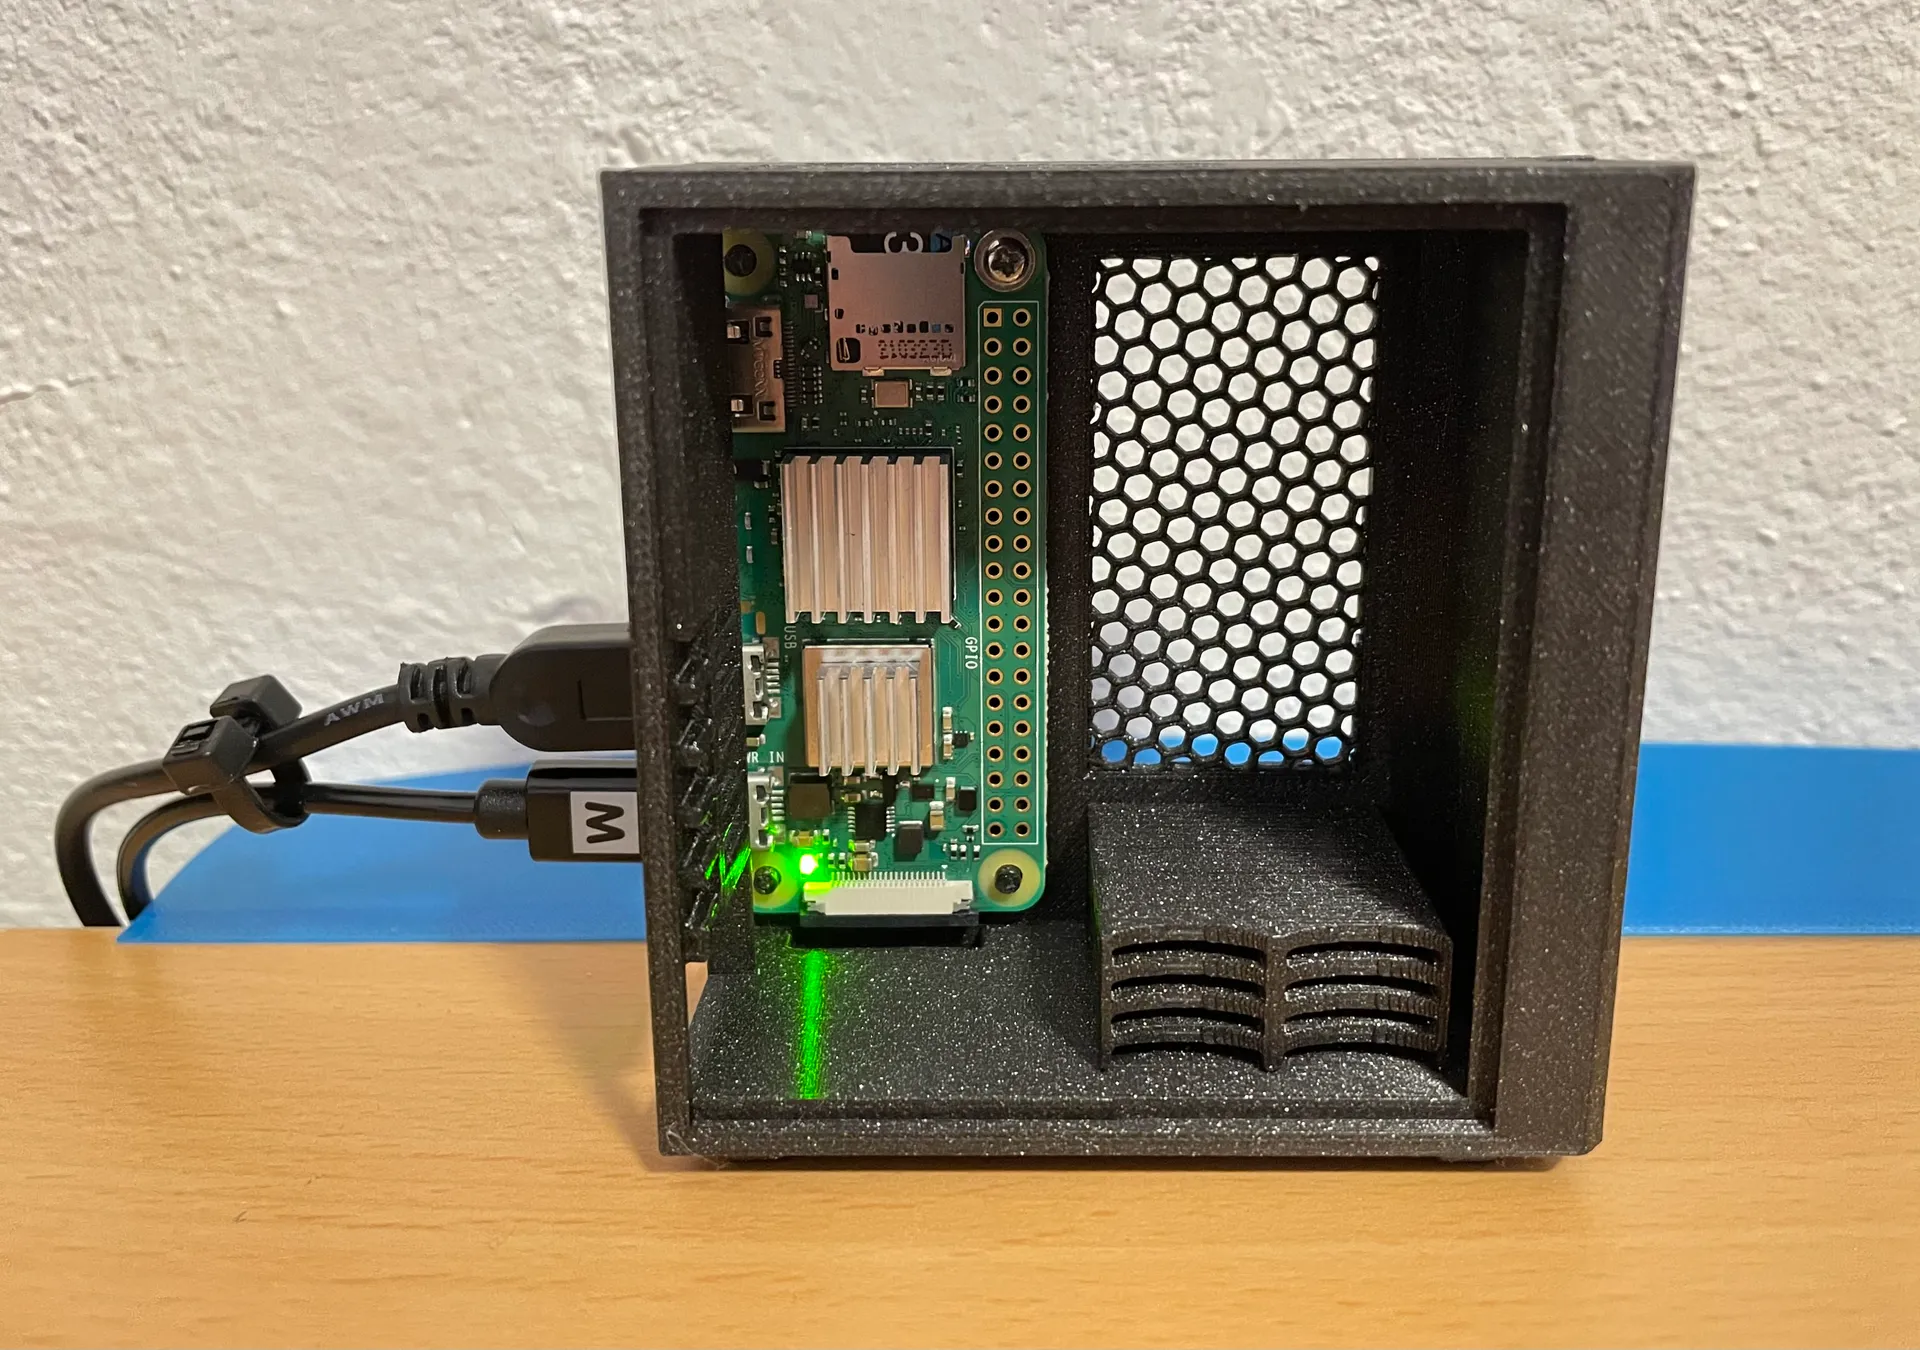
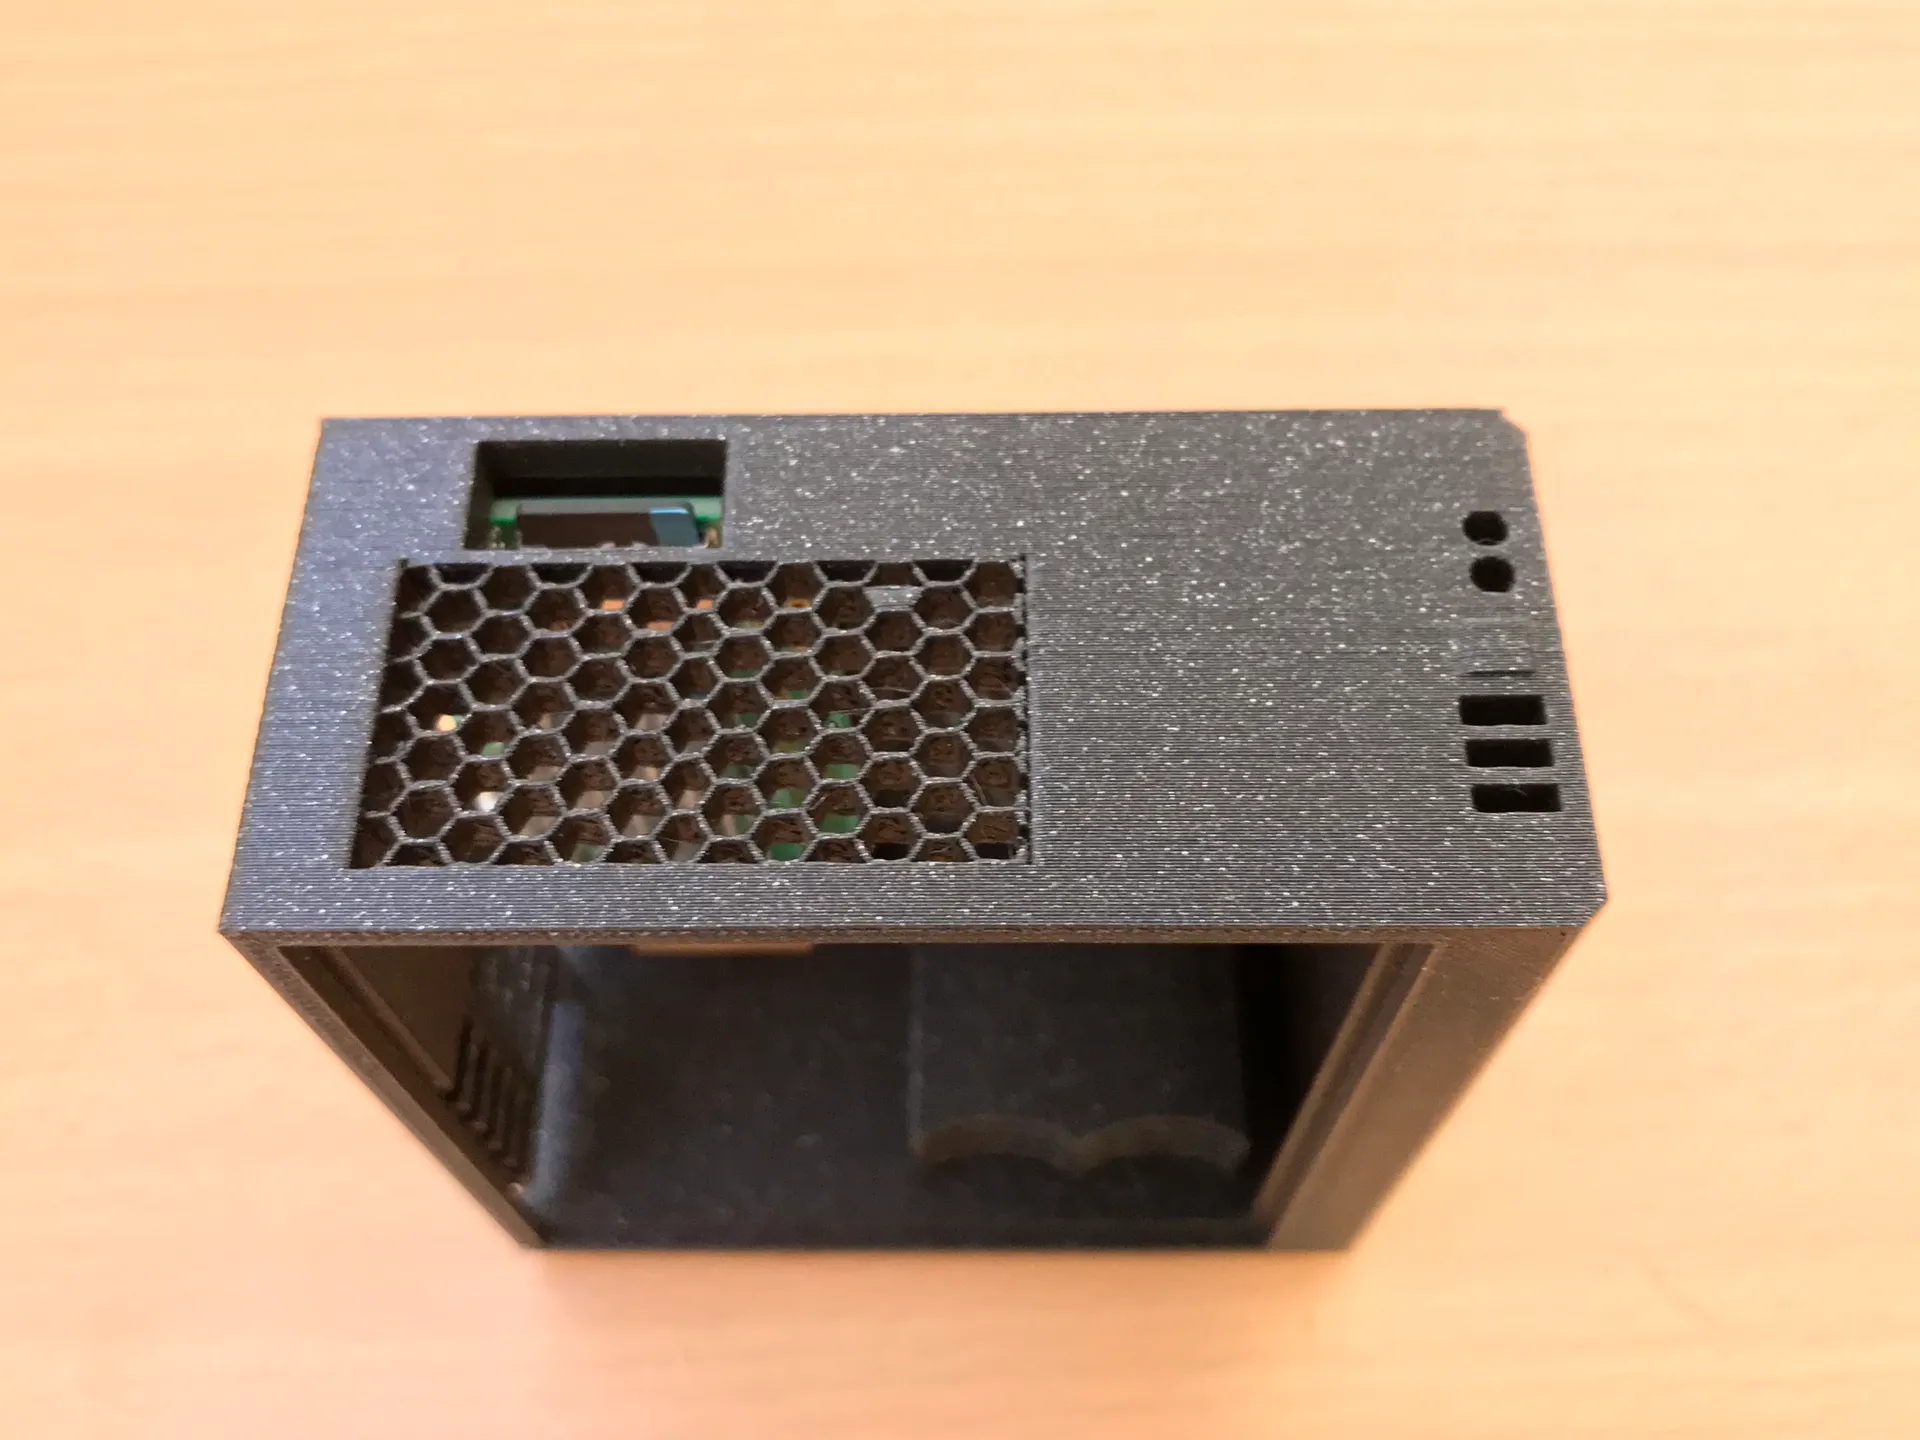
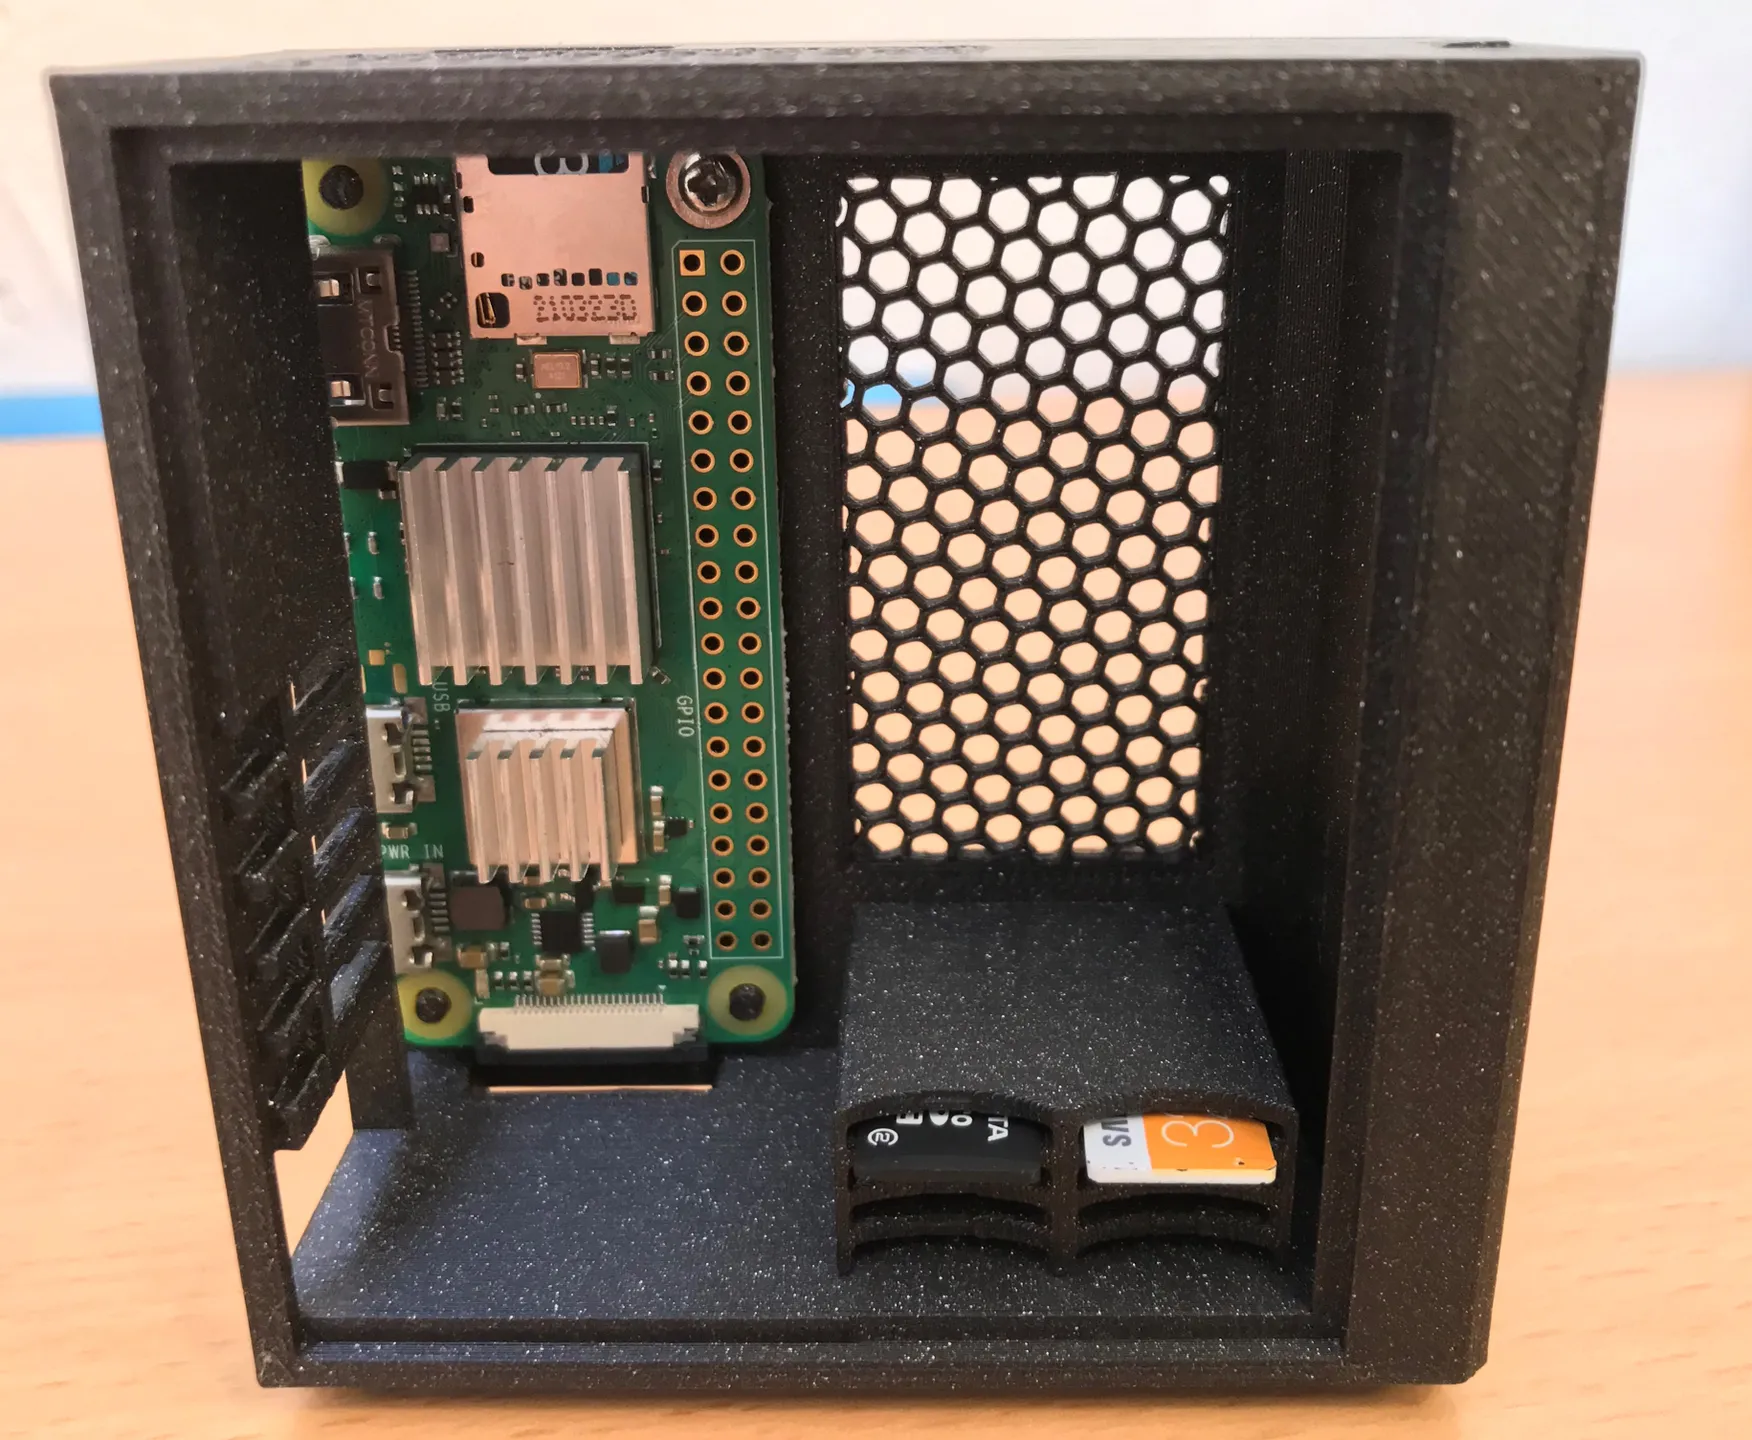
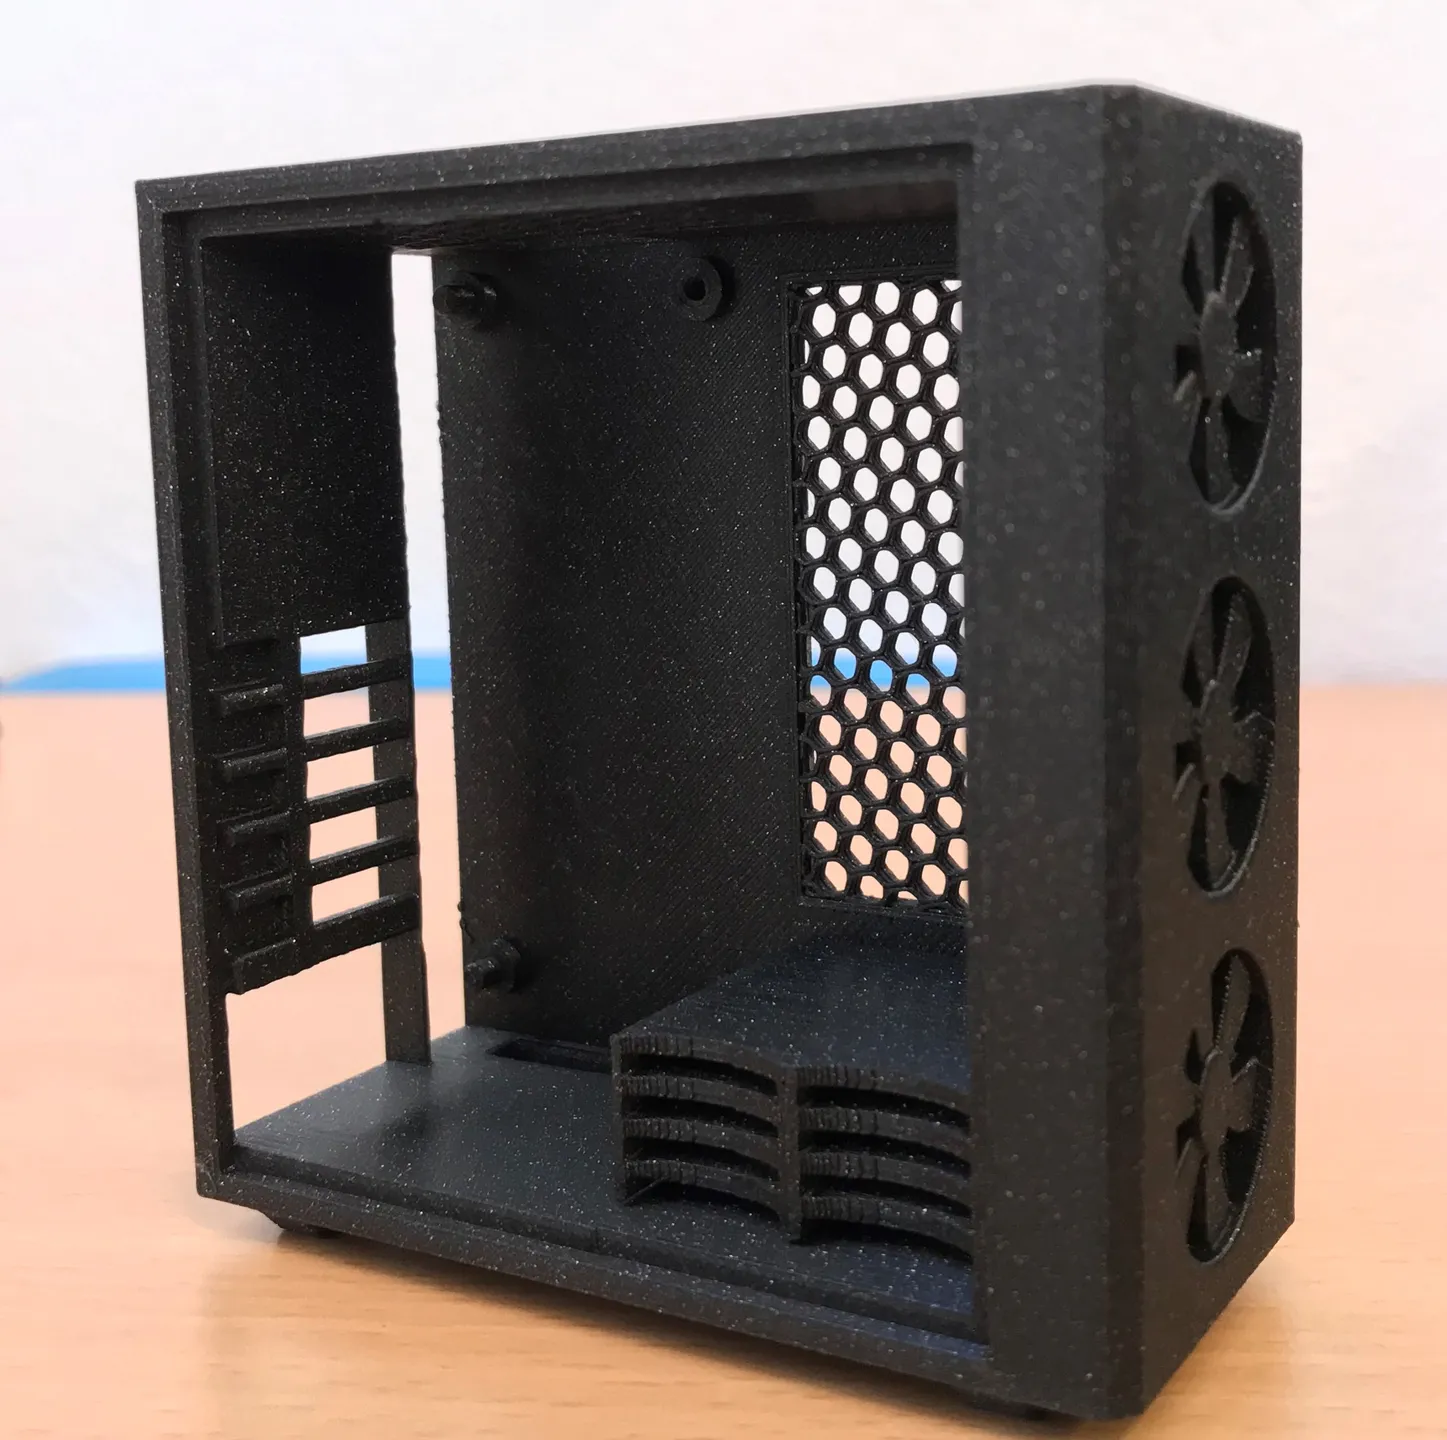
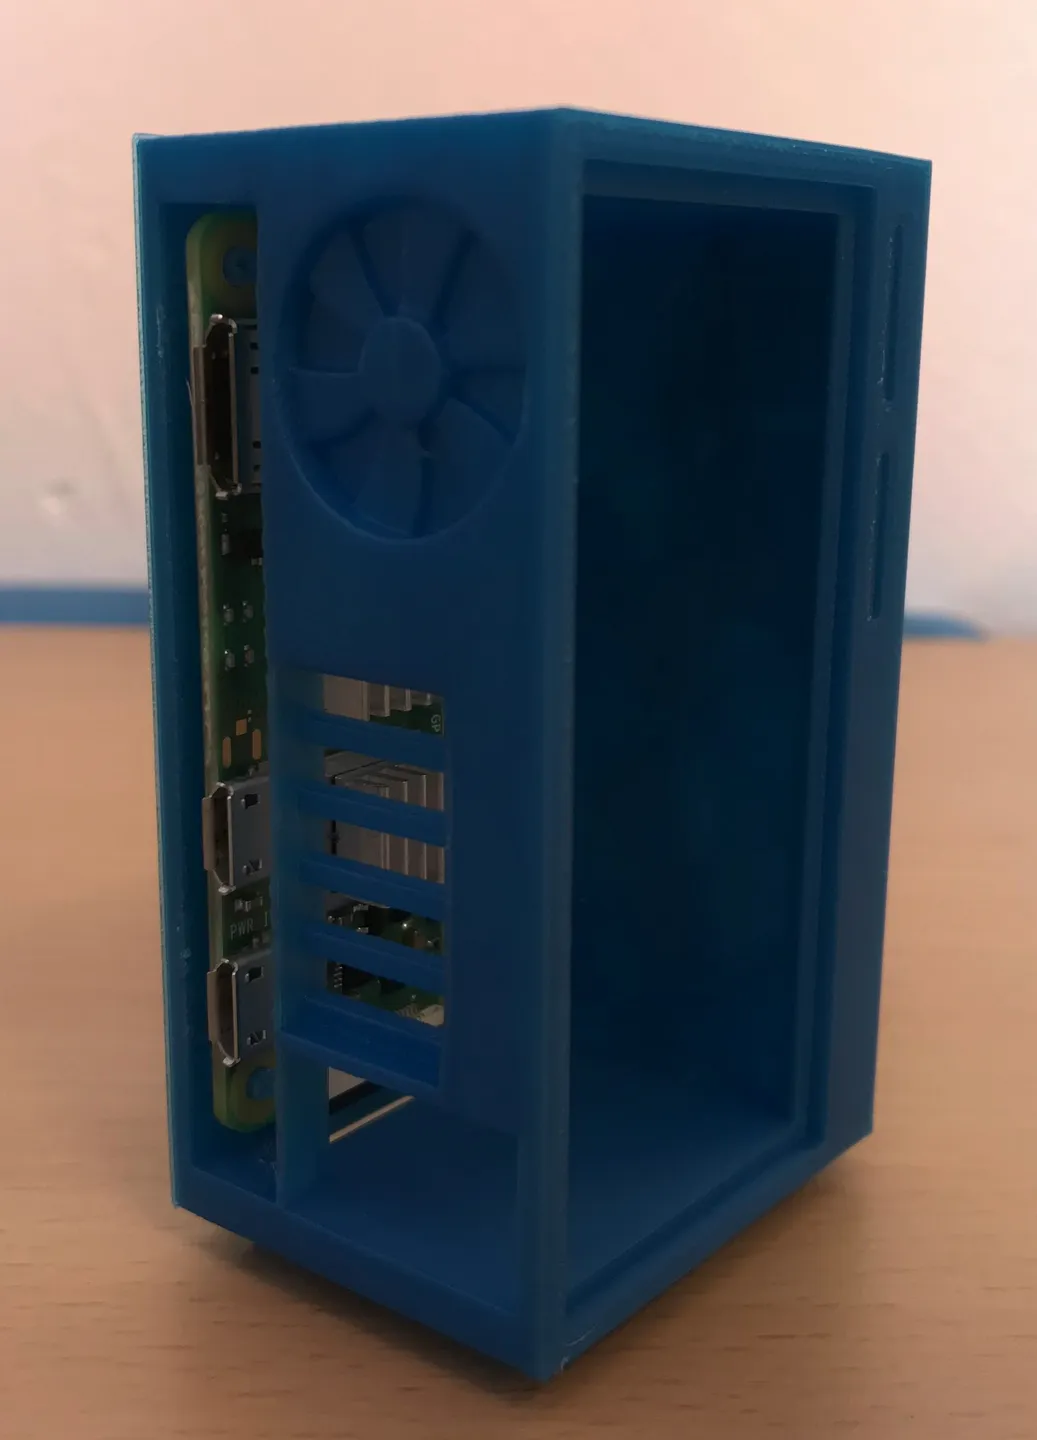
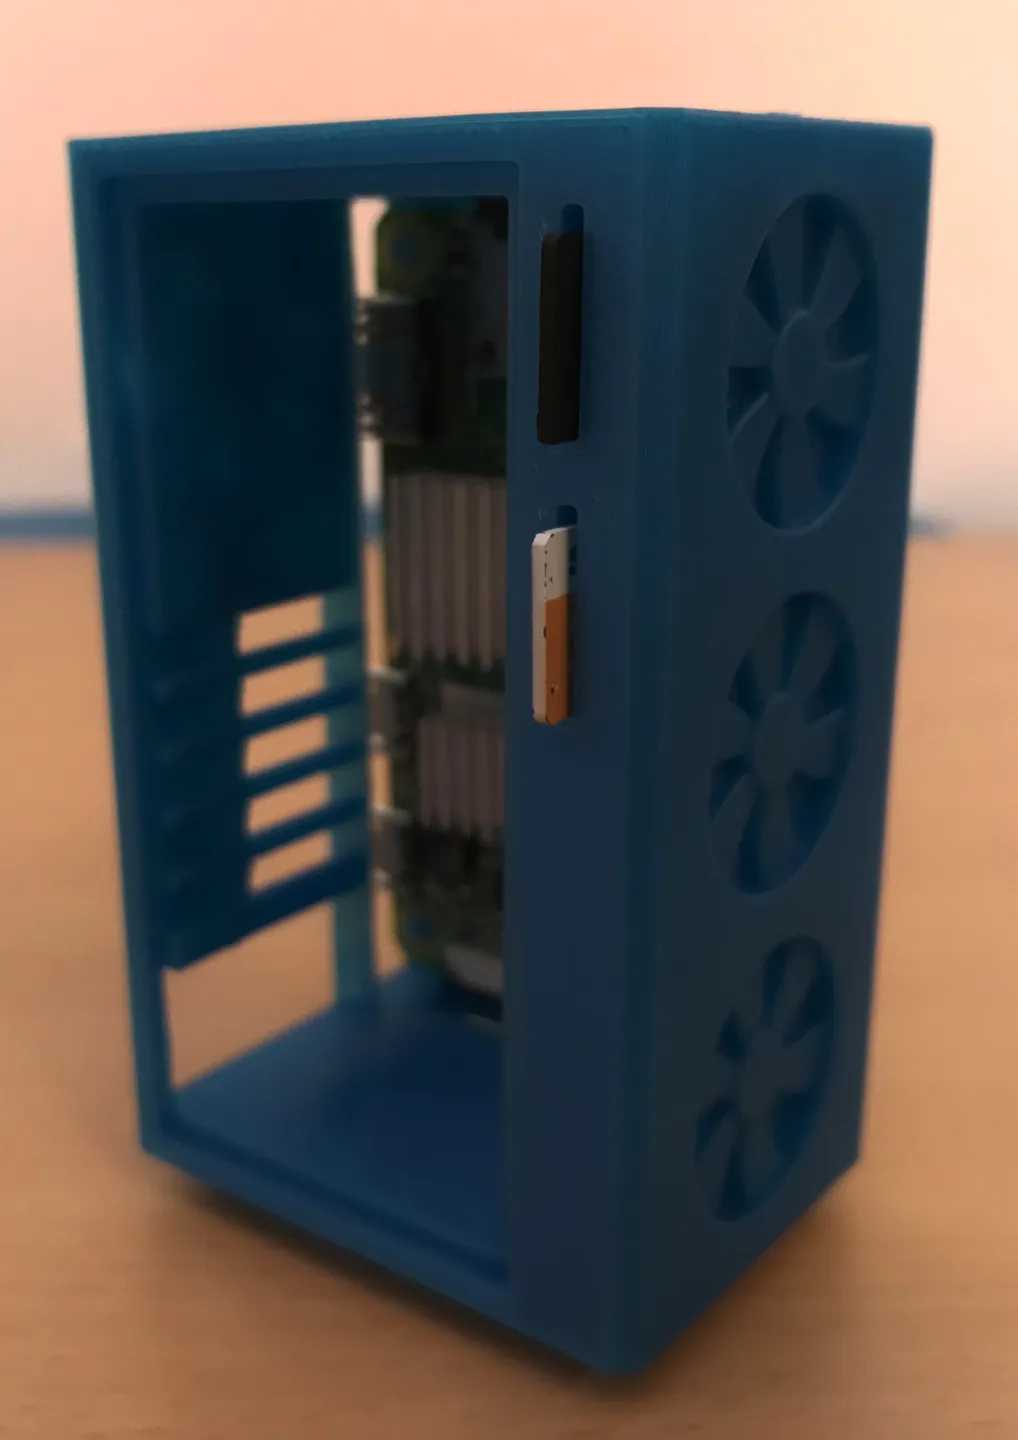
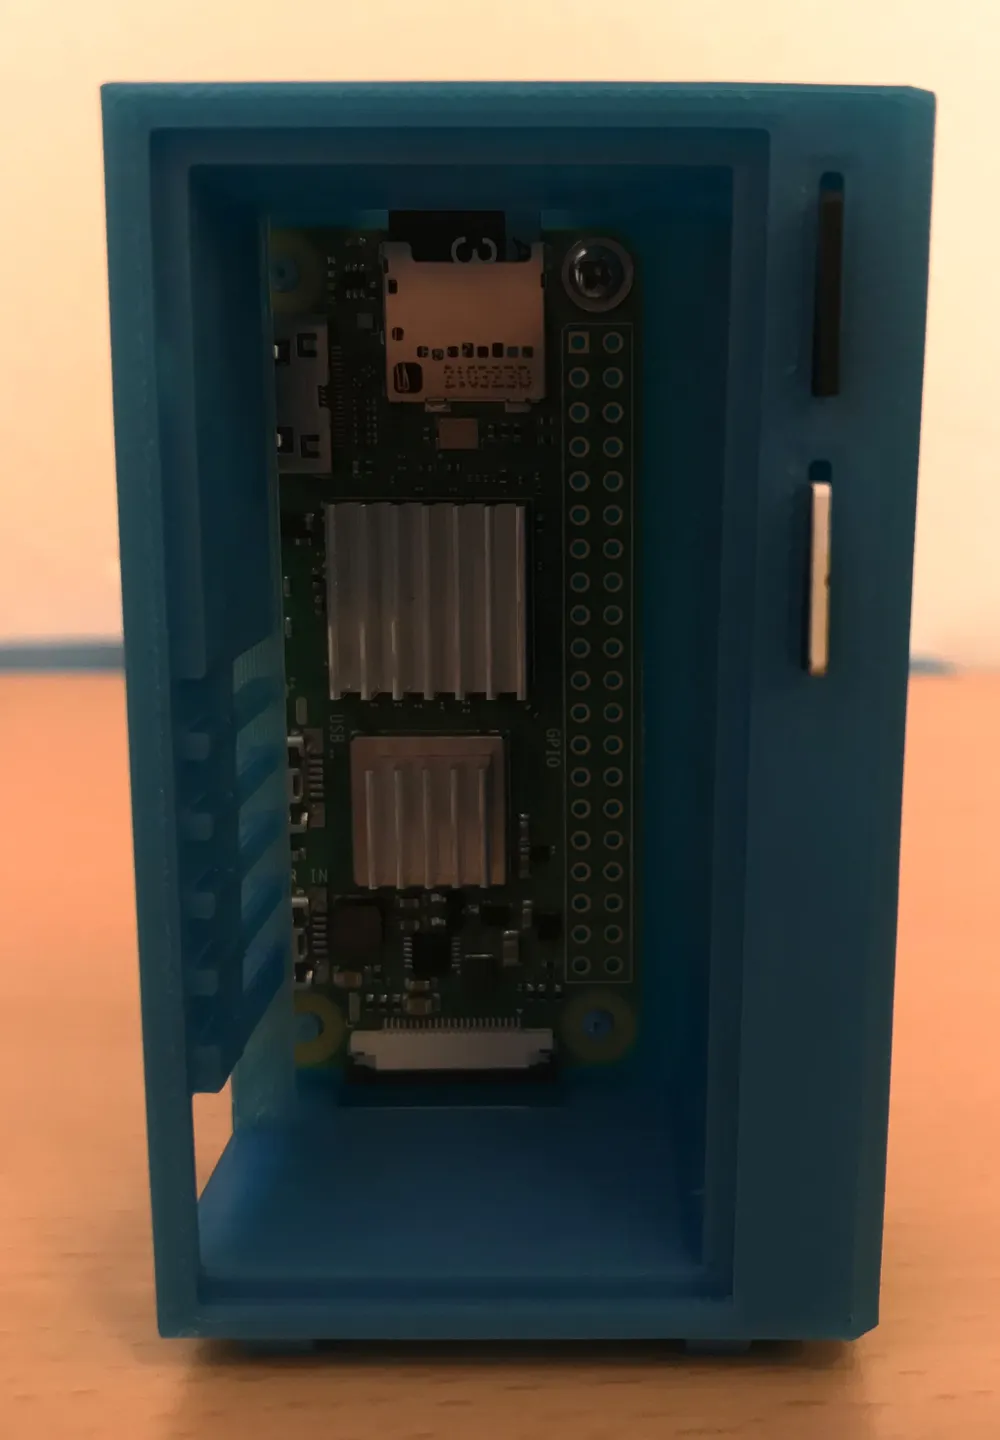
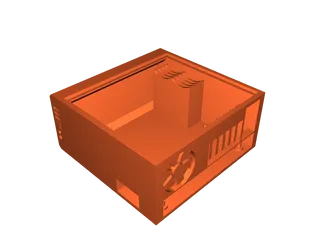
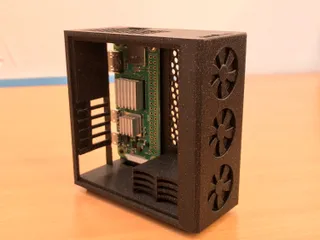
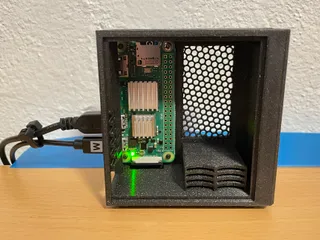
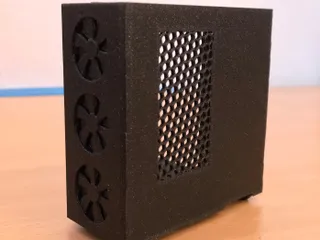
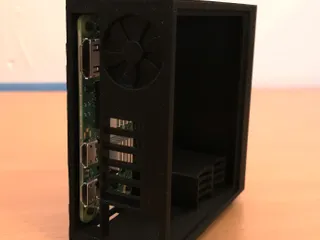
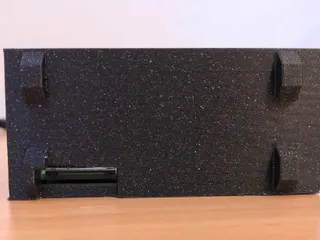
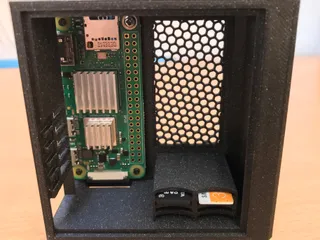
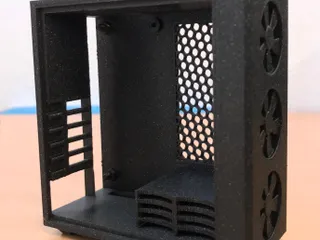
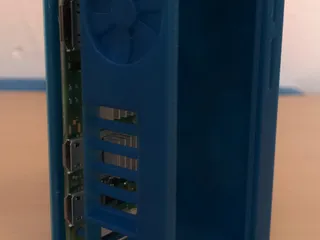
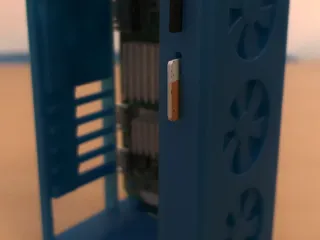
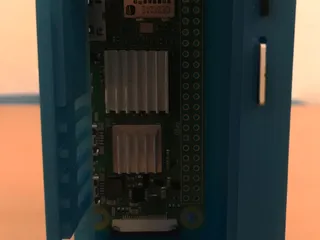
PDFIt does not matter witch one have you printed, instalation of the RPI Pi Zero is same and very simple for all of them. If you want to use a camera with your RPI, first pass the camera cable thru the hole in bottom of case and plug it in your RPI, if you dont just grab your RPI and slide it intro the case thru side of the case. Align holes on RPI with standoffs in the case. In order to secure it you will need a very small screw with flat head. The one that I used comes from toy car. I recommend using magnetic screwdriver, because It is way easier to actually screw it into place. Be careful and don't damage your RPI. After you succesfuly and securely mounted your RPI intro the case you can insert your micro sd card intro RPI thru the hole on top of the case (If you ever want to remove the micro sd card you will need a tweezers in order to remove it. Be especially careful when doing so, you could damage your micro sd card). Now you can also put on your RPI any heat sink or cooler that you have. On all of the normal sized models are micro sd card holders that support up to 8 different cards. On mini variants of the model is micro sd card holder (this one supports up to 2 cards) optional. I used RPI PI Zero 2 W with case that has ventilation on side and top.
You must use PrusaSlicer for 3mf files to work !!!
If you like my desing please post a make, make sure to clik like button and share it with all your friends. If you really like my desing and have to much money you can support me on PayPal. Huge thanks to my supporters!
Tags
Model origin
The author remixed this model.