Ender Smooth-Rolling Large-Circumference Filament Guide Bearing

Description
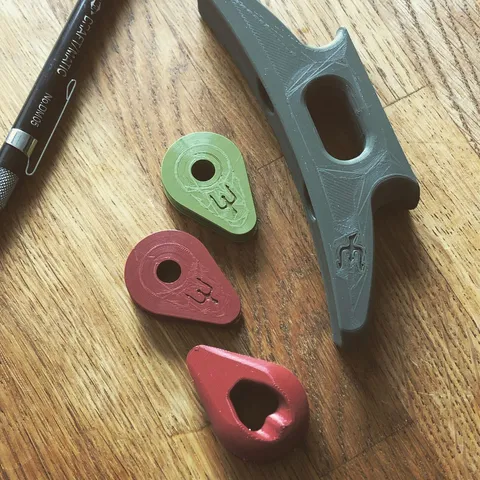
PDFEnder3 Filament Guide
There are many cool looking and thoughtful designs one can print to fix the notorious Ender filament chafe issue like these:
https://www.thingiverse.com/thing:3315565
https://www.thingiverse.com/thing:3038801
https://www.thingiverse.com/thing:3342775
https://www.thingiverse.com/thing:3576034
https://www.thingiverse.com/thing:2853267
https://www.thingiverse.com/thing:3061551
https://www.thingiverse.com/thing:3184816
https://www.thingiverse.com/thing:3065048
https://www.thingiverse.com/thing:4024617
And here is one with a runout sensor, very nice!
https://www.thingiverse.com/thing:3357097
Why I designed this:
- Fusion 360 practice
- Make something unique and beautiful.
- Improve a product.
- Stop a print and insert a foreign object.
- Get better with snap fits.
- Improve my design for additive manufacture thought process.
- Give back to the open source community. Design requirement needs:
- Have a large curved surface for the filament to run.
- Smooth running with minimal friction.
- Inexpensive
- Print without support
- Use readily available parts
- Aesthetically pleasing
Ingredients:
PLA
- 7 g - 2.34 m - 1 hr 6 min for the bracket
- 19 g - 6.47 m - 2 hr 53 min for the shiv
Bearing Balls
- 4.8mm balls ideally (realistically between 4.7 to 4.9mm is probably ok)
I used worn out steel balls from a bicycle hub. Anything spherical of the correct size will work.
I gleaned inspiration for using steel balls in a cage by watching this video:
youtube.com/watch?v=RPXKK6NsMaM&t=1s
Happy Making!
printornaut
Printing Notes
This print must be stopped several layers above the middle layer for the steel ball bearings to be added. If stopped too soon the balls and the nozzle will interfere with each other. I accomplished this by editing the g-code in the Cura slicer.
To accomplish this in Cura:
- Open Cura.
- Click ‘Extensions’ in the top menu bar.
- Click ‘Post Processing’ and then ‘Modify G-code’.
Depending on our other slicer settings we will chose a layer or height just above the middle of the print. It will be important for us to set a ‘Z Hop’. This will raise the print head high enough to miss the balls during travel.
Extra:
If anyone knows how to set an absolute z height above the bed so the printer can avoid unnecessary z travel please comment! I would also like to know how to start the Z Hop only after the balls have been placed!
Update March 2021:
This design was originally featured on thingiverse and now merged to Prusa. I may eventually get around to slicing, test printing and uploading the 3mf for Prusa Slicer, but if you get to it before me let me know. I would love to host your 3mf file here!
Tags
Model origin
The author marked this model as their own original creation. Imported from Thingiverse.