PTFE connector sealed backplate
Description
PDFRemix of the backplate from TypQxQ's PTFE connector to add an o-ring to better seal the inside of the box. I really liked the PTFE through design of the original and how it held the tube firm in both directions, but the air leakage through the connector was more than ideal. As a bonus the o-ring allows the PTFE to rotate in the connector without breaking seal.
I designed it around 3.8mm x 7.6mm x 1.9mm Buna-nitrile o-rings I used before for PTFE tube end cap that worked well. My supply came from an assorted pack, but you can find this size in packs on amazon.
Starting with the "thicker plastic" backplate of the original I made the base a little thicker and recessed a pocket. Into the pocket you place an o-ring sandwiched between two "caps". A little bit of glue to secure the outer "cap" and you have a tight seal around the tube. I promise that "cap" made more sense in a previous iteration.
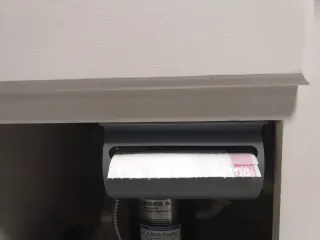
With these installed I can now get enough pressure in my Rubbermaid 21 cup spool boxes to pop the lid loose. Leakage from this joint should be negligible over time.
The reason for not integrating the inner "cap" into the backplate body is that the concave side needs to be on top (not an overhang) to be clean enough to mate to the o-ring. I could have flipped the backplate upside down, but that would have lead to tons of support material.
Print Settings
This design is somewhat optimized for 0.15 resolution. It will probably work fine at larger resolutions, but the features are designed to line up to layers at 0.15 resolution with a 0.20 first layer.
I have also included a version of the backplate with a sacrificial bridge to remove the need for support material. Unfortunately, I found the underside require less clean up with support material than the sacrificial bridge. Your mileage may vary. Post-Printing
Assembly
- Remove support material and clean up any overhangs/artifacts in the backplate pocket.
- Press one "cap" and the o-ring into the pocket.
- Apply glue onto the rim of the second "cap". CA glue works fine great for this. I find it helpful put a PTFE tube through the center and hold it vertical while applying glue.
- Position the second cap into the pocket and onto the oring completing the sandwich. I find it helps to use that PTFE tube to line up the parts before slide the second "cap" down.
- Press / clamp the outer "cap" into the backplate and hold until glue sets. This hold should be firm but not too tight. The outer "cap" should be slightly proud of the backplate bottom.
Tags
Model origin
The author remixed this model. Imported from Thingiverse.


