Interlockable Sorting Cups (now with Lids)

Description
PDF[Update 2: I redesigned the cups to make them stackable. You can find version 2 here. Version 1 will stay online in case anybody wants to keep using them.]
[Update 1: Added a snap lid and cups in two more sizes. See below for details.]
What is this
Being an avid board gamer who likes to keep everything organized, I have created and 3D-printed a lot of different things in the last couple of years, usually inlays and boxes for my games as well as cups and other little helpers for my gaming sessions. However, the one print that turned out the most useful and most practical was this simple model.


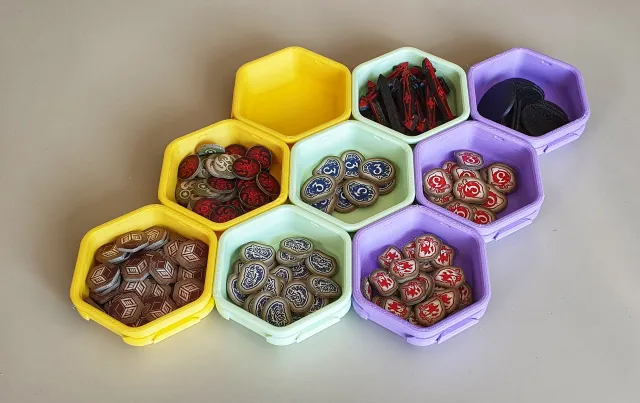
Several of these cups can be easily connected to create trays of any size. The cups have a good size for most playing pieces, without wasting much table space. And since the connection is very tight and stable, they can easily be passed around without worrying they might fall apart mid-air. Also, players can assemble their own little storage tray to keep everything organized in their play area during a game. The cups are quite lightweight (16 g per piece) and printing time isn't too bad either (90 minutes per piece with the 0.2 mm QUALITY setting in PrusaSlicer).
By now, in addition to board games, they are used for other sorting purposes in the family: the daughter uses them for her crafting beads, the wife keeps small change in them, I often use them for keeping track of different screws when messing with electronic devices. Take a look at the gallery to get an idea.
How to assemble and disassemble
This works similar to how jigsaw puzzle pieces fit together:
- On a flat surface, place two cups next to each other, one of them slightly elevated, so that the connecting parts are touching and one connector is resting on top of the other. The upper brims of the cups will touch as well.
- Press down with your hand right where the brims are touchting until the cups are fully locked in. It might click and crack a little. Don't worry, they won't get damaged.
- When disassembling, press down on one cup and press up on the other until they separate. Sometimes wiggeling helps.
- Do not try to “fold” two cups against each other. They will probably survive, but the connecting parts might get damaged at the edges, making the connection less tight and less stable.
How to print
I mainly print with Prusament PLA or DasFilament PLA, using the standard Prusament PLA profile in PrusaSlicer. If the model dimensions are accurate, the connection is tight enough to make them hold together quite strongly, but still loose enough to make separating them an easy process.
However, if your printer is not well calibrated, you might end up with connectors that are too large or too small. To check accuracy, print two or three pieces of the test STL and try the fit. If you need too much force to push them into each other or, on the other hand, the fit is too loose, check if your filament diameter or your extrusion multiplier are correct. You can also play with the “x/y compensation” function to change the outer dimensions. This allows much finer control than rescaling.
Misc
If you want larger or smaller cups, rescaling should work fine. Just make sure you use the same scaling factors for all cups. Also, upscaling in the Z-direction will increase the friction area of the connectors and you might require more force during assembly and disassembly.
Please let me know what you think. Also, do feel free to drop me message, if you have problems with printing these.
All my models are free and may be used and shared by everyone. I put a lot of time in my designs to get everything right and I hope the result shows. So, if you like my stuff, consider hitting the donate button above.
Cheers! ^_^
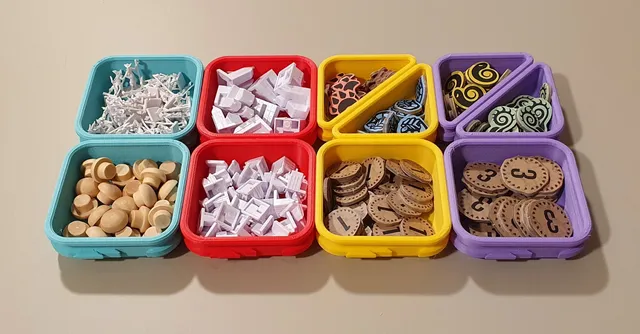
Update 1: Recently a user asked about snap lids. I thought this was a great suggestion, so I played around with a couple of ideas I had. The result is a simple lid that can be used to cap the cups by simply pressing down on them. Un-capping is done by lifting them at a corner using the finger nail. The lids work fine on the original cup design so you should be able to use them with cups you have already printed. However, due to the mechanism that keeps them in place, it might feel a little hard to get them off again. That's why I also upgraded the design to be more lid-friendly by adding small indents at the inner walls. Try these, if you know you will need to put lids on them.
I also added two more designs that have higher walls (+5 mm and +10 mm). So, if you need cups with more volume, you don't have to re-scale anymore. ^_^

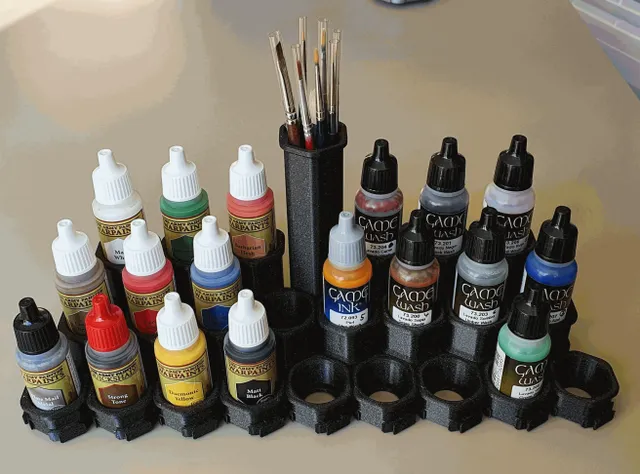
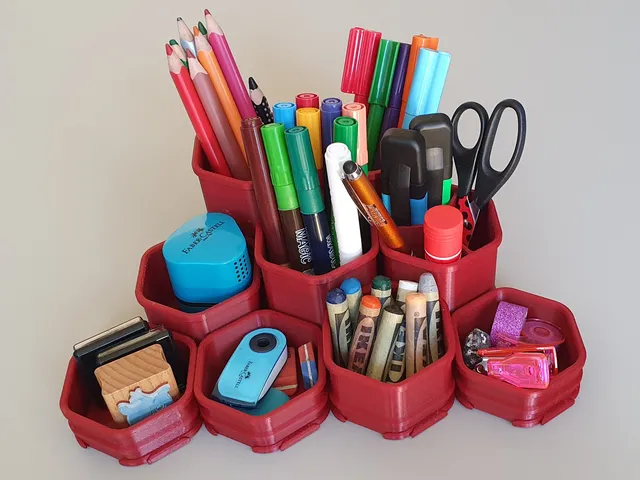
P.S.: These cups have inspired two other expandable organizers: a desk organizer for my daughter and a storage tray for acrylic paints and brushes. Feel free to check them out.
Tags
Model origin
The author marked this model as their own original creation.