SeniorDex - Telephone Index for Seniors
Description
PDFThis telephone number index was inspired in part by the Rolodex card index, with the idea of making a much larger size for people who have trouble reading small print (like some seniors) - hence "SeniorDex." In particular, I made this for a 96 year old acquaintance who has problems using a typical notebook of phone numbers. The design goals were as follows:
- Allow for very large font size
- One name and phone number at a time (less confusing)
- Keep the numbers in order
- Portable (lightweight)
- Simple to use
- Not too big to print (even so, I had to divide it into pieces)
The end result is this simple holder for "number cards" - each card has a name and phone number and is punched with two holes to fit the "rings" on the holder. Of course one could just print all of the names/numbers onto cards and leave it at that, but then it becomes too easy for the cards to get lost, dropped, or out of order.
This does require that all of the necessary names and phone numbers be typed out (or hand write with a large tip marker). I have provided a template showing the required size of the "cards" and the necessary hole positions (made with a standard paper hole punch). The only critical measurement is the 5.5 inch (140mm) distance between the holes. I designed for US standard 8.5" x 11" paper, but A4 should work just as well. Included in the photos is a template you can use to help make the address cards.
My recommendation for the number cards is type them up with a large font with all capitals. I used LibreOffice Draw to prepare my cards (Liberation Sans 72 point font). Printing on card stock is best, but regular paper works also.
I also rejected the idea of printing names/numbers on both sides - this leads to two numbers being displayed at once - an unnecessary complication for some seniors.
The print has five parts :
- "rings" (qty 2)
- base for the rings
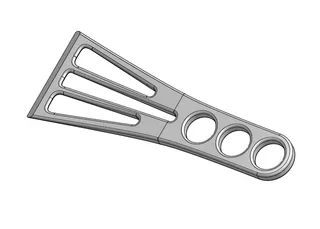
- "wings" (qty 2) to extend the base
The rings are removable so that address cards can be added or removed as necessary. Simply pinch the legs slightly to fit them to the holes. The fit is a bit tight but they will go in, and then spring open to stay in place.
The wings should stay in place without gluing, but I recommend using glue on the connectors.
P.S.
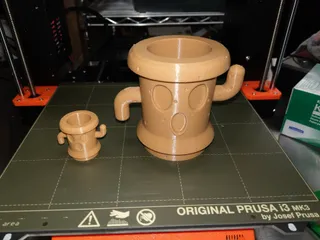
Just for fun, I included a photo of the various test prints I made while designing this print. Among other things, I printed small segments of the final print to test the fit for the rings and connectors, and to refine the final ring shape.
The OnShape 3D CAD files for this are here :
Print instructions
Print in PLA using the 3mf files provided; otherwise :
- print the base and wings top down
- wings require supports
- infill 0%
- perimeters = 3
Allow the wings to cool completely before trying to remove the supports - makes it much easier. After support removal, a bit of trimming of the tops with a razor knife may improve the fit (not strictly necessary).
- print the "rings" on their sides
- perimeters = 4
- infill 0%
Allow the rings to cool completely before using them, so they don't lose their "spring".
Tags
Model origin
The author marked this model as their own original creation.


